
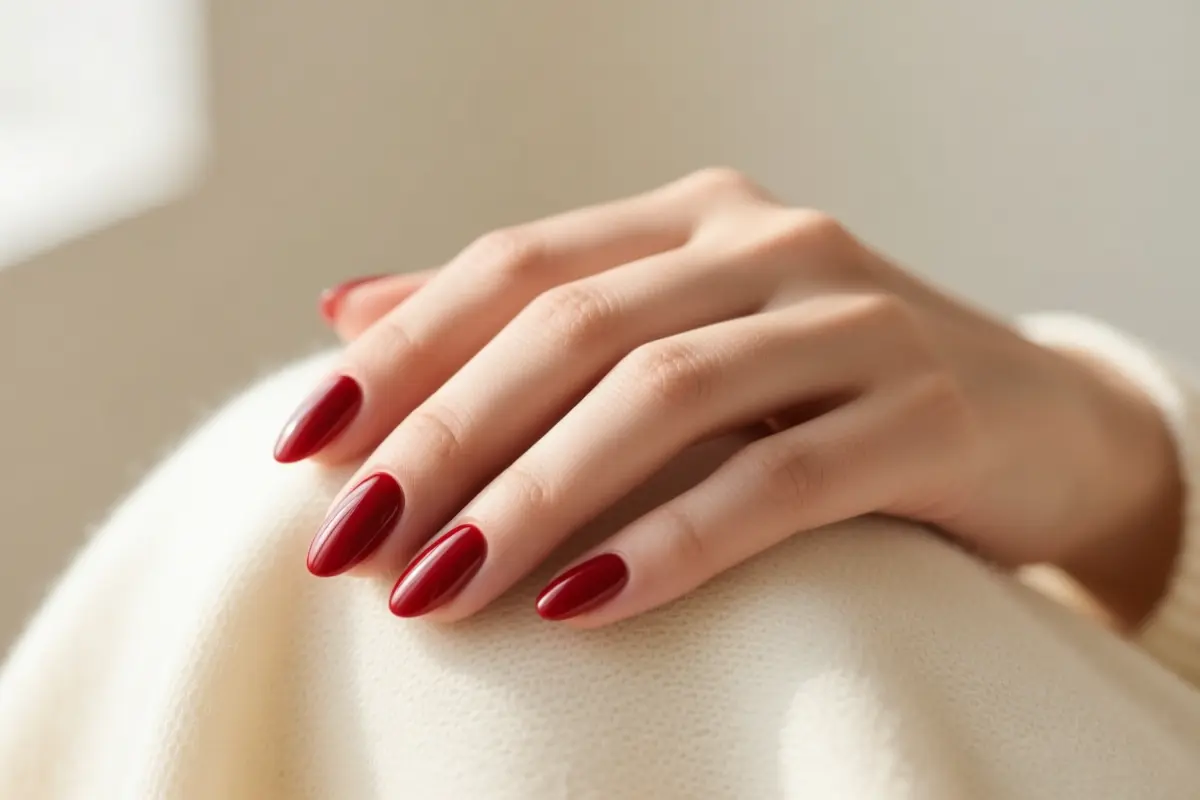
10 Ways to Wear Cherry Red Nails Without Looking Dated
Even though cherry red is hailed as a universally flattering shade, it demands flawless application, or it can turn streaky in minutes. The deep, pigment‑rich color looks chic only when the polish spreads evenly, and a high‑quality top coat seals the tips against immediate wear.
A cool‑toned cherry works best on most skin tones, especially those with cool undertones, while a glossy finish amplifies its depth.
Choosing gel or builder‑gel formulas adds the necessary thickness to keep the hue cushiony and prevents the sheer patches you see with regular polish. Pair it with a glossy top coat and a good base to lock in color and avoid staining.
1. The Classic High-Gloss Ultra-Cushion Gel
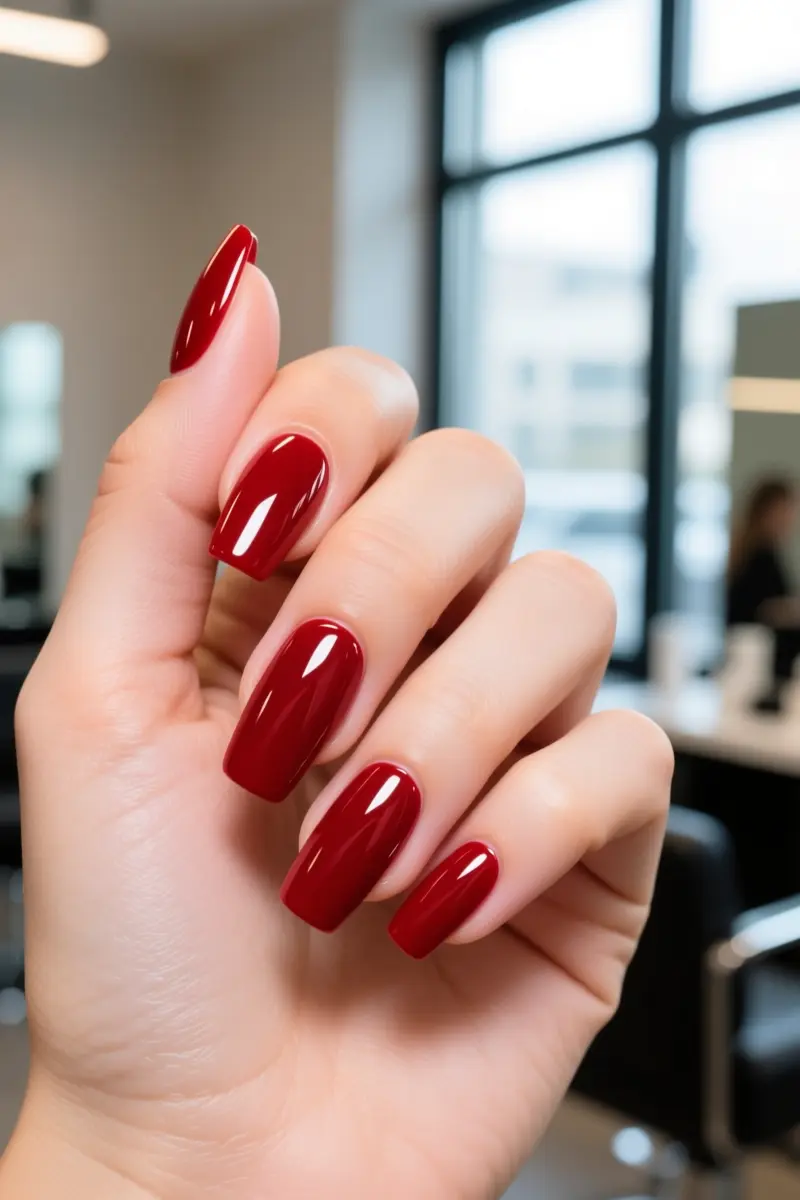
The classic high‑gloss ultra‑cushion gel delivers a single‑tone cherry red that stays vivid and sleek.
Cool‑toned skin finds blue‑based cherry shades more flattering, while warm undertones shine in orange‑based reds that echo natural flush.
A thick builder gel base creates a uniform cushion, preventing the pigment from pooling at the nail tip where it would appear translucent.
Seal the color with a high‑shine topcoat; the extra gloss locks in pigment and reduces the risk of edge chipping that reveals the base.
A professional salon session typically costs $30‑$50 for a full set, while a DIY kit with builder gel and topcoat runs $15‑$25 and lasts up to three weeks with proper care.
The main downside is the need for regular filing and occasional re‑cure; those with weak nails may find the thick base too heavy and prefer a thinner polish overlay.
For best longevity, schedule a touch‑up every two weeks; this prevents the high‑gloss finish from dulling and keeps the cherry hue from fading into a muted pink.
2. The Glazed Cherry Chrome
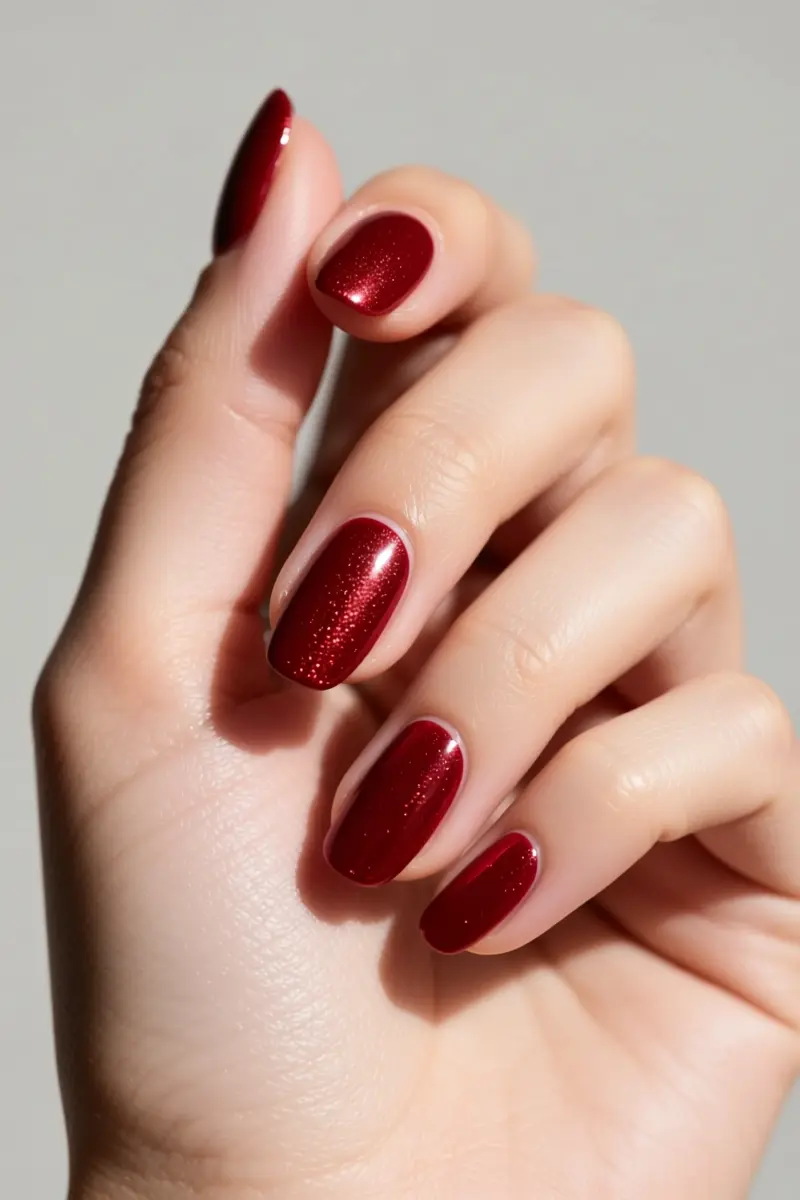
The glazed cherry chrome combines a deep cherry base with a reflective chrome overlay for a modern twist. Start with a solid cherry polish, then seal it with a no‑wipe top coat.
Cure the top coat under an LED lamp for about 30 seconds; the surface should feel tacky, not fully hardened.
Lightly buff the tacky layer before dusting chrome powder, then seal again with a quick‑dry top coat.
This timing prevents chrome lifting and creates a glossy, polished finish. Many people find that frequent hand‑sanitizer use and everyday friction cause the chrome edges to dull faster than a regular gloss.
The reflective surface can chip within three to four days if the nails are exposed to heavy tasks.
Because the style requires maintenance, it works best for those who can schedule regular touch‑ups and prefer a statement look over low‑maintenance polish.
Medium to long lengths showcase the chrome best, while short tips may look cramped.
Adding a thin clear French line before the chrome adds subtle depth, but removal usually needs a foil wrap and acetone, adding another upkeep step.
3. The Velvet Magnetic Cherry
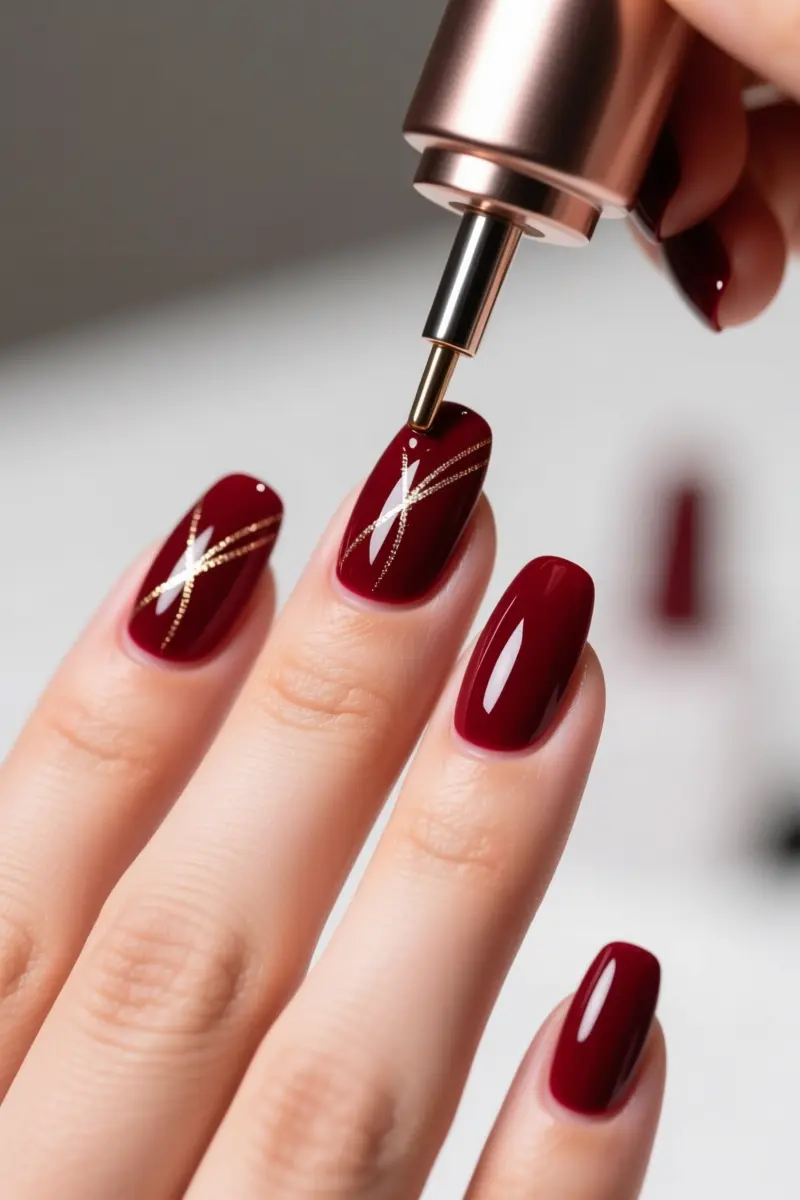
The Velvet Magnetic Cherry turns a classic cherry red base into a plush, multidimensional finish using magnetic polish.
The technique starts with a deep cherry red cat‑eye gel, then a magnet is hovered over the wet coat.
The magnet pulls metallic pigments into a concentrated line, locking them in place before they can diffuse back into a flat shimmer.
This creates the signature velvet effect that reflects light from every angle. In a salon, the specialty step adds roughly a $32 upcharge, similar to the velvet ribbon design price.
A practical tip: hold the magnet about 1‑2 cm above the nail and move it slowly for three seconds to ensure even coverage.
Users report the soft magnetic velvet look works well for a summer‑to‑fall transition. Because the effect relies on precise pigment alignment, a rushed application can leave uneven bands.
The style remains a top nail trend in 2026 and pairs nicely with neutral outfits for a polished yet playful vibe.
4. Deep Cherry-to-Black Ombré
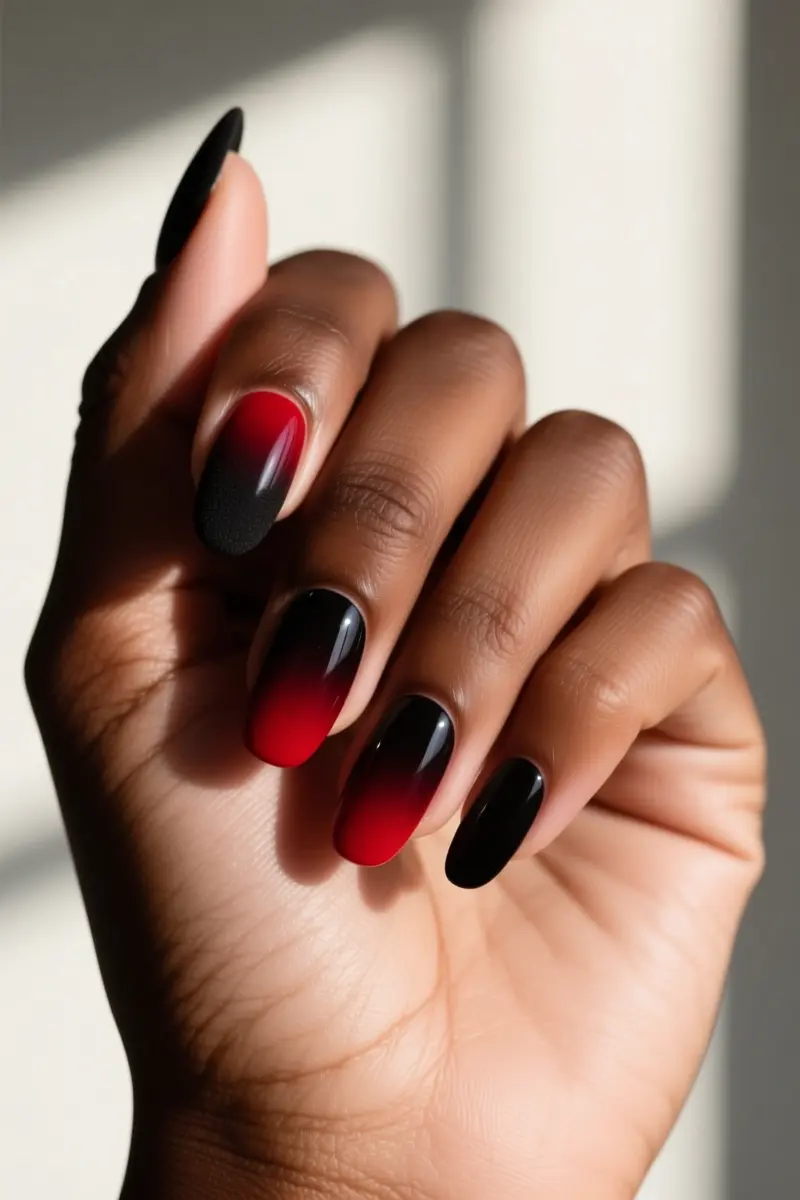
Deep cherry-to-black ombré creates a striking gradient blend that feels fresh instead of dated. Start with a thin base coat, let it cure, then paint a thin layer of cherry red and dry completely.
Using a soft sponge, dab a black‑cherry or pure black polish at the tips and pull upward for a seamless fade; the sponge gives a natural hand‑blended look, while airbrushing can achieve a smoother transition but requires more equipment and skill.
A pro tip: sponge‑blend when you want a textured, vintage‑inspired edge, and switch to airbrushing for a flawless, salon‑grade finish on special occasions.
Trust‑based warning: dark pigments need the exact cure time recommended by the gel brand; skipping even a few seconds can cause gel wrinkling or peeling along the gradient.
This technique shines on medium to dark skin tones, but the high contrast may overwhelm very fair hands, so consider a softer fade if you prefer subtlety.
Maintaining the look means regular top‑coat refreshes to keep the glossy finish from dulling.
5. The Minimalist Cherry Negative Space
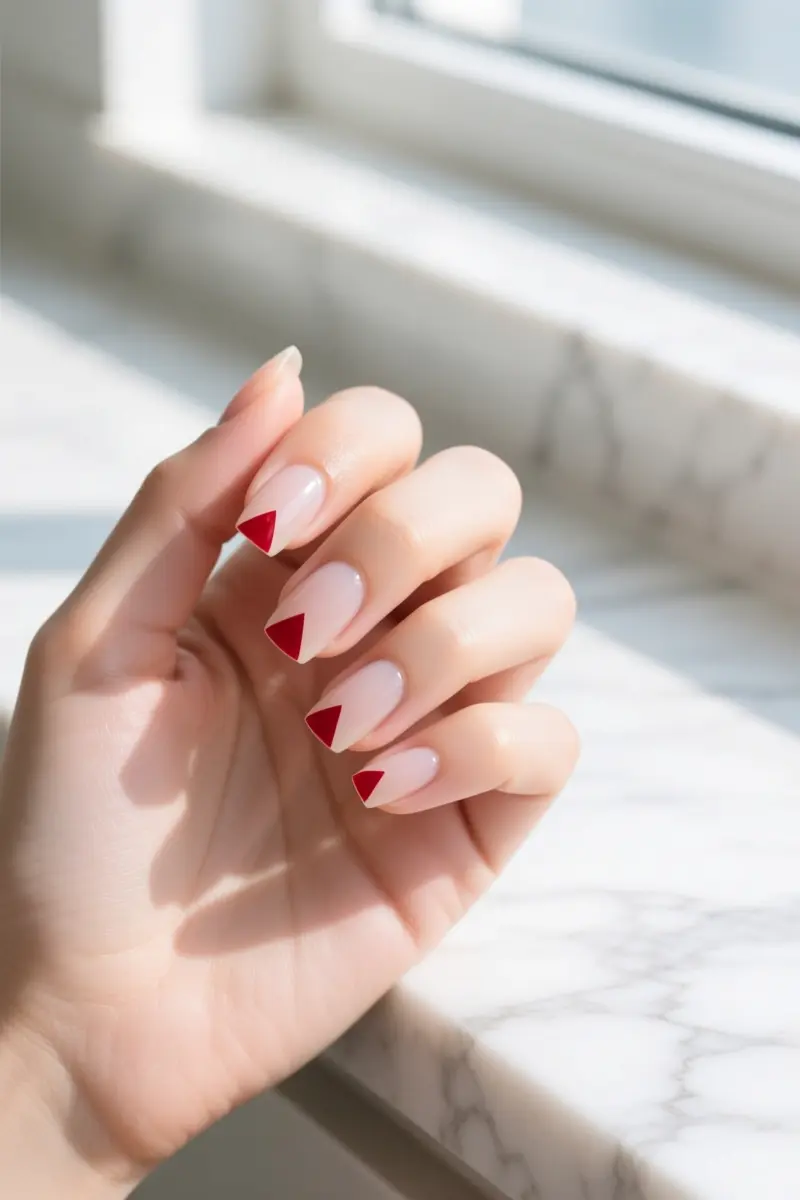
The minimalist cherry negative space uses cherry red accents on a sheer base to create a low‑maintenance nail look.
Negative space manicures combine bare nail and art, so the red pops without covering the whole surface.
Extra short cherry nails keep the design practical; they need fewer polish layers and less detailing, which cuts cost and time.
A simple cherry silhouette or a tiny geometric cutout works well on the sheer base, and the brief length means cuticle regrowth is barely visible.
For beginners, starting with an extra-short cherry negative space feels less intimidating than full‑coverage art.
Shorter nails also lower breakage risk, making them suitable for students and busy professionals. Keeping cuticles moisturized and nails well‑groomed enhances the overall effect.
A limitation appears when cuticle growth is rapid; the exposed negative space may need touch‑ups sooner than a fully painted nail, especially on longer fingers.
This minor upkeep trade‑off balances the otherwise low‑maintenance appeal.
6. Matte Cherry with Glossy French Tips
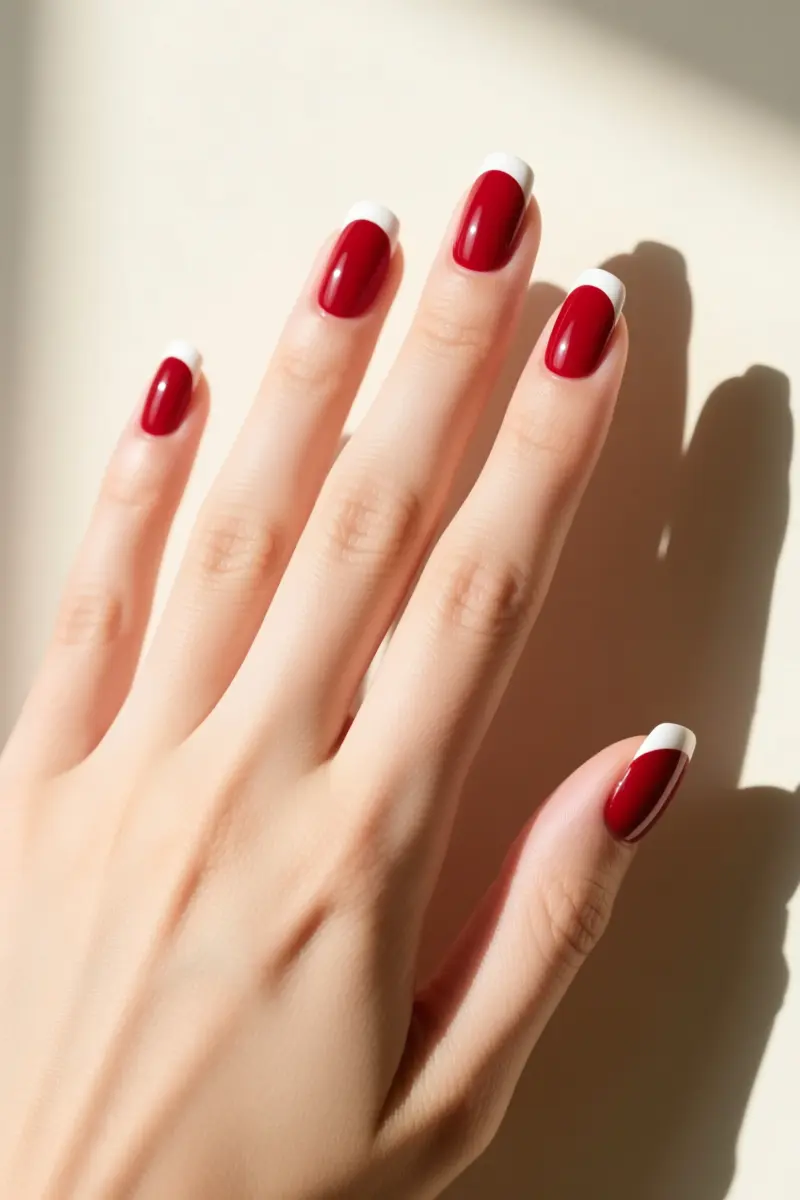
A matte cherry base paired with glossy French tips creates a striking textural contrast that feels both modern and timeless.
The velvety matte top coat anchors the bold red, while the high‑shine tips add a polished pop that catches the eye without looking dated.
Because matte finishes attract dirt and oil quickly, regular cleaning is essential. Start by washing hands with soap and warm water for at least 20 seconds.
Use a cotton swab to brush away debris from under the tips, then dip another swab in rubbing alcohol (or a non‑acetone remover) and wipe each nail gently to lift excess oils.
For stubborn residue, soak the matte nails in acetone‑free remover for 30 seconds before wiping clean with a dry swab.
Finish by filing any rough edges lightly, applying a clear top coat, and letting it dry for at least 10 minutes before adding more design.
A common downside is that frequent cleaning with wipes and alcohol can dull the matte finish, so limit the process to when the nails look visibly soiled.
This look works best for those comfortable with a bit of upkeep and who prefer a sophisticated, contrast‑driven manicure.
7. Short Squoval Cherry Red
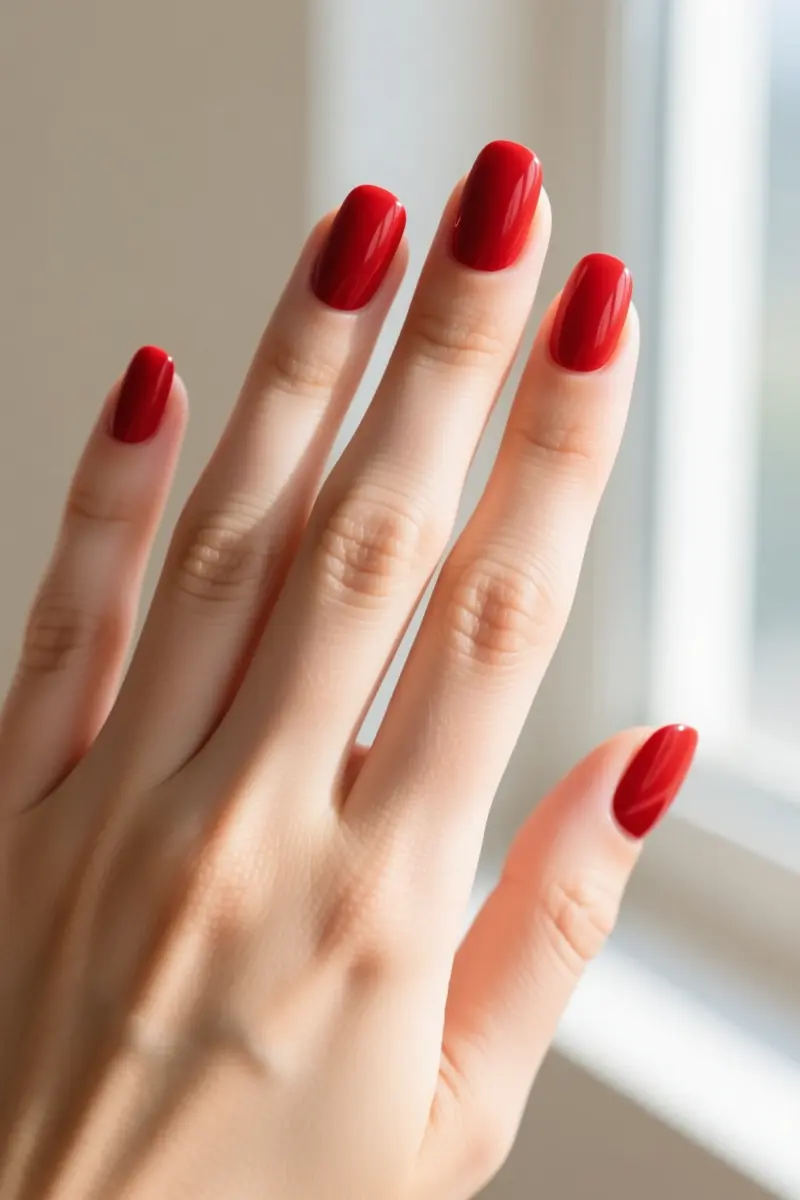
Short squoval cherry red nails give a crisp, contemporary look that reads as polished rather than flashy.
The squoval shape blends square strength with oval softness, making it the most durable natural‑nail silhouette.
Its short length resists breakage, so you avoid the costly upkeep of long acrylics while still showcasing bold color.
Cap the free edge with a clear top coat or a thin layer of gel to seal the tip. This simple step blocks moisture from lifting the polish and dramatically reduces premature chipping.
Olive & June’s Press‑on Squoval XS set delivers exactly this style in CV Red. The kit contains 42 extra‑short nails across 21 sizes, crafted from 94 % post‑consumer recycled material and applied with non‑toxic glue. Reviewers rate it 3.8 / 5 from 63 ratings.
A practical limitation is that very short nails can appear juvenile on larger hands, so those with long fingers may prefer a slightly longer squoval for balanced proportion.
8. Glass Jelly Cherry Nails
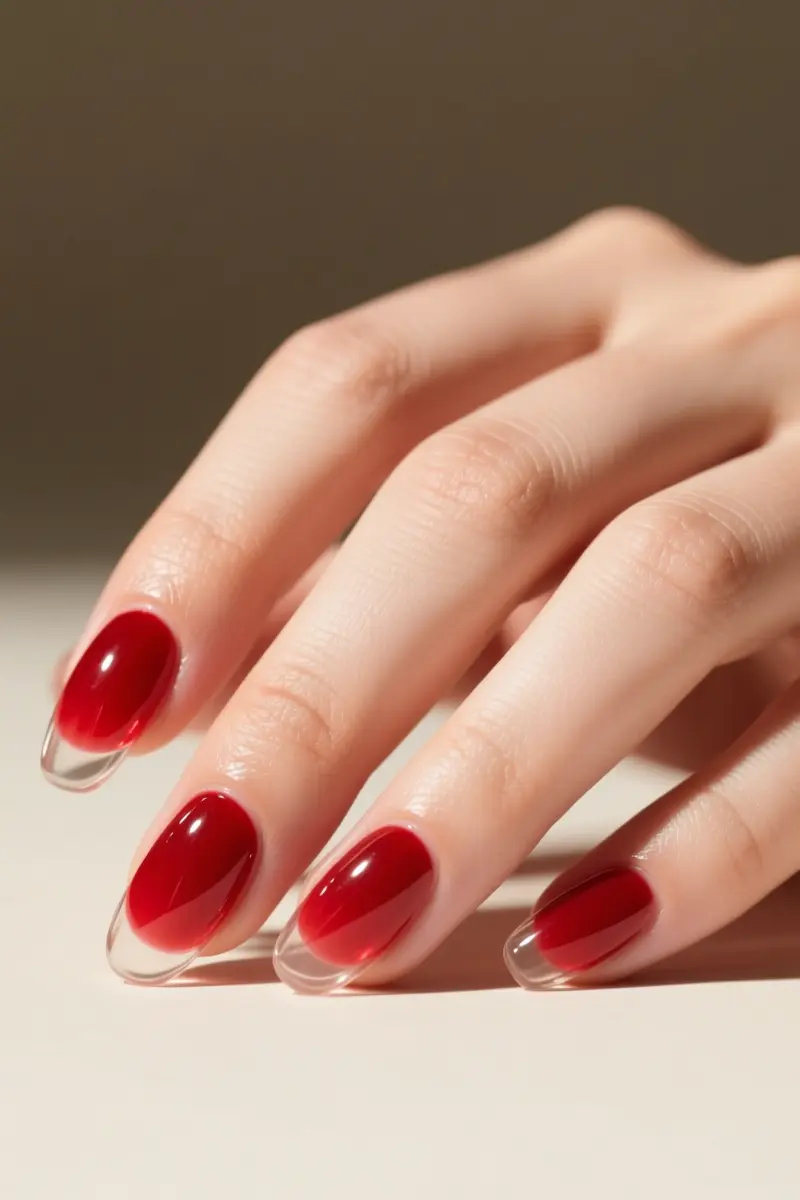
Glass jelly cherry nails achieve a translucent, syrup‑like shine with sheer red polish.
Start with a thin sheer layer of jelly polish and let it set completely. Add a second sheer layer, focusing on the tip to create depth without turning opaque. Finish with a high‑gloss top coat that enhances the glass effect.
The visible nail line is intentional; the faint ridge of the natural plate adds texture to the look. If you have smooth, even nails, the effect appears polished, but pronounced ridges can look exaggerated.
A downside is that uneven or thin nail plates become more noticeable, so this style works better for those with healthy, regular nails than for anyone trying to hide imperfections.
A bottle of quality jelly polish runs $12‑$20, and a clear top coat adds $8‑$15. Use a quick‑dry top coat to prevent smudging while the layers cure.
Touch‑ups may be needed every 4‑5 days as the sheer color fades faster than opaque reds.
9. Abstract Gold Foil & Cherry Red
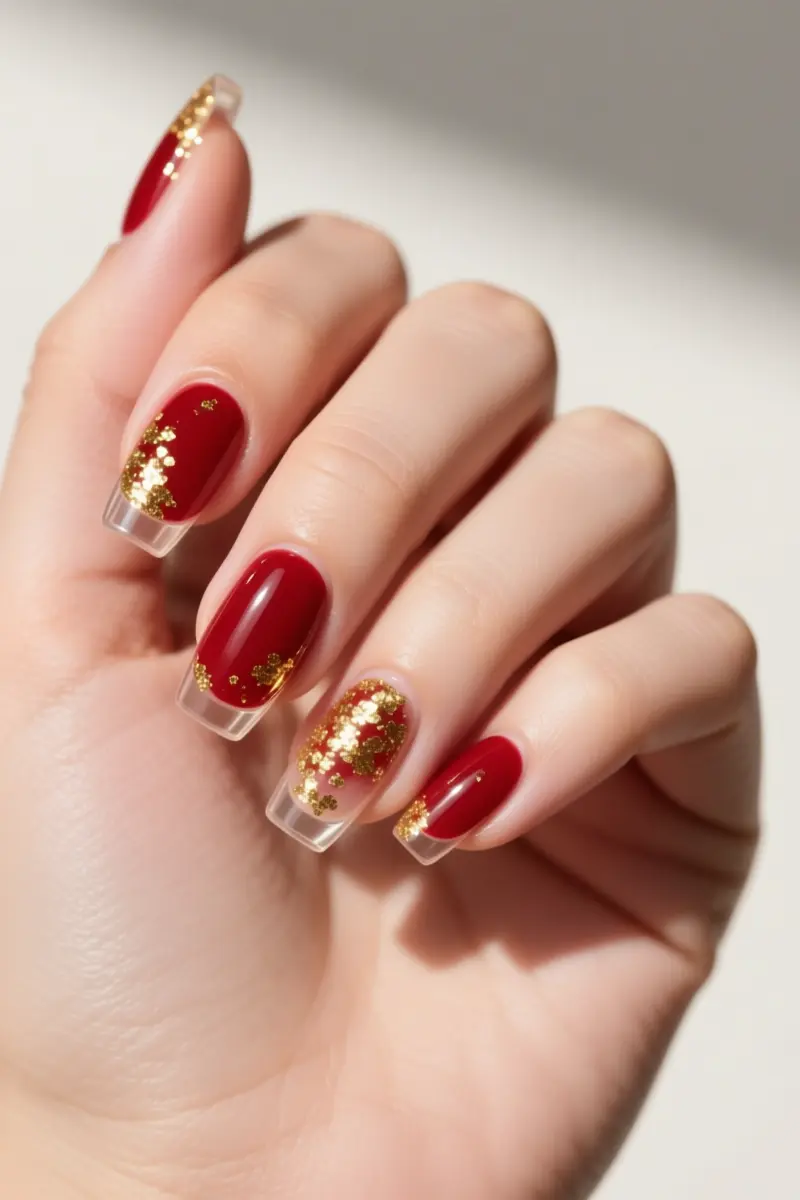
Apply delicate gold foil flakes over a cherry red base and lock them in with a structural gel coat.
The bright, orange‑leaning hue, often called the Selena Gomez classic, creates a bold canvas that makes metallic accents pop.
A single line of foil or scattered specks follows the popular cherry red design trend seen on TikTok, where the “Red Nail Theory” links the shade to confidence.
Start with a cured cherry red polish. Spread a thin layer of clear structural gel, then press pre‑cut gold foil flakes onto the tacky surface.
Use a soft brush to smooth any air bubbles, then cover the entire nail with another clear gel layer for encapsulation.
Cure each layer under an LED lamp for 30 seconds. The top gel seal prevents foil lifting and stops edges from snagging on hair or clothing.
Many users notice that without proper encapsulation, the foil can catch and peel within a day, so schedule a quick touch‑up after the first 24 hours.
This technique works best on medium to long nails, where the foil has room to settle without crowding the tip.
10. The Micro-French Cherry Tip
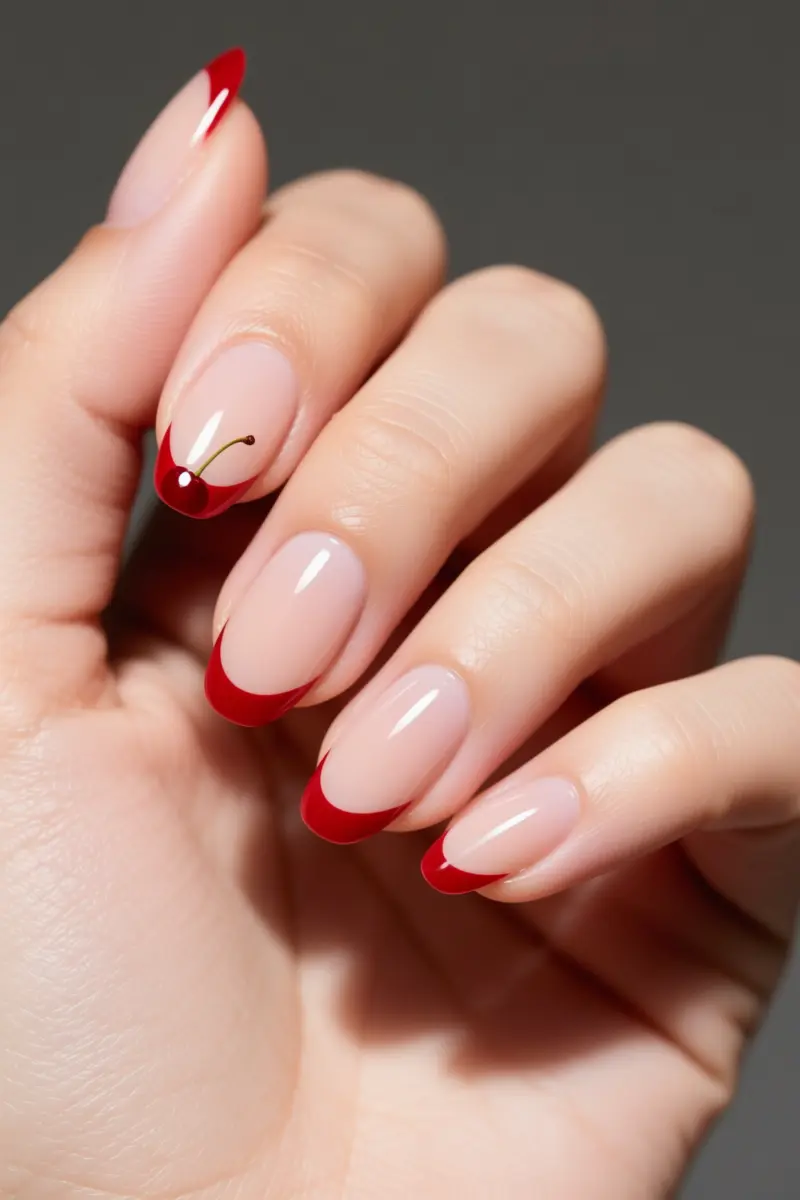
The micro‑French cherry tip adds a whisper of red to a sheer nude base for a polished, office‑friendly look.
Start with a sheer base coat, then draw an ultra‑thin line of cherry red just inside the free edge. A clean micro‑French tip requires a super smooth base and a crisp line.
A silicone nail stamper lets you press the red line in one swipe, which saves time but can leave a slightly uneven edge if the stamper isn’t perfectly aligned.
A detail brush offers precise control for a razor‑thin stripe, though it takes steadier hands and a few more coats to seal the line.
A wobbly French line can make the cherry detail look messy rather than cute, and a thick stripe shortens the nail visually.
The look shines on nails that have at least a half‑centimeter of length; very short tips may need the micro tip only on one finger to avoid a cramped appearance.
Pick Your Favorite Cherry Red Twist
Start with a builder‑gel base to give the color body, then apply a glossy top coat that locks in pigment and prevents tip chipping.
Keep nails moisturized and steer clear of oily hand creams that can break down the finish. A quick swipe of a cuticle oil after each removal will keep the surrounding skin from staining.
With these steps, cherry red stays vibrant from the first swipe to the final goodbye. Remember to store your top coat in a cool, dark place to preserve its shine longer.
Pin this guide for your next salon visit and share it with a friend who loves a bold, timeless manicure.
Frequently Asked Questions
What is the best cherry red nail polish?
The best classic cherry red polishes include OPI’s ‘Big Apple Red’ for a vibrant, true-red finish, and Chanel’s ‘Pirate’ for a sophisticated, slightly blue-toned cool cherry that flatters most fair to deep skin tones.
How do you keep cherry red nail polish from staining your natural nails?
To prevent yellowing or red staining, always apply two thin coats of a high-quality, stain-resistant base coat, and never skip sealing the side walls of the nail plate.
Does cherry red look better on long or short nails?
Cherry red looks excellent on both, but a short, active-length squoval shape offers a modern, chic look with lower maintenance and fewer chances of chipping compared to long extensions.
Why does my red nail polish look patchy or streaky?
Red polishes are highly pigmented; patchiness occurs when the coats are applied too thick or unevenly. Apply three ultra-thin coats rather than two thick ones to achieve an opaque, level finish.