

14 Milky White Nail Ideas: Practical Styles, Formulas, and Upkeep Realities
Milky white nails look effortless, but the reality is a careful balance of sheer pigment, cuticle precision, and stain protection.
The trend thrives on semi‑opaque, creamy shades that flatter everything from short square tips to long almond extensions, yet social‑media clips hide the prep work.
In this list you’ll find fourteen practical variations, from a short square clean coconut milk to a glossy chrome drip, each chosen for easy at‑home execution or a professional overlay, and all with realistic upkeep tips.
Expect guidance on self‑leveling bases, avoiding yellowing from spices or sun, and budget options that stay under fifteen dollars for DIY or $60‑$90 for a salon gel.
1. Short Square Clean Coconut Milk
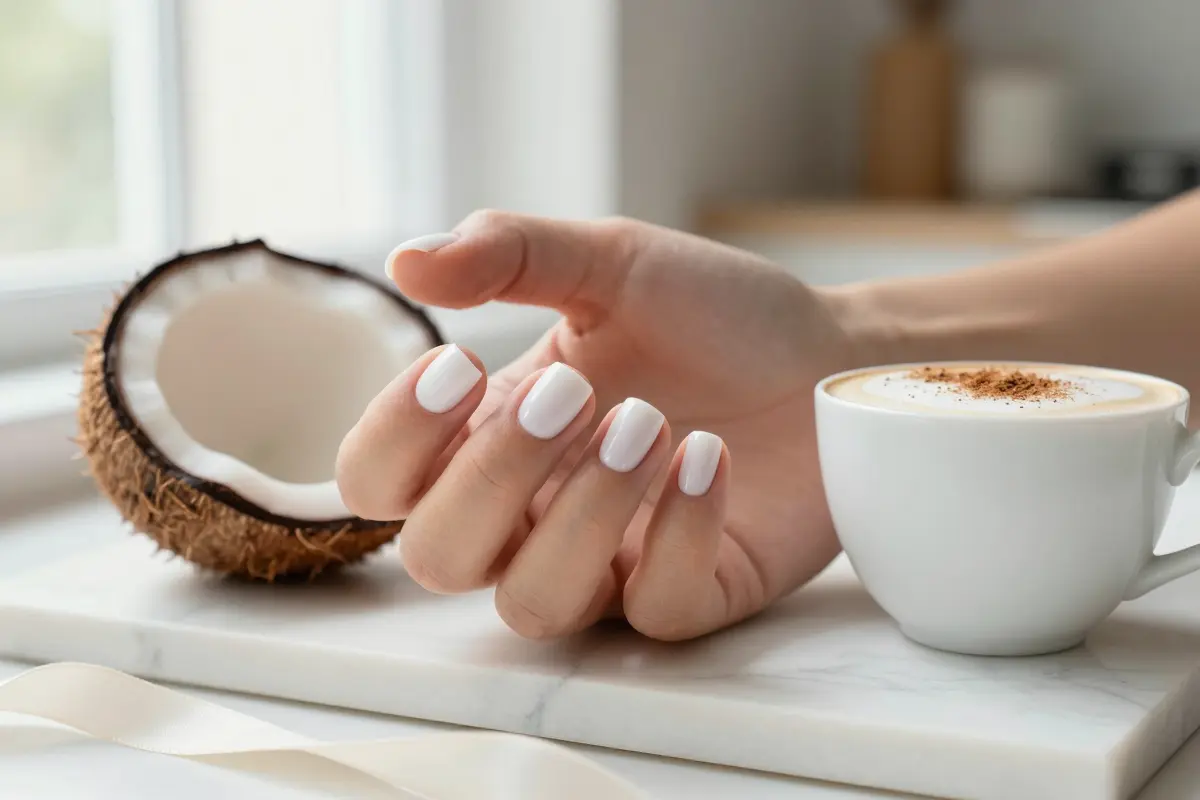
The Short Square Clean Coconut Milk look pairs a neat, short square shape with a semi‑opaque milky finish. It works best on short nail beds; the soft‑square tip keeps sidewalls tidy and gives a corporate‑ready vibe.
Apply a ridge‑filling base coat first, then brush a thin layer of coconut‑milk polish; overload the brush, and you’ll see cuticle pooling and uneven borders. Because the wash is sheer, longer nails can appear washed out, so stick to short or medium lengths for the most polished effect.
Cap the polish with a quick‑dry top coat to lock in the creamy sheen and prevent chipping on busy hands.
- clean aesthetic
- easy daily wear
- sheer finish can look dull on longer nails
2. Glazed Soft Milk on Medium Almond Nails
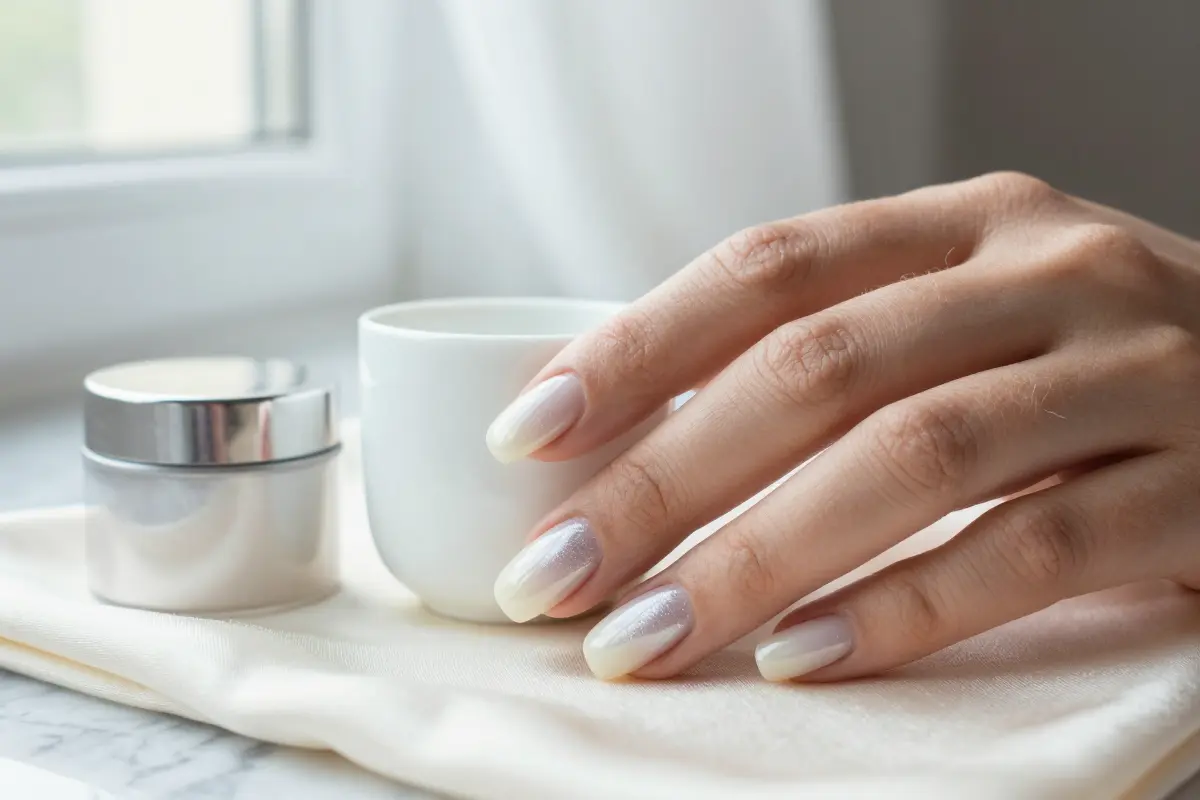
Glazed Soft Milk on almond nails layers sheer creamy white gel with a semi‑cured non‑wipe top coat, then presses translucent chrome powder into the surface.
Cure the top coat for exactly 30 seconds in a 48 W LED lamp before dusting; any less than 10 seconds leaves a dull, grainy finish, while over 60 seconds makes the powder slide off.
Seal the chrome edge to reduce the typical 7‑10‑day chip on active hands. This look shines best on warm to neutral skin tones, where the milky hue complements the undertone.
For longer wear, sandwich the chrome between two layers of no‑wipe top coat and cap the free edge.
- soft, pearly glow
- works on warm and neutral tones
- Edge chips quickly
- Requires curing
- Cure time: 30 sec LED
- Edge chip life: 7‑10 days
- Seal edge: essential
3. The Milky French Ombre (Baby Boomer Fade)
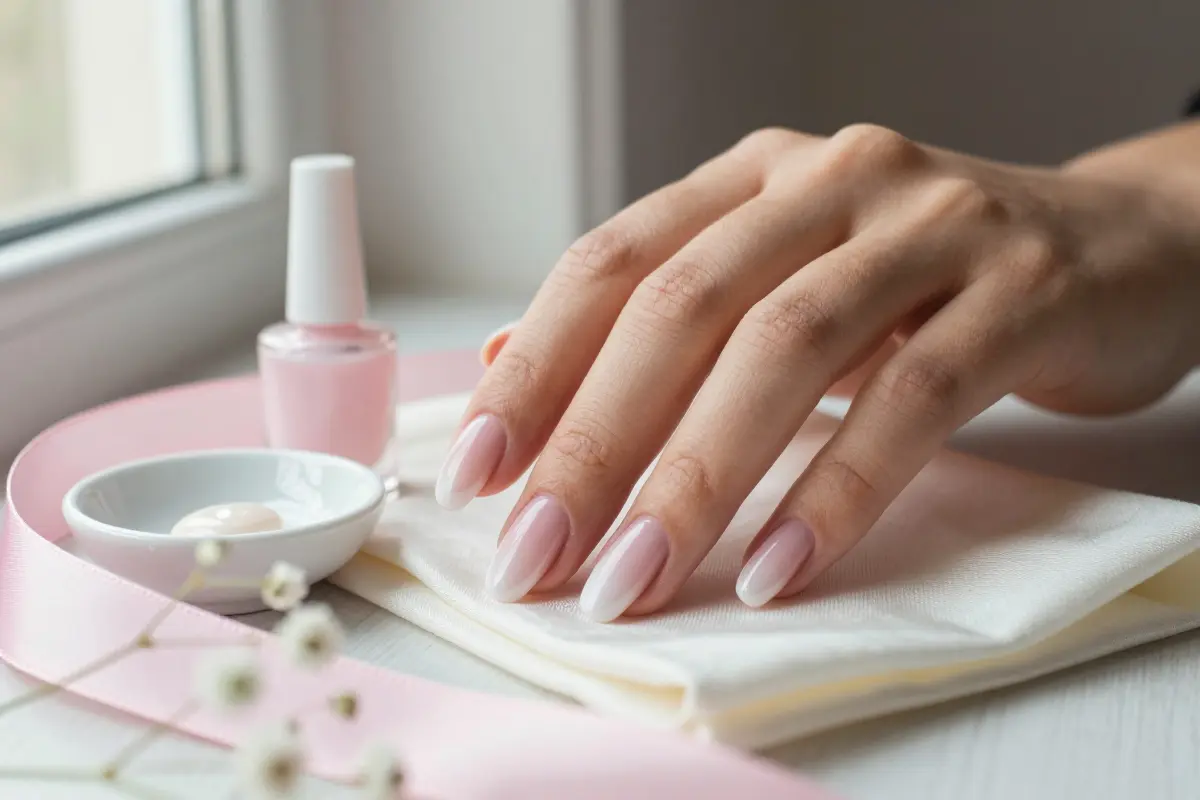
The Milky French Ombre blends a nude‑pink base into a soft milky tip, ditching the harsh French line. This gradient tip elongates the nail bed and suits any shape or occasion.
A sponge dab creates the fade, but air bubbles often appear; gel stippling with UV/LED curing yields a smoother blend and lasts 2-3 weeks versus 5-7 days for regular polish. Outgrowth is subtle after three weeks, making it cost‑effective despite the higher salon price.
It shows best on medium to long nails; short nails may look flat. Add a clear top coat to lock in shine and prevent chipping.
- elongates nail bed
- works any color palette
- higher initial cost
- requires lamp for gel
- Regular polish ombre: about $10‑$20 DIY
- Gel ombre at a salon: about $50‑$80
4. Delicate Milk Bath with Suspended Dried Florals
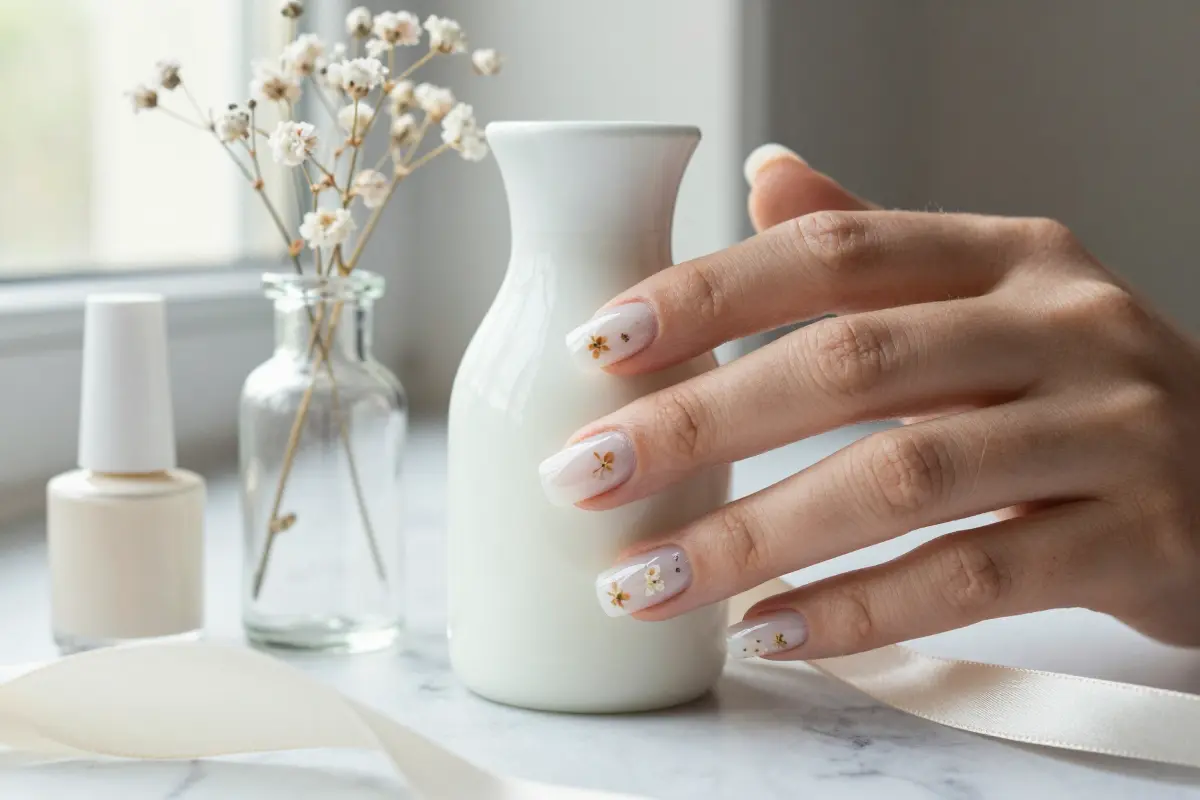
The Delicate Milk Bath with Suspended Dried Florals encapsulates tiny blossoms in a milky white gel for a dreamy, glass‑like finish. First, a high‑quality base coat is applied to bond the gel and protect the nail.
Two thin coats of sheer milky white gel polish create the milk‑bath canvas. Using tweezers, 3D dried flowers are pressed flat into an uncured layer of builder gel.
Encapsulate with a clear builder gel, cure, then seal with high‑gloss top coat. Finish with cuticle oil to restore moisture after UV exposure.
Removal typically takes 15‑20 minutes per hand at the salon.
- Apply base coat
- Paint milky white layers
- Press dried flowers
- Encapsulate with clear gel
- Top coat and oil
Works best on hard gel or acrylic extensions; natural nails may lift
5. Milky White with Micro Silver Foil Flakes
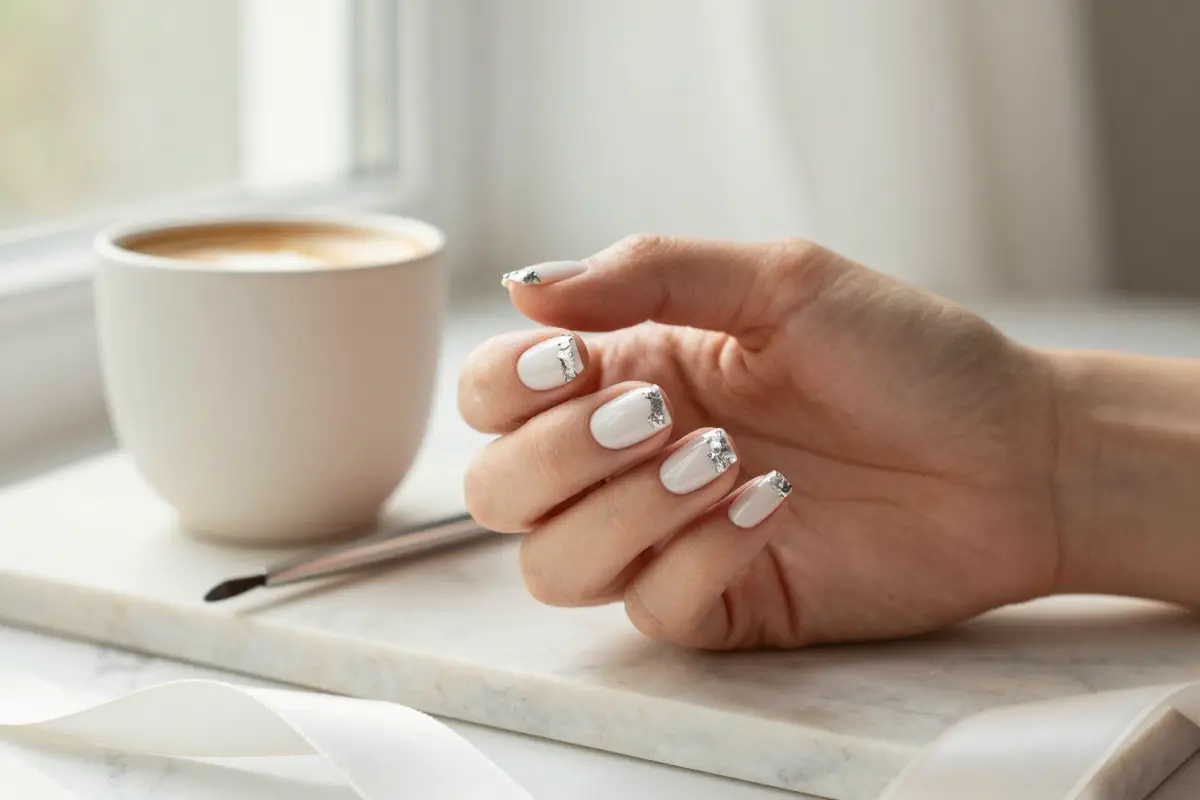
Pair a milky white gel base with a few jagged micro silver leaf flakes just below the free edge or near the cuticle. Apply the foil onto the still tacky, uncured sheer gel so it adheres flat and avoids bumps.
Cool or neutral undertones gain crisp contrast, while yellow‑toned whites can look sallow without the metallic boost. Keep flakes sparse; clustering creates a heavy look that defeats the airy vibe.
This works best on short, natural nails that hold foil evenly. Expect the foil to last about a week before the topcoat lifts, so a quick refresh extends wear.
Use a fine‑point brush to pick up tiny foil pieces for precise placement.
- subtle sparkle
- enhances cool tones
- patchy transfer risk
- over‑clustering dulls effect
6. Natural Oval Milky Overlay with BIAB
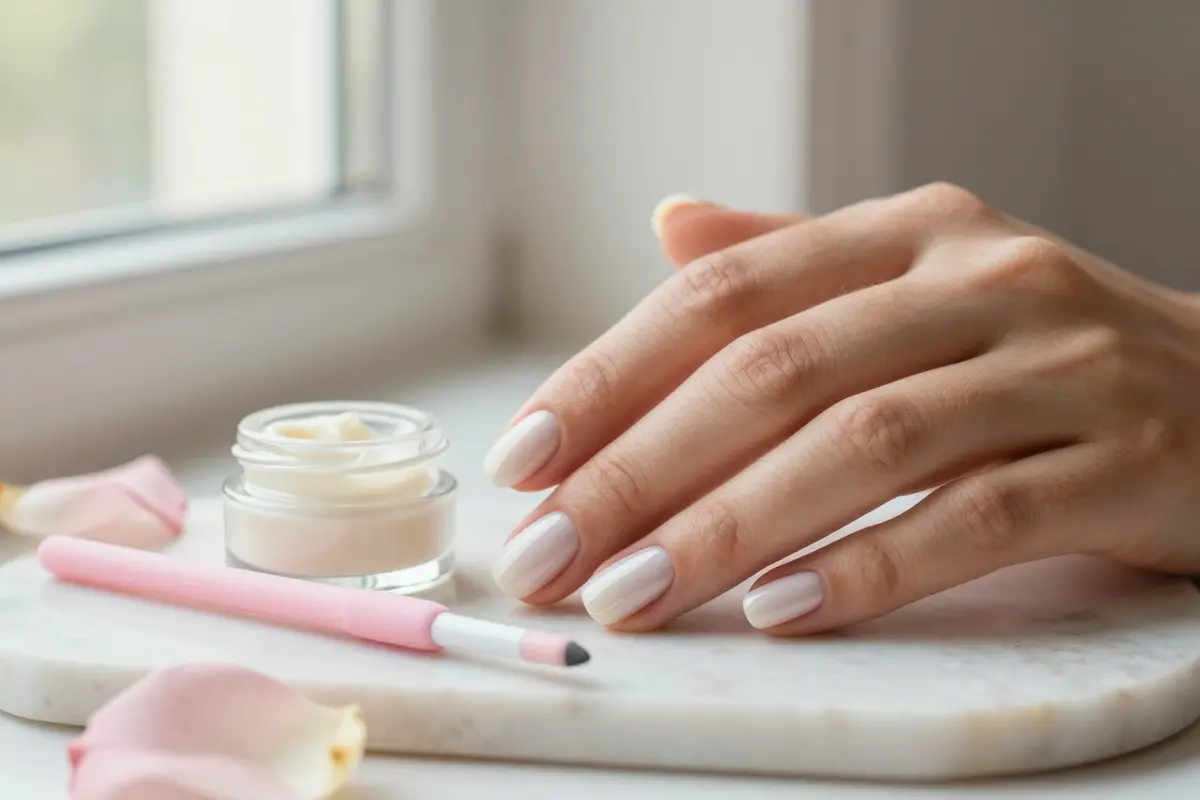
A natural oval milky overlay with BIAB reinforces medium‑length nails while delivering a soft white sheen. The builder’s high viscosity lets you sculpt an apex just above the hyponychium, which absorbs stress and stops fractures.
Apply a sheer white or milky‑pink BIAB over a polished base, cure with LED, and schedule a three‑week infill to keep the overlay seamless. Thin, flex‑prone nail plates that lift without a primer should skip this technique, as the heavy gel can pull away.
Meticulous e‑file prep and controlled brush pressure are essential because milky tones expose streaks, bubbles, or uneven thickness.
- Strong, flexible overlay
- Subtle, natural look
- Visible imperfections on poor prep
- May be too thick for very weak plates
Over‑building can cause nail plate stress and premature lifting
7. Milky White with Ultra-Fine Gold Cuticle Cuffs
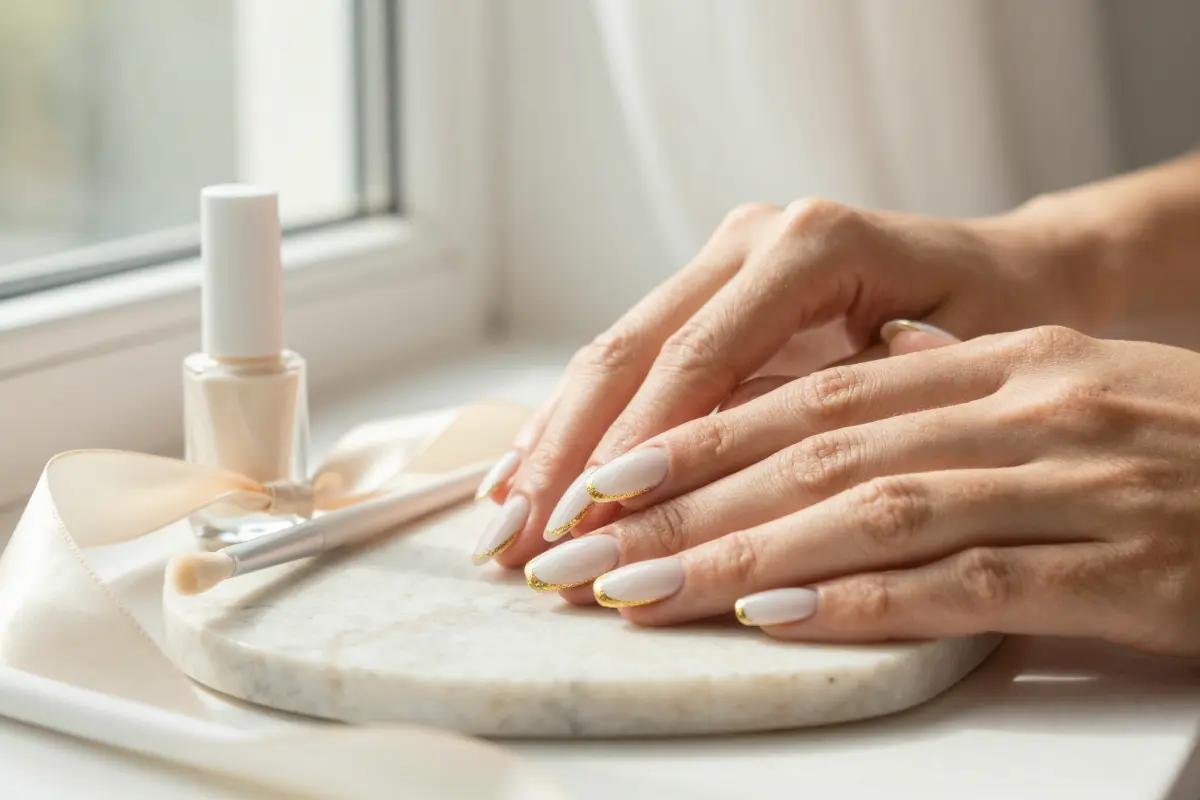
Two coats of a milky glaze create a soft, cloud‑like base, then a 00‑gauge striper brush or metallic transfer tape lays an ultra‑fine gold cuff along the cuticle fold. The razor‑thin line frames the nail without overwhelming it, fitting the quiet‑luxury look.
Milky white outshines bright white this year, flattering all skin tones and keeping the look soft.
- minimalist elegance
- easy to pair with any outfit
- magnifies cuticle imperfections
- requires steady hand or tape
moisturize and smooth the eponychium before coating to keep the gold line crisp
For extra precision, use a nail guide strip to keep the cuff line even.
Finish with a quick top coat to lock in shine and prevent the gold cuff from chipping during daily tasks.
8. Soft Matte Cloud White Squoval
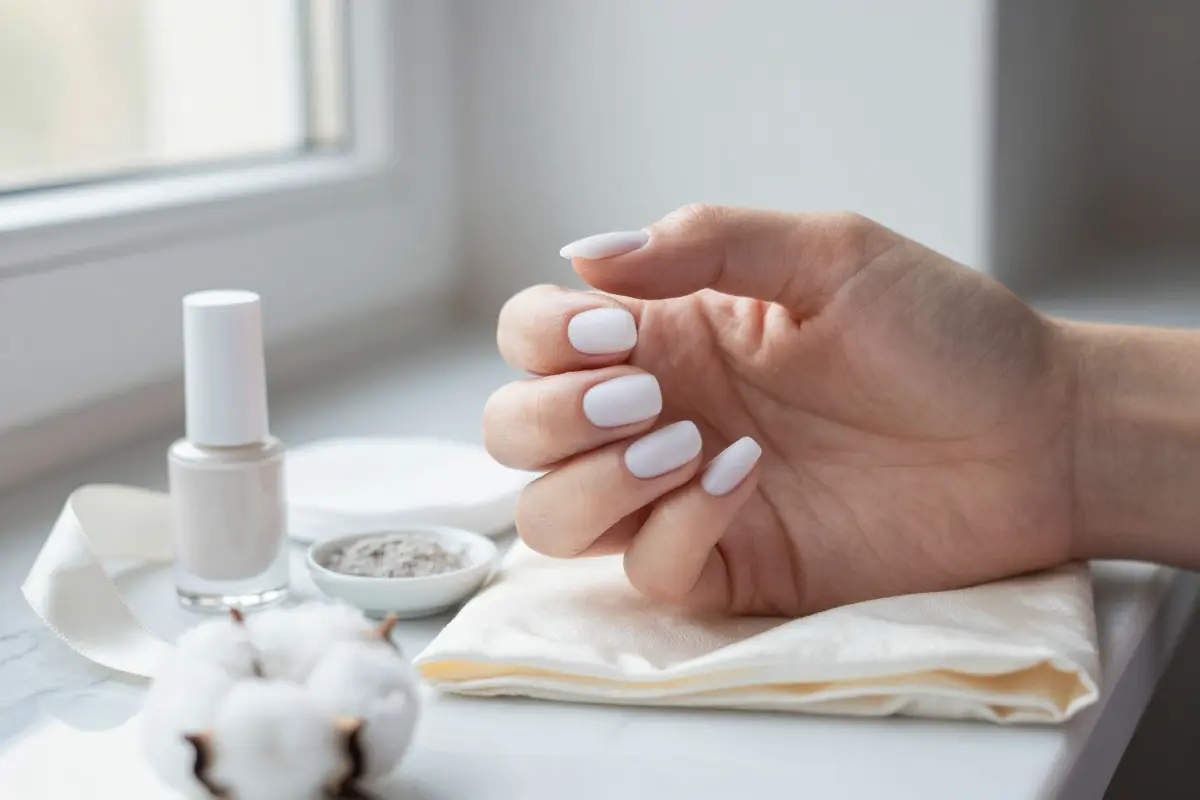
Soft matte cloud white squoval nails create a velvety, sea‑glass look on everyday squoval lengths. Build the set with a base coat, two thin coats of milky white, then a matte top coat. Buff the surface lightly and clear away any glue or dust before the matte layer, since matte finishes show every flaw.
If you use press‑ons or tips, press them on cleanly and file the squoval shape before painting, so the matte coat sits smooth.
Matte top coats are porous and will absorb denim dye, foundation or food color within 48 hours if not cleaned.
- velvety, soft look
- squoval shape is sturdy and neat
- shows oils and stains quickly
- needs nightly wipe‑downs
Keep alcohol prep pads handy for nightly wipes to preserve the matte finish.
The finish holds best on short to medium squoval nails; very long shapes reveal stains faster.
9. Milky White Base with Pearl Dot Accents
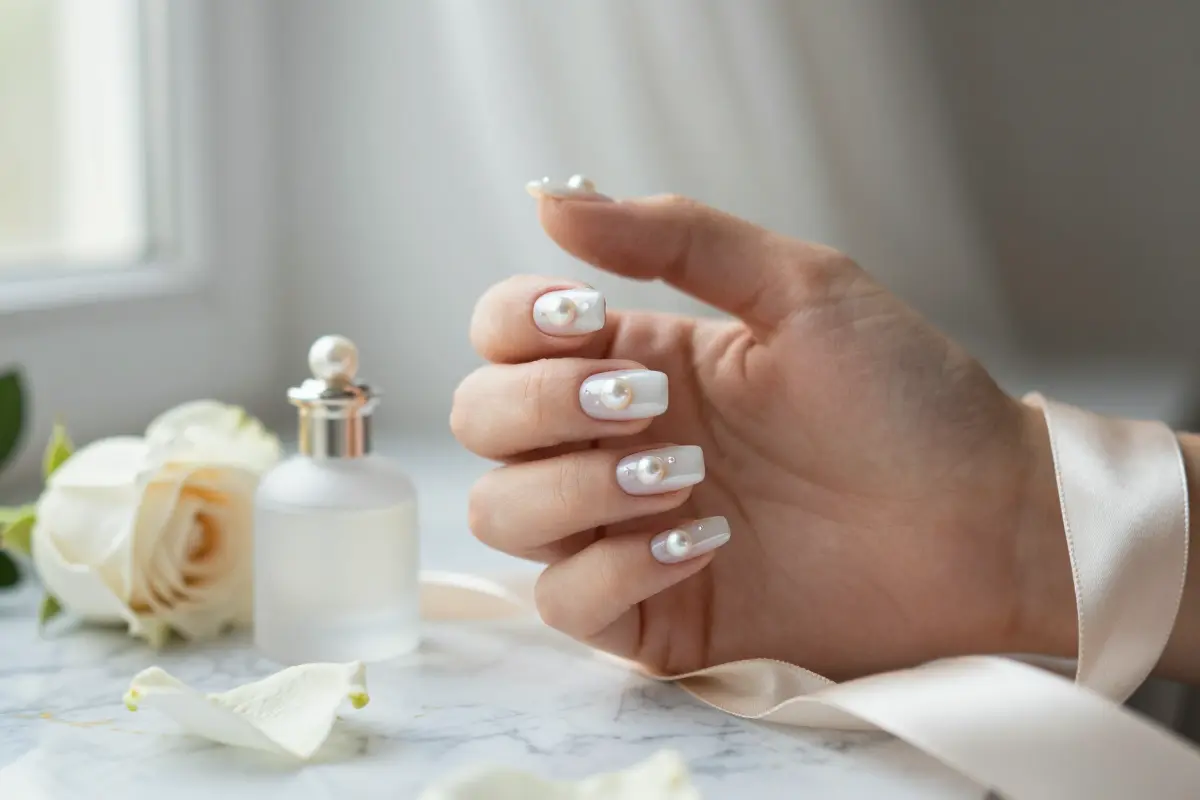
A milky white base topped with flat‑back half‑pearl studs creates a subtle 3D sparkle. Brush‑on resin glue secures the pearls better than a standard gel top coat, keeping them locked through the event.
Because the pearls protrude, they catch on knitwear, hair, or tools, so this style shines at weddings or parties rather than daily manual tasks. Schedule a fill or rebalance every two to three weeks to prevent lifting as natural nails grow.
The look pairs well with a longer coffin or almond shape that gives the pearls room to show.
- elegant event look
- easy resin application
- prone to snag on fabrics
- not suited for heavy‑hand work
- Maintenance: a fill or rebalance every 2‑3 weeks
- Works on: acrylic, gel, and poly gel sets
- Delay risk: lifting or breakage
10. Sheer Oat Milk on Deep Skin Tones
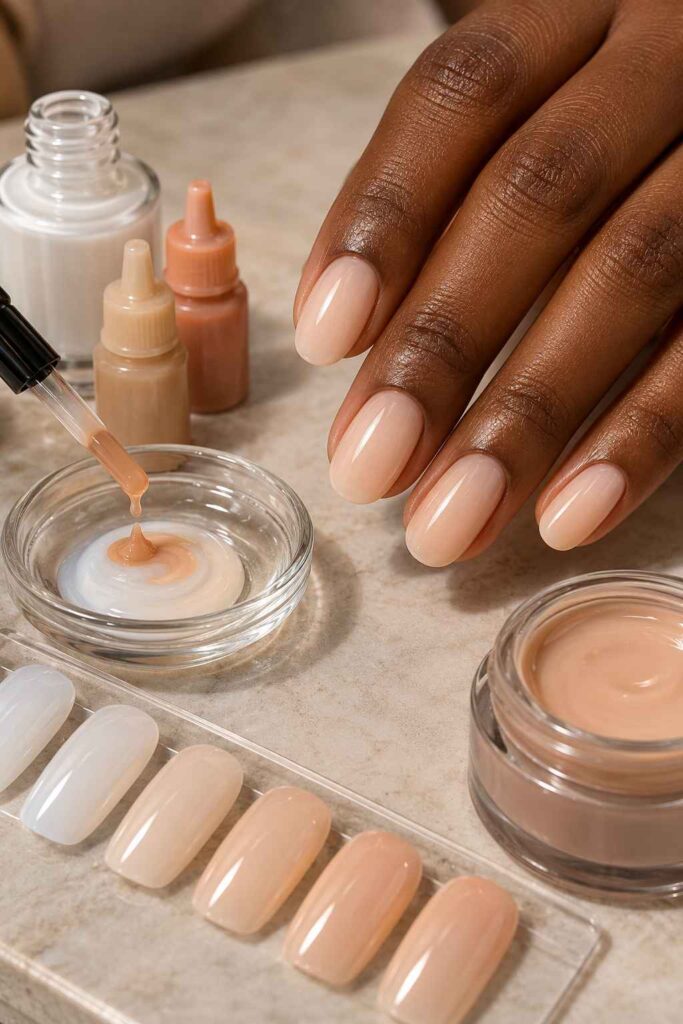
Sheer oat‑milk shades look natural on deep skin tones when a hint of beige or peach is mixed in. Pure cool milky whites sit like ash because they lack the warm undertone that balances rich melanin.
Add a small amount of beige or peach gel pigment to a sheer white to get a creamy oat shade that blends with the skin’s natural warmth. DIY lovers can mix a few drops of tint into a clear top coat, but the effect is faint and wears off within days.
A professional custom‑tinted builder gel holds the oat hue for up to two weeks and stays glossy.
Test the tint on one nail first, adding pigment a drop at a time until the shade looks creamy against your skin
- warm, natural look on deep skin tones
- soft, creamy finish
- needs custom tinting
- takes a few test mixes to get right
11. Milky French Tips on Sheer Pink Foundation
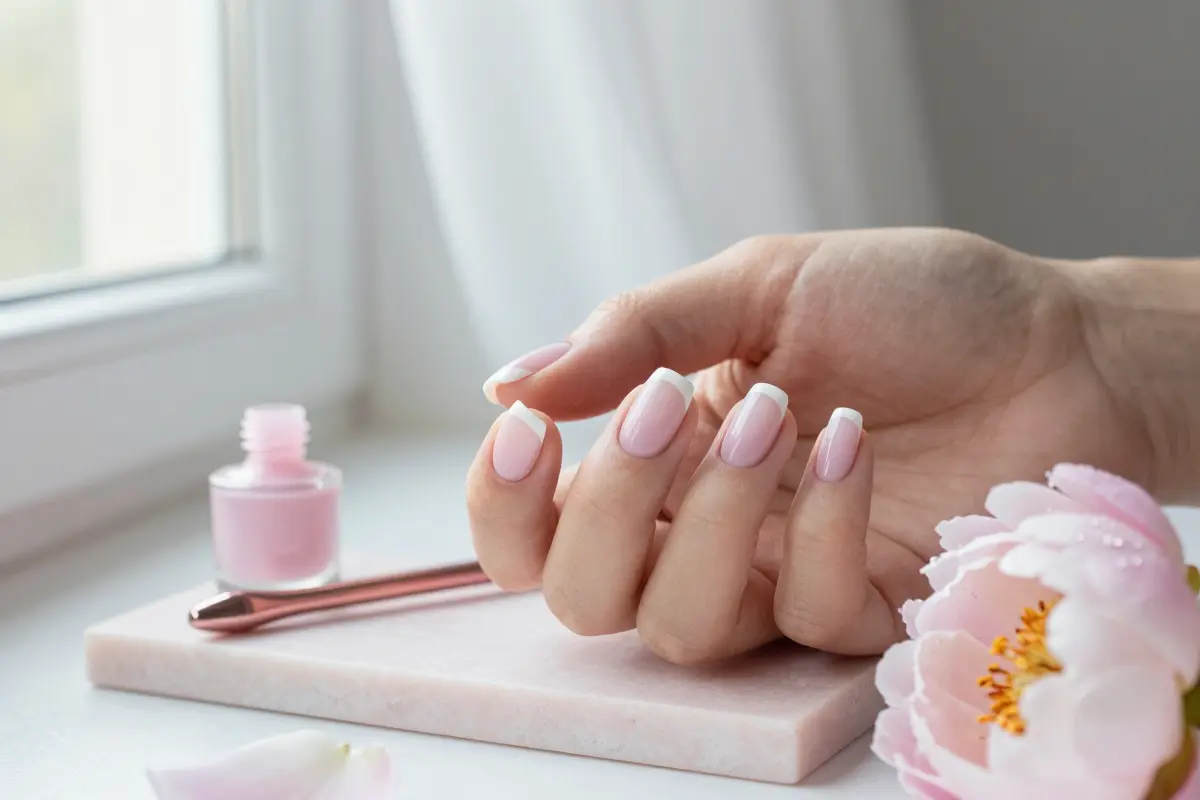
Milky French tips on a sheer pink foundation replace the classic stark‑white smile line with a blurry, milky‑white edge over a blush pink base. The muted tip disguises the regrowth gap, so the line looks seamless between salon visits spaced four weeks apart.
DIYers can achieve the look quickly using a silicone stamper and a sheer pink polish as the base layer.
- softens regrowth gap
- easy DIY with silicone stamper
- needs a soft, blurry edge to look right
A common mistake is applying a hard, opaque white line, which loses the blurry milky effect.
Raise the smile line a millimeter for a more elegant, length‑enhancing effect
Refresh the milky tip with a quick top‑coat at home to keep the gloss without disturbing the pink base, to extend wear between fills.
12. Translucent Milk Swirls over Bare Negative Space
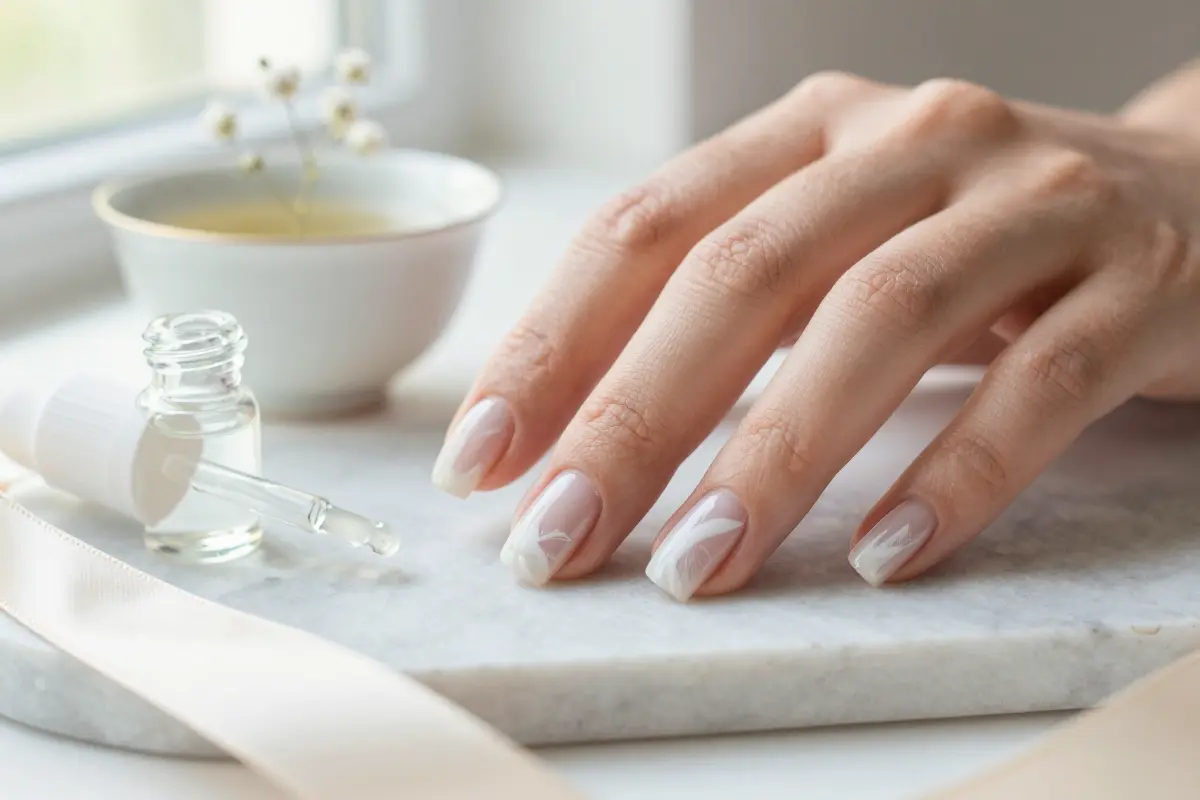
Translucent milk swirls over bare negative space give a soft, airy illusion that makes short, wide nails appear longer without adding extra tip length. Use a high‑viscosity white gel polish mixed 1:1 with clear top coat; the thickened formula keeps swirl borders crisp while staying translucent.
With a fine brush, draw curved bands across a freshly buffed plate, then gently pull the brush to create a feathered edge before the gel sets. The effect relies on linework contrast, so practice on a nail tip first.
It looks best on short, wide nails; long, tapered shapes may lose the elongating illusion.
- elongates short nails
- adds subtle texture
- requires steady hand
- can bleed if polish too thin
Mix gel and top coat to boost viscosity and prevent bleed
13. Milky White Chrome Glaze on Coffin Extensions
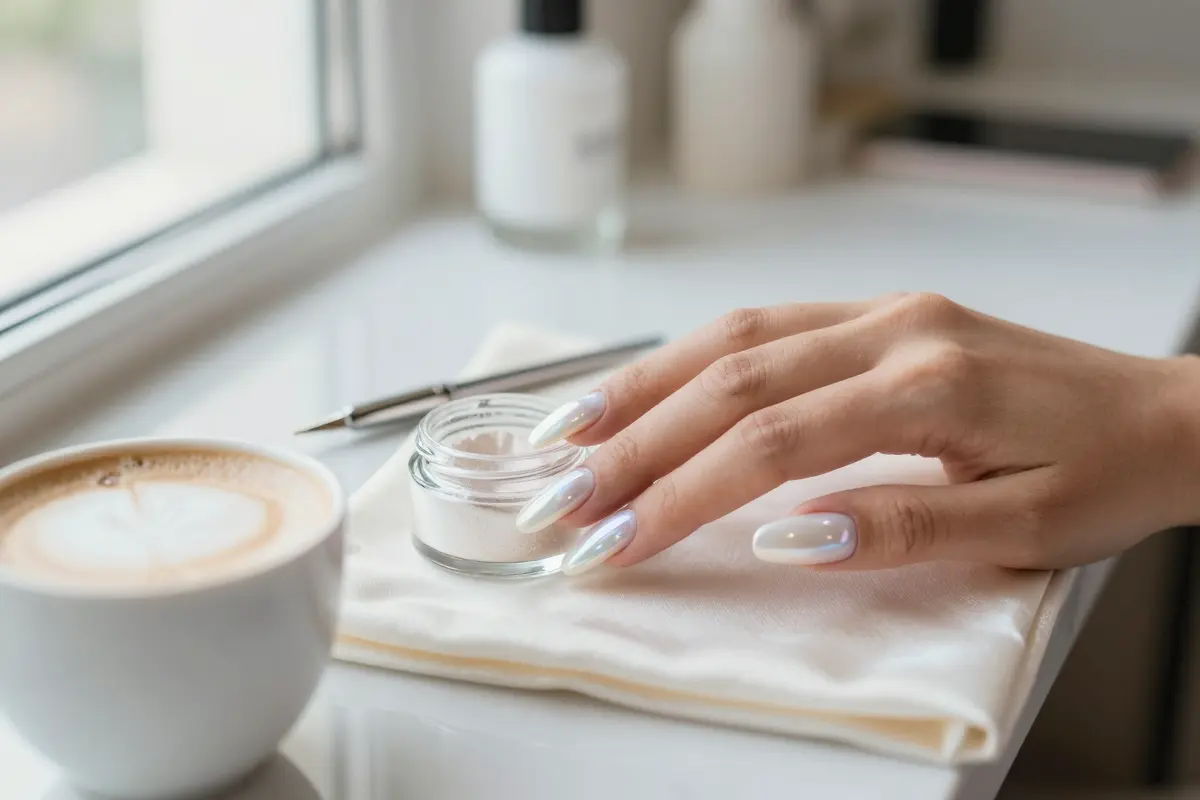
Milky white chrome glaze on coffin extensions delivers a high‑gloss, milky finish that lasts. Long coffin shapes are built with polygel or acrylic, then reinforced at the apex to handle the extra leverage without cracking the natural nail.
A pearlescent powder is brushed on top, creating an iridescent chrome glaze that catches light from every angle. Salon appointments run about ninety minutes or more, and a full coffin set with a chrome add‑on is typically priced higher than a basic gel set.
Because the extension relies on a thick apex, those with very thin or weak natural nails may need extra reinforcement or a shorter shape to avoid lift. A top coat sealant extends wear by another week.
- High shine durability
- Iridescent effect
- Requires skilled tech
- May stress fragile nails
- Service time: about 90 minutes or more
- Typical salon price: about $80‑$120, depending on length and region
14. Sheer Creamy White with Isolated Chrome Dripping
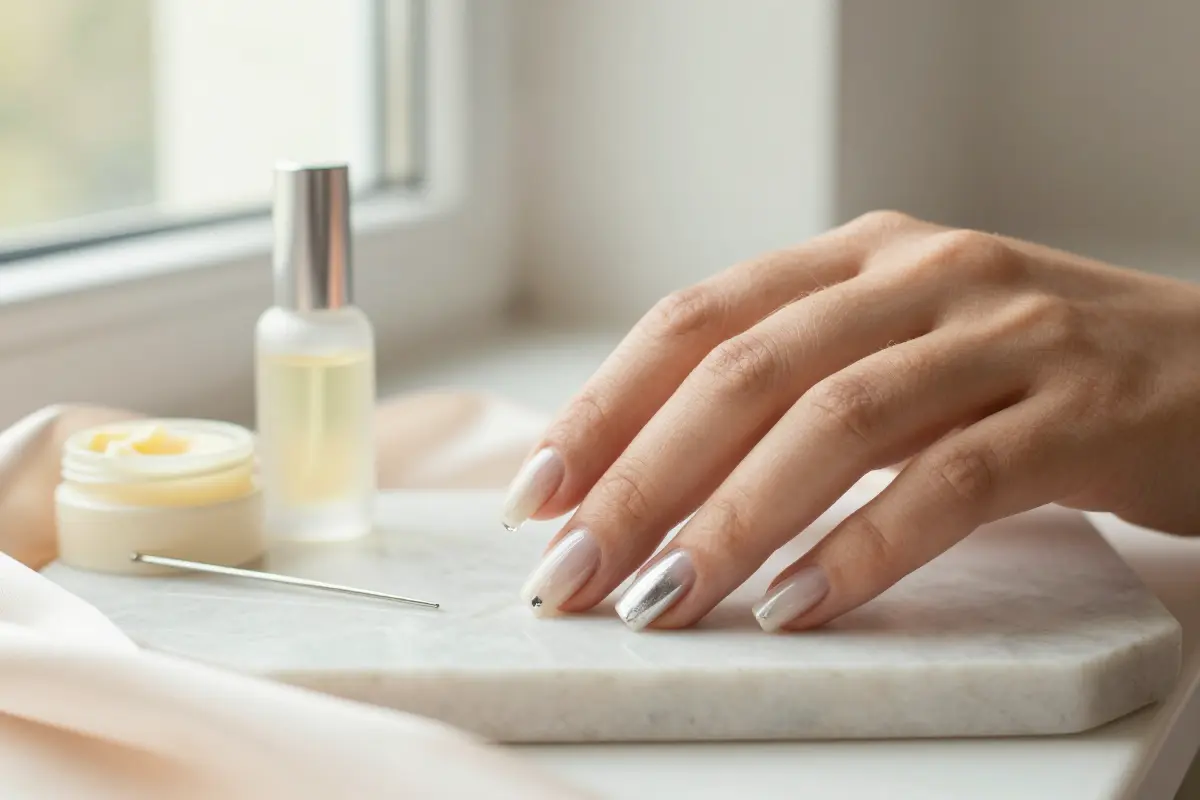
The look pairs a sheer milky white base with thin, raised clear builder‑gel drips that are brushed in liquid silver chrome for a high‑shine, 3‑D effect. It shines best on special events where the extra sparkle feels like a statement.
Before hard gel sculpting, lightly etch or cleanse the base; otherwise, the chrome drips can lift off the milky coat. Removal isn’t a quick acetone soak‑off; you’ll need gentle hand‑filing to avoid damaging the underlying gel.
A practical tip: keep your nails hydrated with cuticle oil and a shea‑butter hand cream, especially in dry winter months.
- eye‑catching statement look
- adds protective layer in winter
- requires extra prep to prevent peeling
- hand‑filing removal is time‑consuming
chrome drips may chip quickly if exposed to harsh chemicals
How to Prevent Discoloration and Keep Milky White Nails Clean
Keeping milky nails bright requires a simple daily routine that shields the translucent surface from common staining agents.
A few disciplined steps stop yellowing and keep the milky sheen fresh day after day.
- Wear rubber gloves when cleaning dishes or handling spices to prevent direct pigment transfer.
- Choose a non‑yellowing UV‑inhibitor top coat and reapply it every few days for added protection.
- After exposure to potential stains, wipe the nails gently with an alcohol pad to remove residue.
- Apply a thin layer of barrier cream around the cuticles before tanning or using hair dye.
- Store your nail polish in a cool, dark place to prevent pigment breakdown.
- Keep your hands moisturized but avoid heavy lotions on the nail plate, which can attract dirt.
If the polish starts to turn yellow or the surface feels uneven, it’s time for a fresh top coat or a professional touch‑up.
Frequently Asked Questions
What is the milky nail trend?
The milky nail trend uses a semi-sheer, translucent white or pale cream polish that lets the natural nail bed softly peek through, creating a blurred, cloudy finish instead of an opaque white coat.
What is the popular milky white nail polish?
Popular choices include sheer soft whites such as OPI Funny Bunny, Essie Marshmallow, and specialized semi-translucent builder gels like The GelBottle Milky BIAB.
Why do milky white nails turn yellow?
Milky white nails discolor from UV light exposure, self-tanning lotions, cooking spices like turmeric, and chemical residue absorbed into porous matte or low-grade gel top coats.
How do you achieve a milky white look using regular polish at home?
Mix two drops of standard opaque white polish into a bottle of clear top coat, or layer one coat of soft sheer pink underneath two thin coats of sheer white polish.