
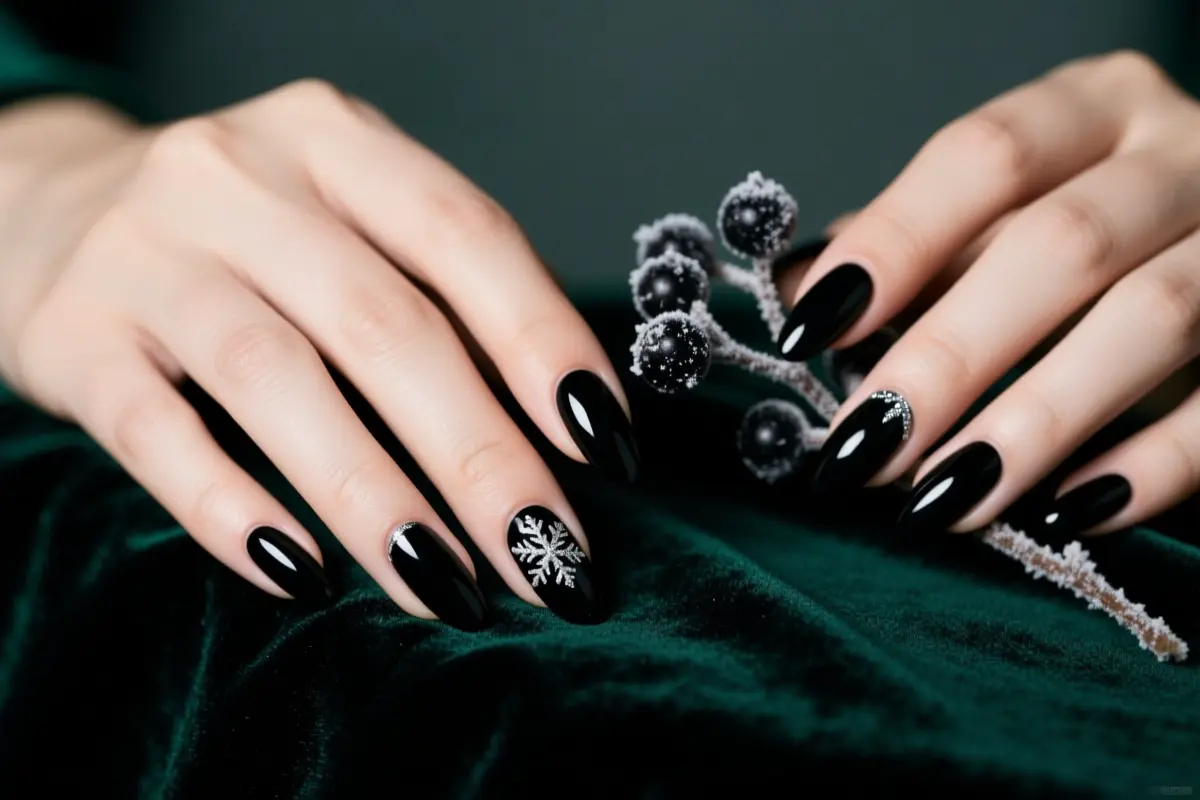
12 Chic Black Christmas Nail Designs: Moody & Party-Ready Ideas
Are you ready to make a statement this holiday season with your nails? Black Christmas nails are the perfect way to add some chic and moody flair to your look. From party-ready glitters to sophisticated matte finishes, we’ve got 12 chic black Christmas nail designs that are sure to inspire your next salon visit.
1. Classic Black & Gold Glitter Glam
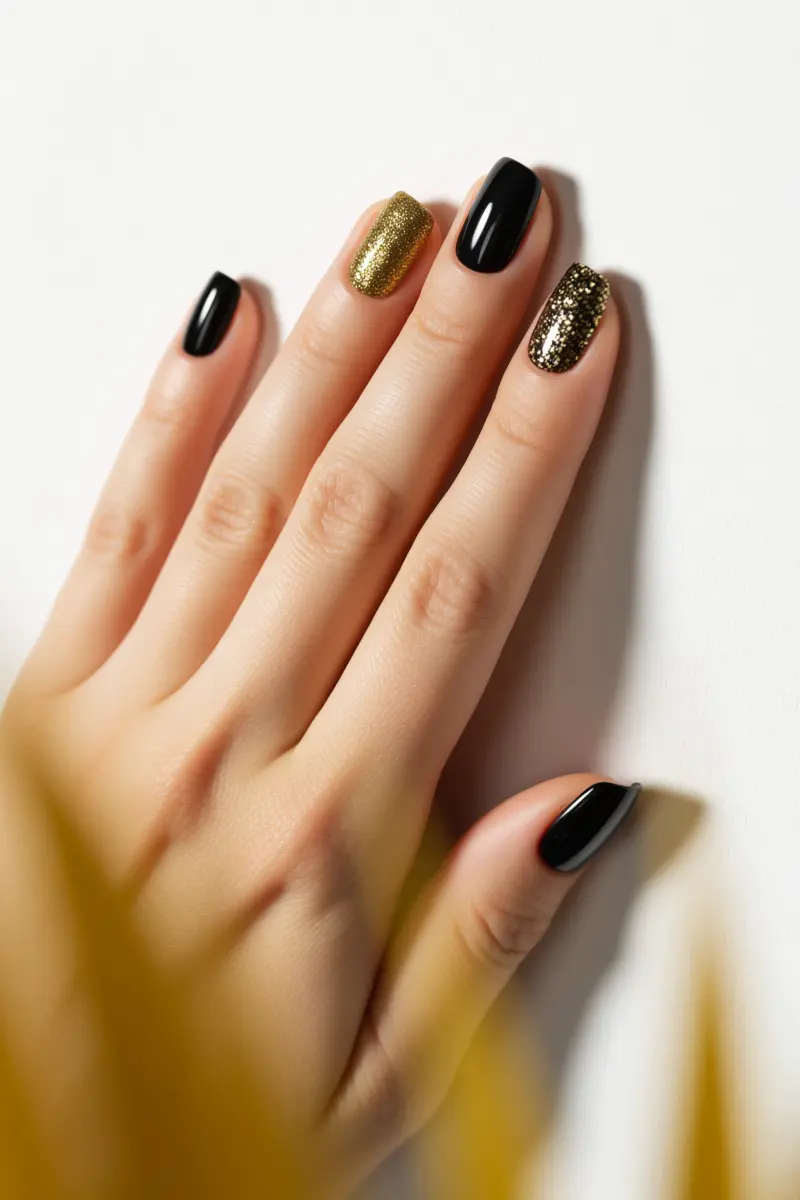
For a classic black and gold glitter look, start with a deep, opaque black base. Apply two coats of a high-quality black polish for an even finish. To add gold glitter accents, use loose glitter for intense sparkle or glitter polish for ease.
Gold glitter catches light differently on a matte vs. glossy black base. On a matte base, the glitter appears more subtle and understated, while on a glossy base, it shines brightly.
For concentrated glitter application, try using a sponge. Dip the sponge in glitter polish and dab it onto the nail for a full glitter nail or gradient effect. This technique works well for short nails. For long nails, use a nail brush to paint on glitter polish for a more precise look.
On short nails, a subtle glitter tip is a great option. On long nails, a full glitter nail or gradient effect can make a statement. Either way, this classic design is perfect for a chic and party-ready Christmas look.
2. Matte Black with Glossy French Tips
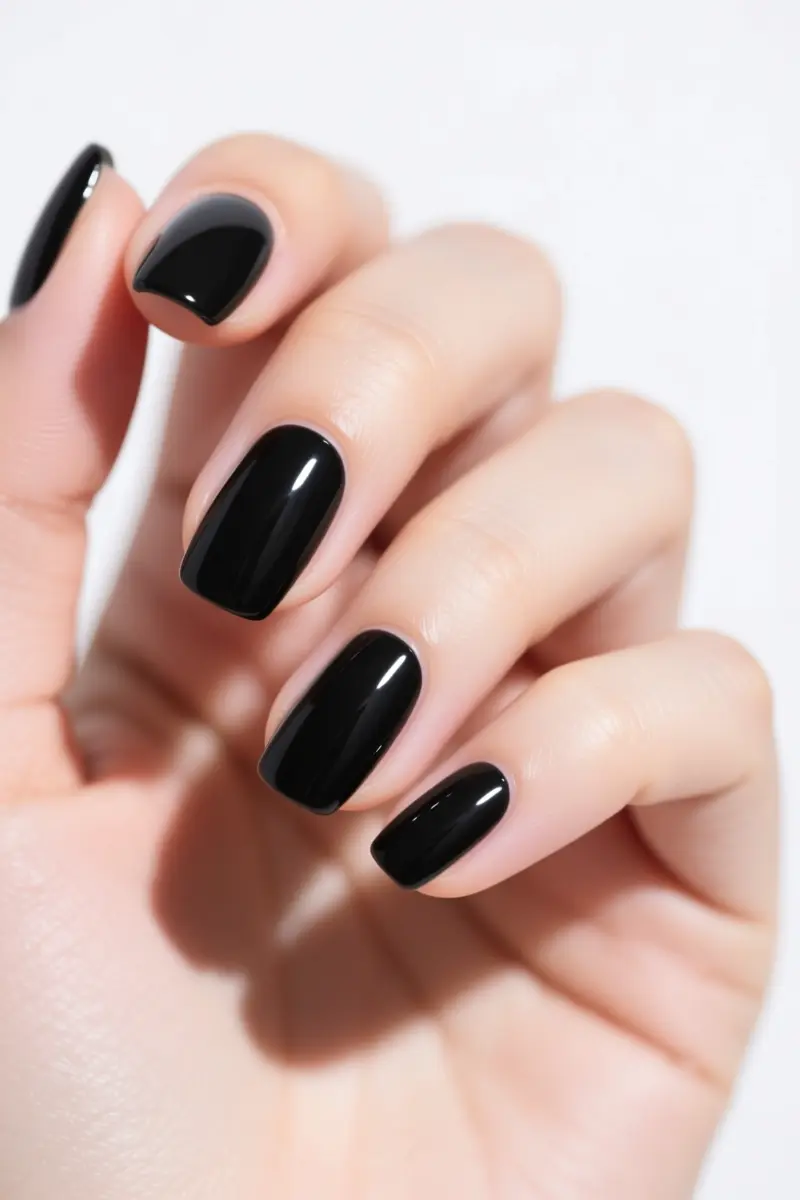
For a chic and party-ready look, try pairing matte black nails with glossy French tips. To achieve this, select a matte top coat with a high solids content, typically above 30%, which provides a flat finish. This differs from regular top coats, which often contain solvents that create a glossy sheen.
When applying the matte coat, make sure it’s fully dry before adding glossy details. Many people rush this step, resulting in a smudged finish. Use a striping brush to paint crisp, glossy lines over the matte base. This thin brush allows for precise control, creating sharp, defined edges.
To add intricate designs, use a detail brush with a small tip, perfect for painting fine lines and patterns. For a glossy finish, choose a top coat with a high shine formula, often containing ingredients like silicones or polymers. By combining matte and glossy elements, you can create a sophisticated and moody look perfect for the holiday season.
3. Elegant Black Cherry Ombre
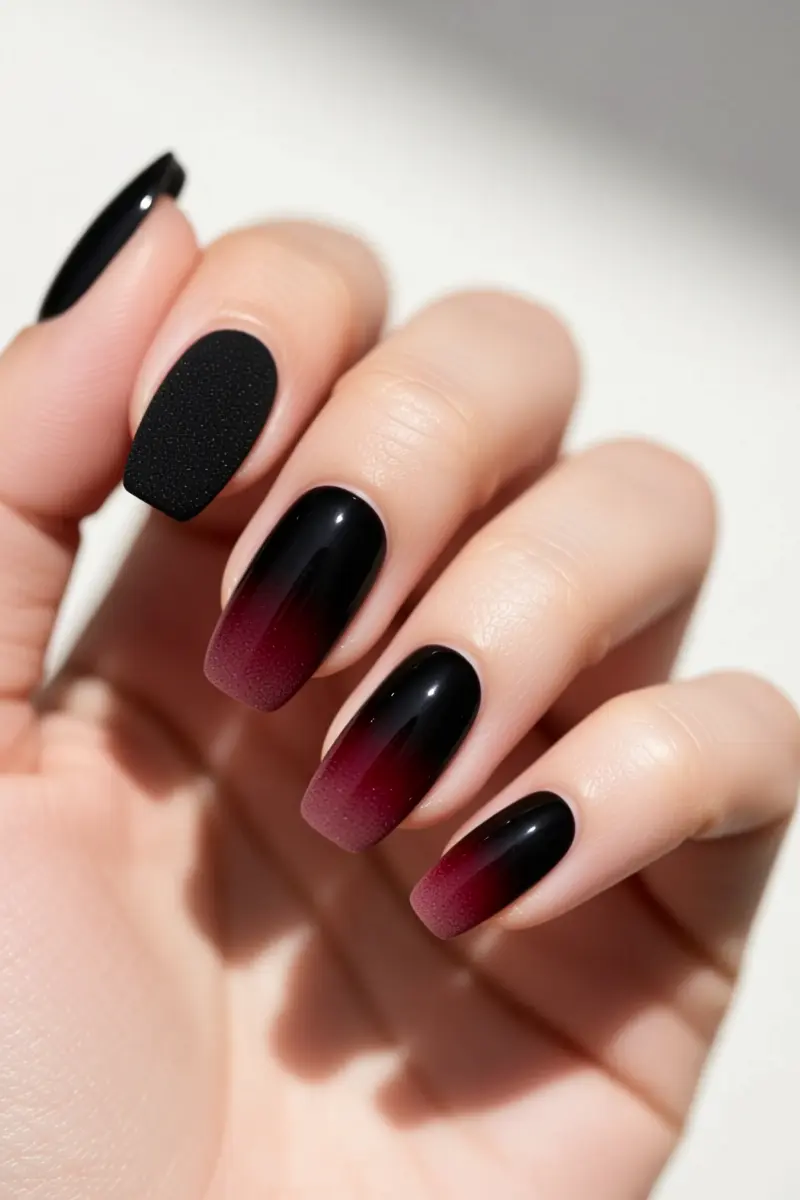
For a moody ombre effect, blend deep black with a rich, dark cherry shade. Use the sponge technique to achieve a smooth gradient transition between the two colors. This involves dabbing a makeup sponge into the polish and gently tapping it onto the nail.
To choose complementary dark red tones, consider burgundy or plum shades that have a blue or purple undertone. These will create a dramatic contrast with the black. Different polish consistencies can affect the smoothness of the ombre blend – I’ve found that thinner polishes work better for a subtle transition.
Apply a peel-off latex barrier around the cuticles for easy cleanup. To achieve optimal color depth, layer the polish thinly, allowing each layer to dry before adding the next. This will prevent the colors from becoming muddy. With the right technique and polish choice, you can create a chic and party-ready black cherry ombre effect.
4. Starry Night Black (Constellation Theme)
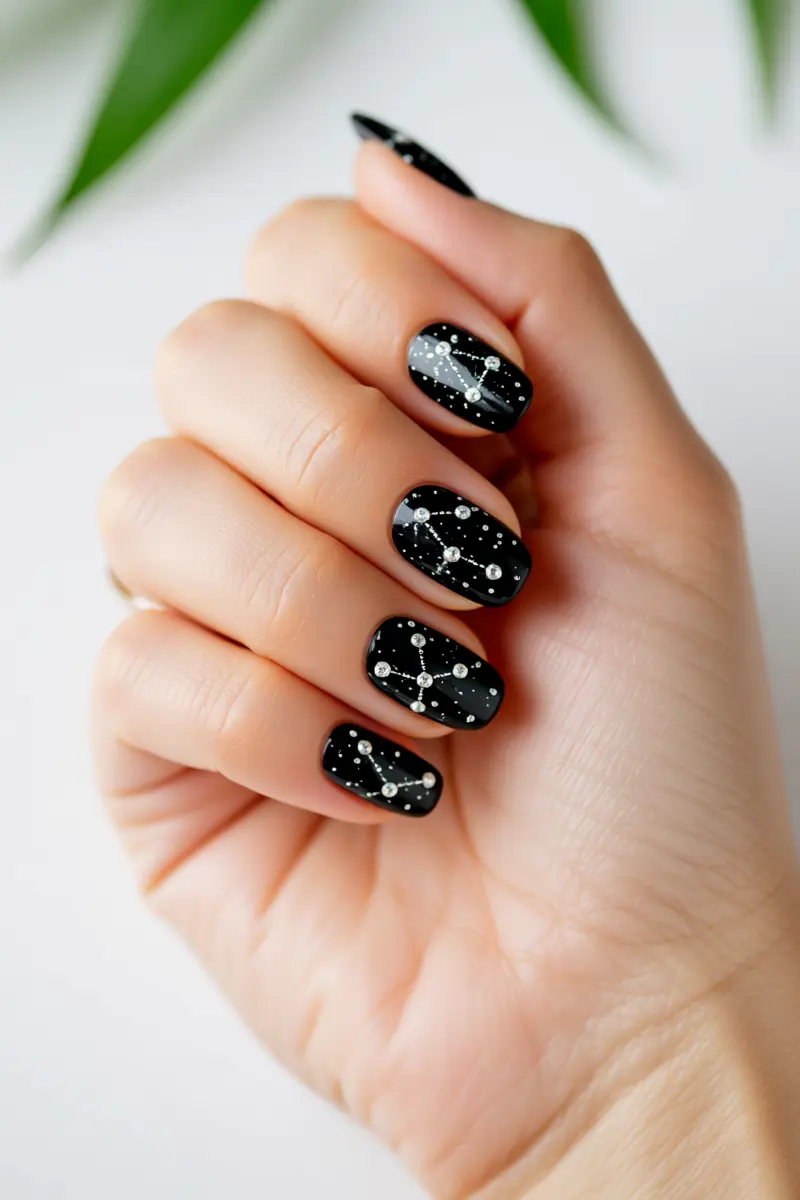
For a Starry Night black nail design, use fine glitter, small rhinestones, or a dotting tool to create constellations. Precision is key for a delicate look. Apply tiny stars and dots in varying sizes to mimic the night sky. Avoid using stars that are too large, as they can overwhelm the nail.
To secure small nail art embellishments, use a strong adhesive like nail glue or a special top coat. This ensures longevity and prevents rhinestones from falling off. Varying star sizes creates a natural, whimsical look. Use smaller dots for a more subtle design.
With careful placement, you can achieve a beautiful, moody starry night effect on your black Christmas nails.
5. Luxurious Velvet Black Nails
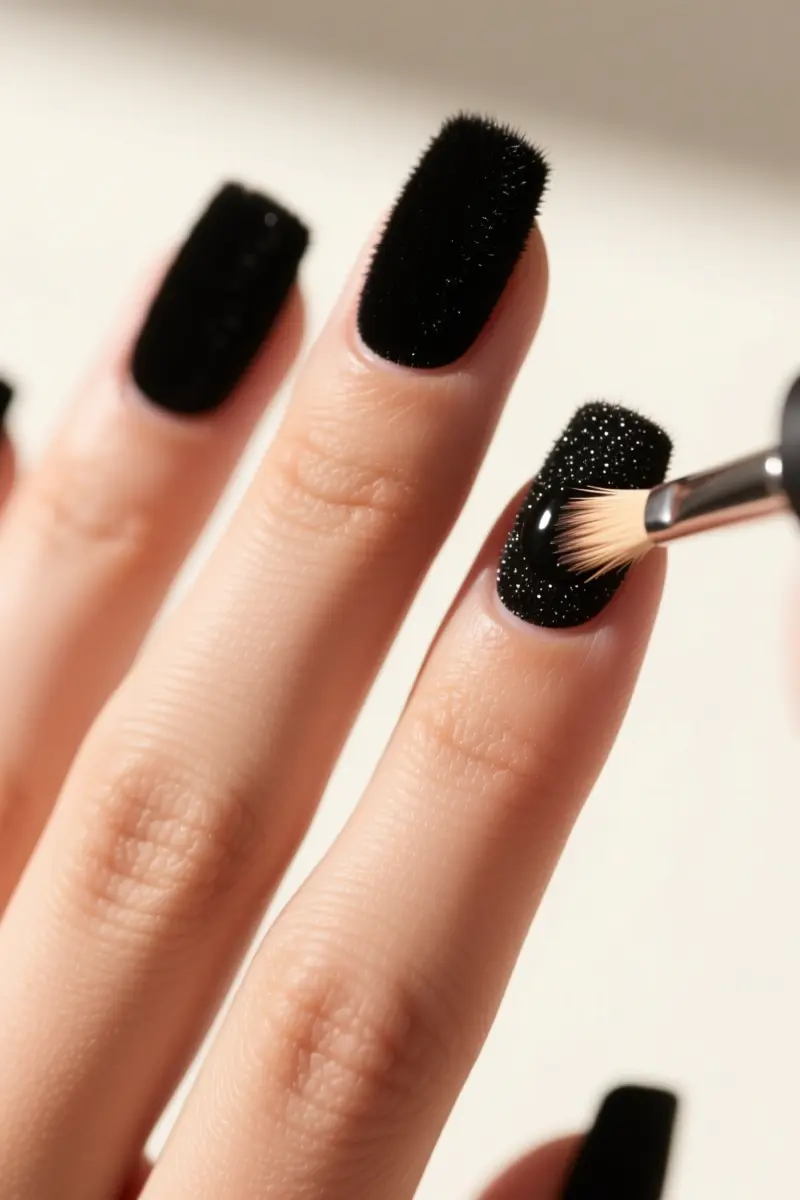
Velvet nails offer a unique feel and visual depth that traditional polish can’t match. The process involves applying flocking powder over wet black polish or gel to create a fuzzy, soft texture. There are different types of flocking powder available, including fine and coarse textures.
To achieve an even velvet application, use a soft brush to gently pat down the powder. This helps prevent unevenness and ensures a plush finish. It’s essential to seal the powder properly for longevity, as the velvet effect is temporary. With proper care, velvet nails can last for several days, making them a great option for special occasions.
The key to making velvet nails last is to apply a thin layer of topcoat, making sure not to disturb the flocking powder. This will help lock in the texture and prevent it from wearing off too quickly. By following these steps, you can achieve luxurious velvet black nails that are perfect for the holiday season.
6. Black & Silver Snowflake Accents
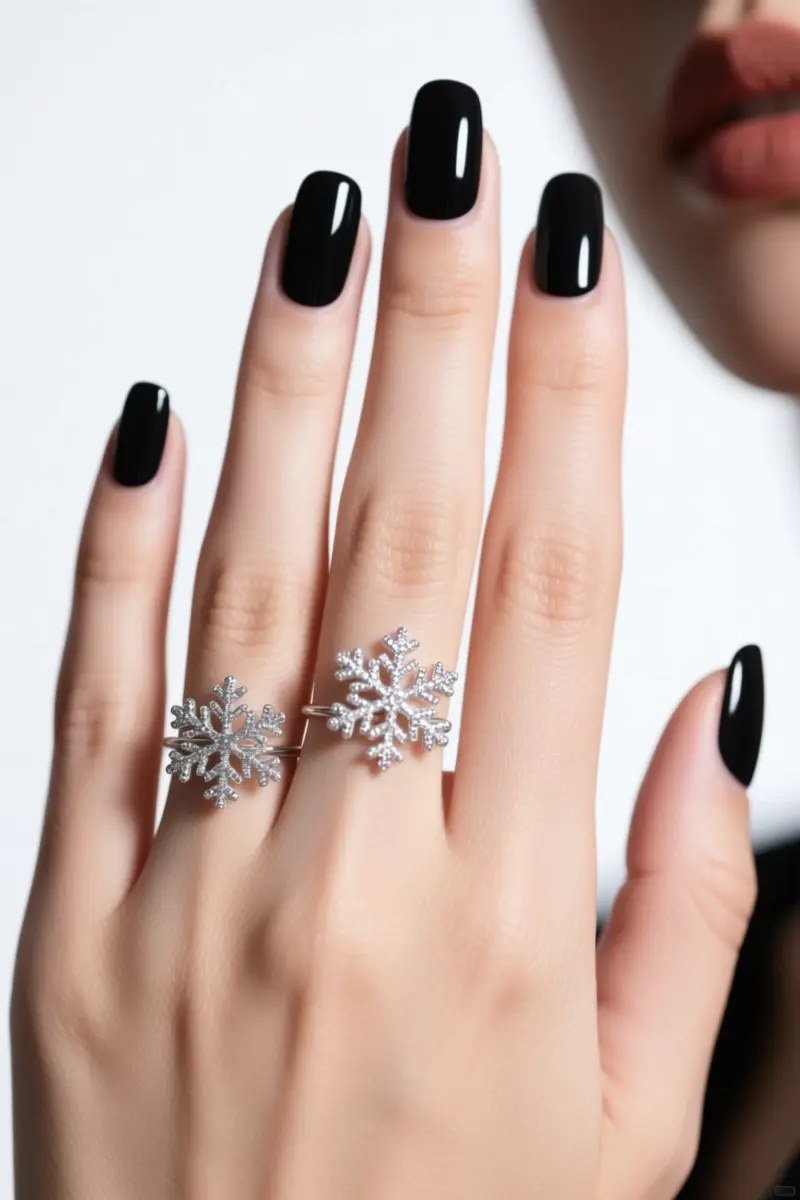
For a chic black Christmas nail look, add delicate silver snowflakes using stamping plates, nail stickers, or freehand painting with a thin brush. To achieve crisp designs, select high-quality stamping polishes that won’t bleed. Look for polishes with high pigment load and a formula that’s specifically designed for stamping.
Place snowflakes strategically on accent nails for maximum impact. A single snowflake on the ring finger or a few on the index finger can add a touch of elegance. Keep the design refined by limiting the number of snowflakes and avoiding clutter.
Consider adding a subtle shimmer topcoat to give your nails a sophisticated glow. This will enhance the silver snowflakes and add depth to the overall design. With a little practice, you can create a stunning black and silver snowflake nail design that’s perfect for the holiday season.
7. Minimalist Black Line Art
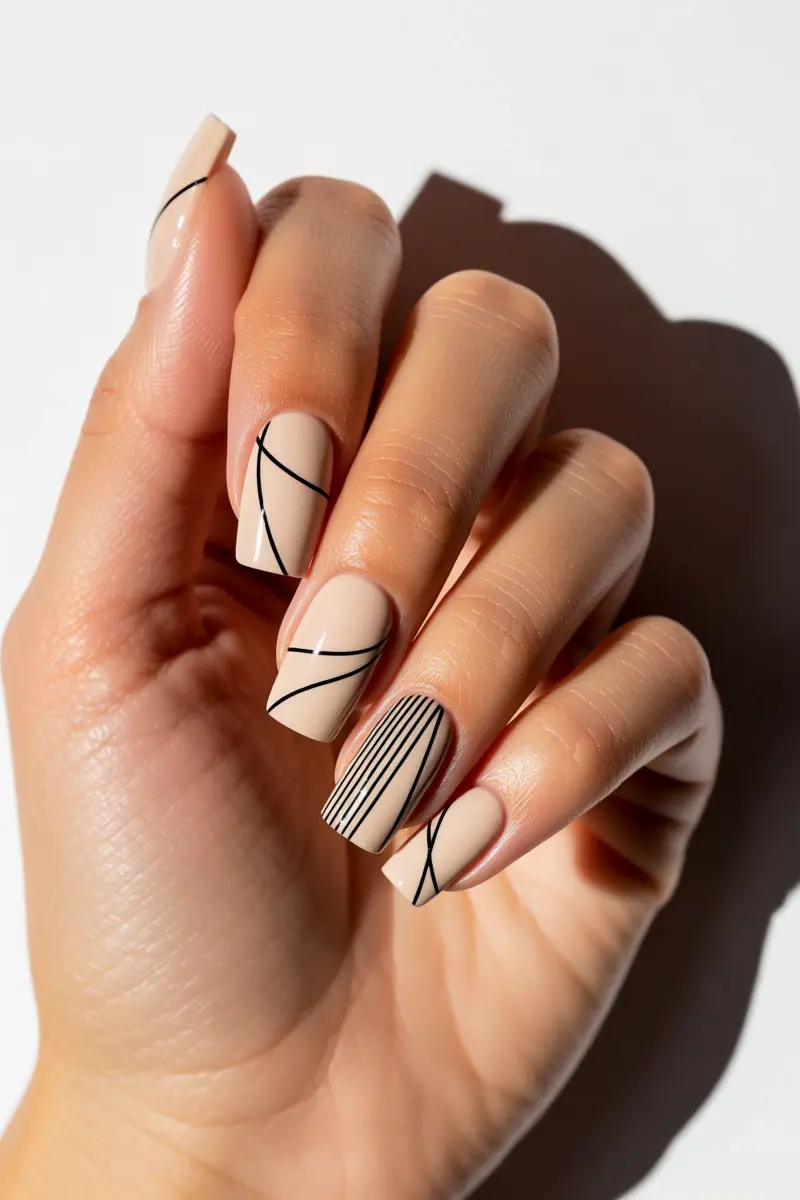
For a sleek look, use striping tape or fine brushes to create clean lines. Opt for nail art gel or polish with a medium to low viscosity for precise lines without smudging. Avoid using thick lines, as they can overwhelm the nail.
Instead, emphasize negative space for a modern aesthetic. A nude or sheer black base complements most skin tones, making it a great choice.
To prevent lines from becoming too thick, use a light touch and build up the design gradually. A good base color can make or break the design, so choose one that complements your skin tone.
Fine lines and simple geometric patterns create a chic, party-ready look. By keeping the design minimalist, you can add a touch of sophistication to your black Christmas nails.
8. Dazzling Jeweled Black Nails
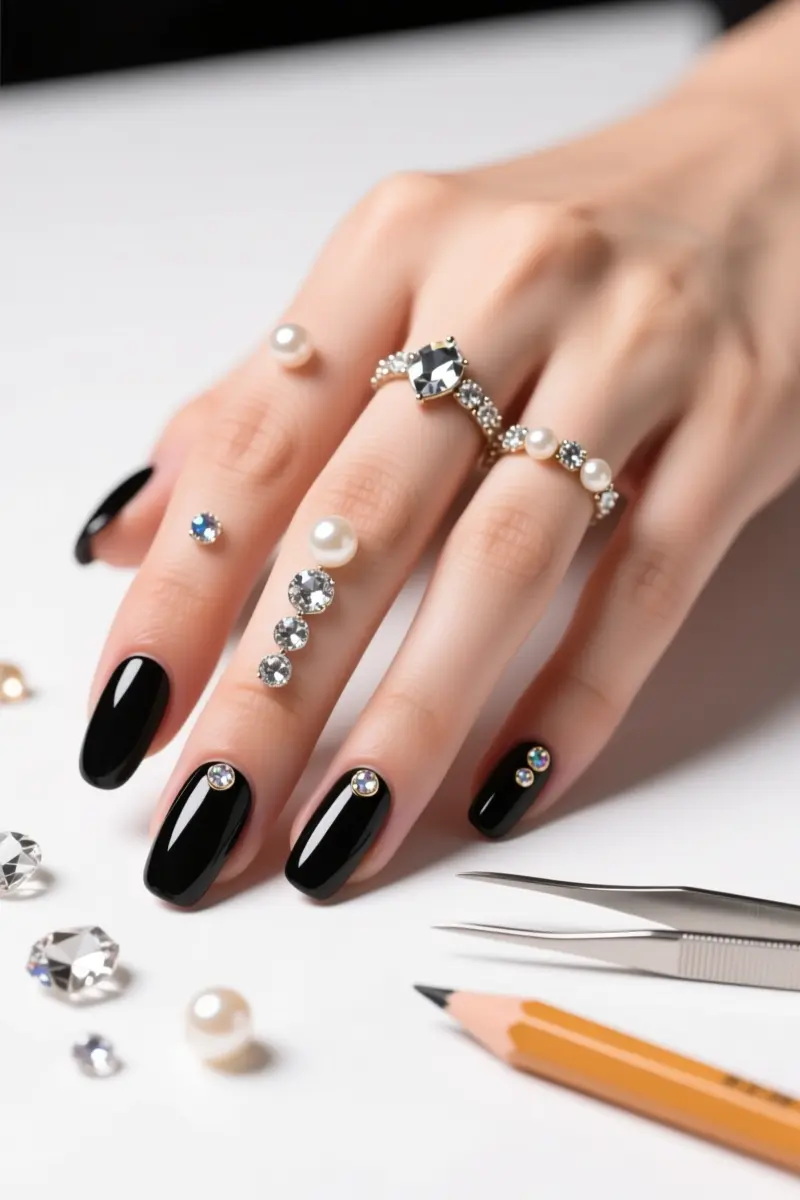
To add a touch of luxury to your black Christmas nails, consider incorporating rhinestones, pearls, or other small gems. Securely attaching these jewels requires nail glue or a thick top coat. Apply a small dot of glue to the back of the jewel and gently press it onto your nail. For a more polished finish, use a thick top coat to seal the jewel in place.
Strategic placement is key to maximizing sparkle without excess bulk. Place larger gems at the center of your nail and balance with smaller ones on either side. Be cautious, as improperly adhered jewels can snag on clothing or other objects. For complex designs, consider professional application to ensure a flawless finish.
For precise placement, use a wax pencil to pick up and position rhinestones. Alternatively, tweezers can be used to gently grasp and place gems. Opt for gem sizes and shapes that complement your nail shape and design. Smaller gems work well for delicate designs, while larger ones make a statement on shorter nails. With proper technique and attention to detail, your dazzling jeweled black nails will be the perfect addition to your holiday look.
9. Black Holographic or Chrome Finish
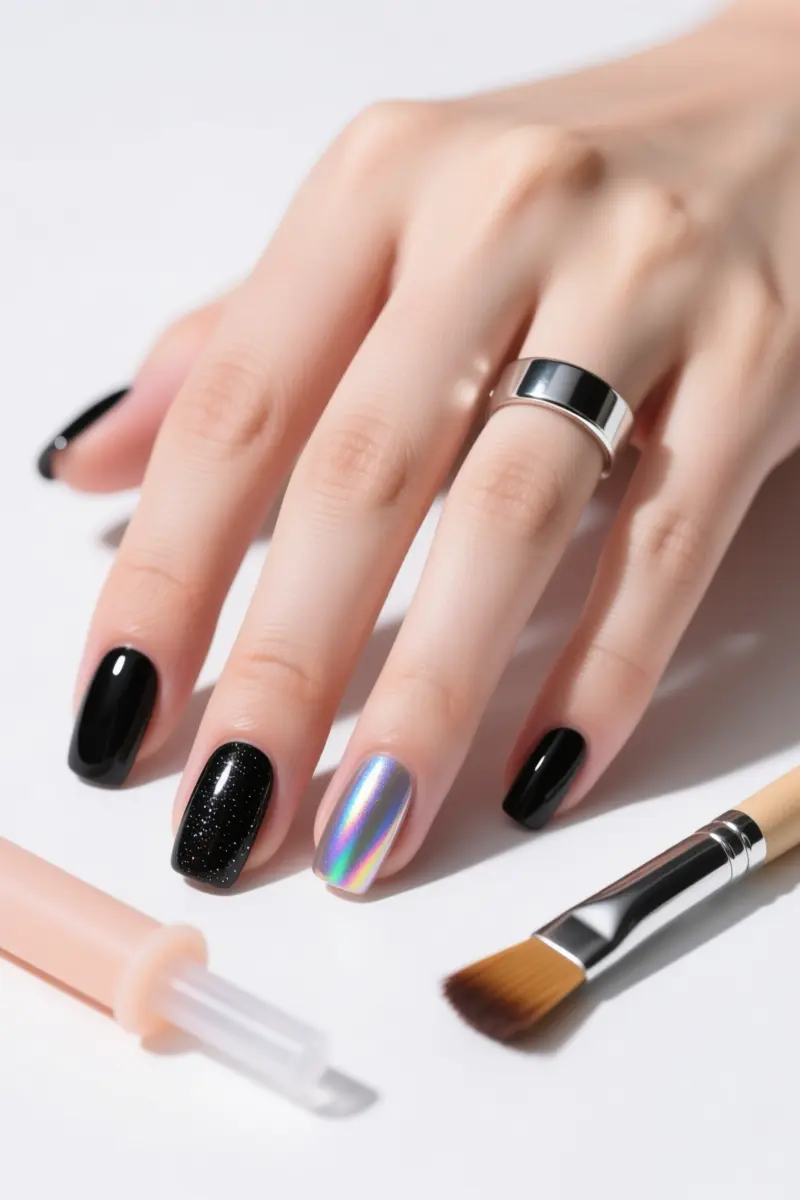
To achieve a mesmerizing multi-dimensional effect, apply chrome or holographic powder over a no-wipe gel top coat. This is key, as regular top coats can leave a dull finish if not fully cured. Holographic pigments refract light, creating a 3D effect. Chrome powders, on the other hand, give a mirror-like finish.
When applying, use a silicone applicator to gently tap the powder onto the nail. Buffing techniques are crucial – use a soft brush to buff the powder in one direction, removing excess. For longevity, seal with a no-wipe top coat.
Avoid applying powder over a regular top coat, as this can lead to a dull finish. With the right tools and techniques, you can create a chic black holographic or chrome finish that’s perfect for the party season.
10. Moody Black & Red Plaid
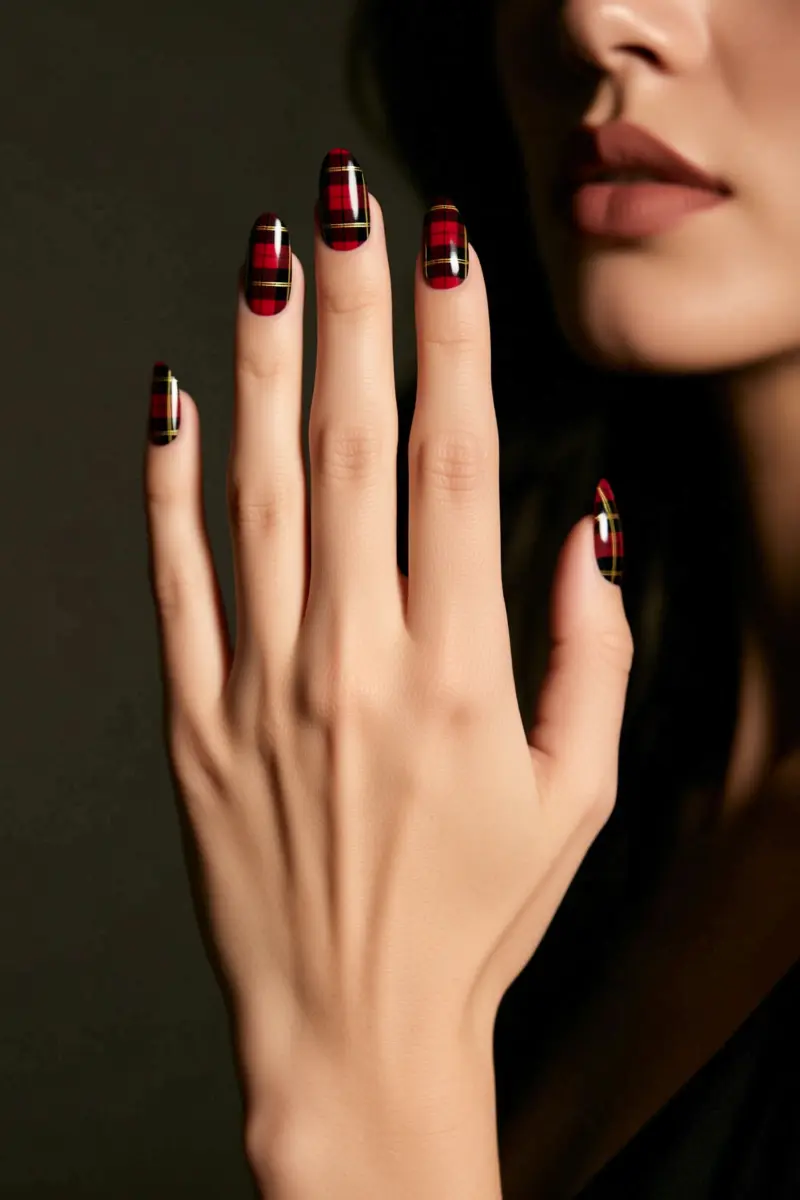
For a moody black and red plaid design, start by applying a base coat. Then, use a striping brush to paint thin lines of black and red. Consistency is key, so keep your line thickness even. A detail brush can be used for finer lines, but it may not produce the same crispness as a striping brush.
To ensure straight lines, try using nail art tape as a guide. Apply the tape to your nail, then paint over it with your chosen color. Remove the tape to reveal a sharp, clean line. Vary the density of your plaid pattern by adjusting the distance between the lines. You can also play with color dominance, making either the black or red more prominent.
For added depth, incorporate a metallic accent, like gold or silver. This will give your design a touch of luxury and sophistication. Remember to keep your metallic lines thin and sparse, as too much can overwhelm the overall look. With practice, you can master this edgy yet festive design, perfect for a chic Christmas look.
11. Smokey Black Cat Eye Nails
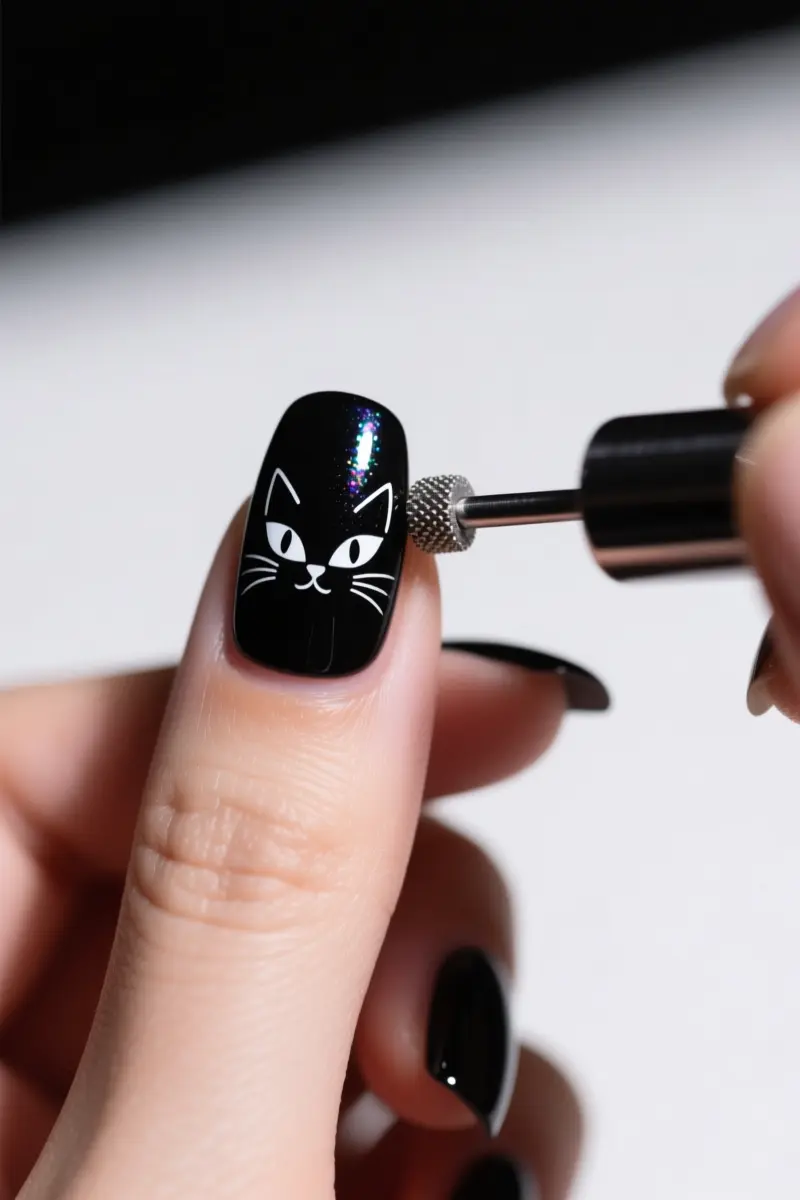
To achieve the signature cat eye effect, start with a black base coat. Apply a layer of magnetic gel polish on top. The ferromagnetic particles in this polish react to magnets, creating a deep, shifting shimmer.
Use a magnet tool to shape the cat eye line or other patterns. Magnet strength and placement influence the final effect, so experiment with different angles. A common mistake is moving the magnet too quickly or too far from the nail, causing the particles to misalign.
Try using different magnet shapes to create unique patterns. Hold the magnet steady and close to the nail to achieve a crisp, sharp line. This technique requires some practice, but the result is a moody, party-ready nail design. Experimenting with magnet shapes and strengths can help you master the cat eye effect.
12. Black with Festive Holly or Poinsettia Art
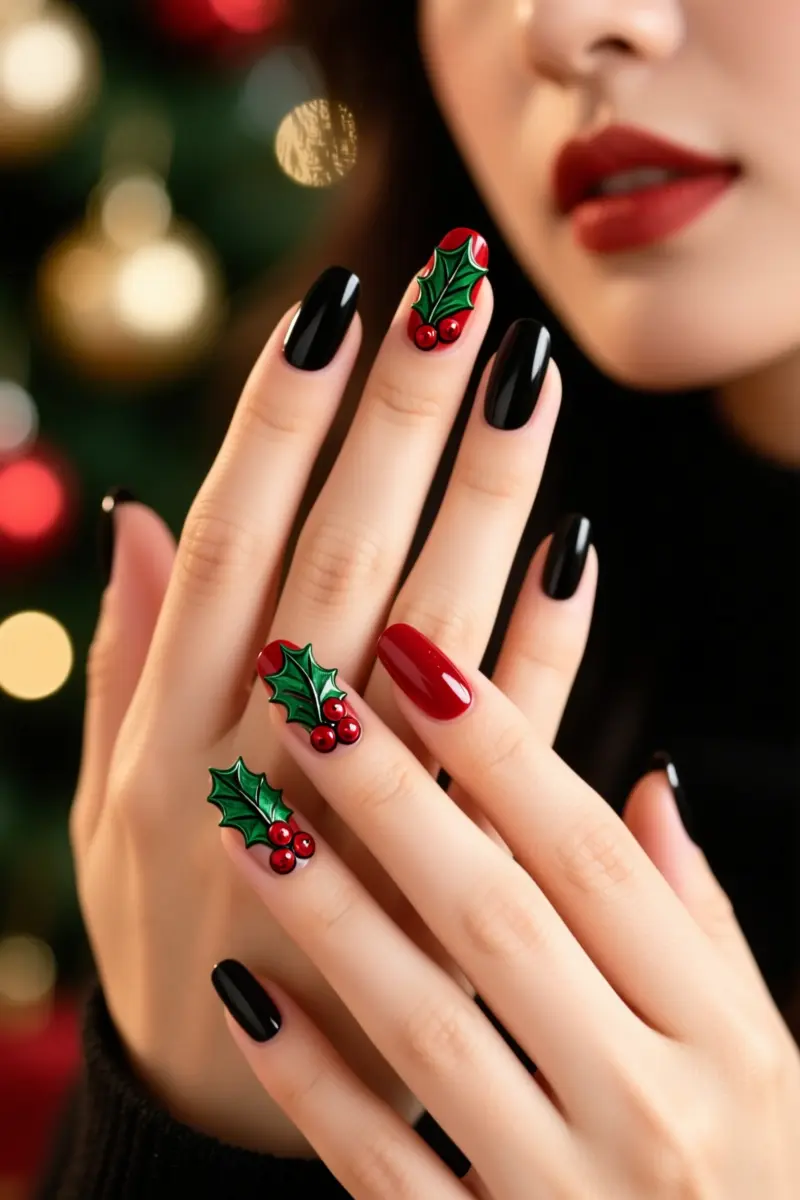
Black nails provide a dramatic backdrop for festive holly or poinsettia art. Rich, jewel-toned reds and greens pop against the dark black. For a professional touch, use fine detailing brushes to capture the delicate nuances of holly leaves and berries.
These brushes allow for precise strokes, making the design look more intricate. To add dimension, try slight shading on the leaves.
Limit the design to one or two accent nails for a chic, party-ready look. Freehand painting or using decals are both great options for adding these festive elements. Decals can be a good choice for those less comfortable with freehand painting.
For a more personalized look, mix and match different Christmas flora on each nail. Jewel-toned reds and greens will add a luxurious feel to the overall design.
This moody yet festive look is perfect for the holiday season. With the right tools and a bit of practice, you can achieve a stunning black Christmas nail design with holly or poinsettia art.
Time To Pick Your Favorite
With these 12 chic black Christmas nail designs, you’re sure to find the perfect look for your holiday parties. Remember to choose a design that complements your personal style and skin tone, and don’t be afraid to add some sparkle with glitter or rhinestones. Save this for your next salon visit or share with a friend who needs some holiday nail inspiration.
Frequently Asked Questions About Black Christmas Nails
What colors pair best with black for chic Christmas nail designs?
For chic black Christmas nails, consider pairing black with metallics like gold, silver, or rose gold for sparkle. Deep jewel tones such as ruby red, emerald green, and sapphire blue also create a sophisticated contrast. White or nude can be used for minimalist accents or negative space designs.
Can I achieve professional-looking black Christmas nail art at home?
Yes, many chic black Christmas nail designs can be achieved at home with the right tools and practice. Simple designs like solid black with glitter accents, matte finishes, or basic line art are very DIY-friendly. For more intricate designs like snowflakes or detailed plaid, nail stamping kits or professional nail art brushes can be very helpful.
How can I make my black Christmas nail designs last longer through the holidays?
To make your black Christmas nail designs last, start with a clean, prepped nail surface, use a high-quality base coat, and apply thin, even coats of polish. Finish with a durable top coat, preferably a gel top coat that cures under a lamp for extended wear. Reapply top coat every few days, and wear gloves for household chores to protect your manicure.
Are there any specific black nail polish finishes that are trendy for Christmas?
Currently, trendy black nail polish finishes for Christmas include luxurious matte black, shimmering black glitter, and mesmerizing black cat-eye polishes. Holographic and chrome black finishes also offer a futuristic yet festive appeal. Don’t forget sheer black jelly polishes for a more subtle, moody look.
Where can I find a nail salon that specializes in intricate holiday nail art?
To find a salon specializing in intricate holiday nail art, search online for ‘nail salons near me’ or ‘holiday nail art [your city/region]’. Check their social media (like Instagram or Pinterest) for examples of their previous holiday designs. Reading reviews and looking for portfolios that showcase detailed work will help you find a skilled technician.