
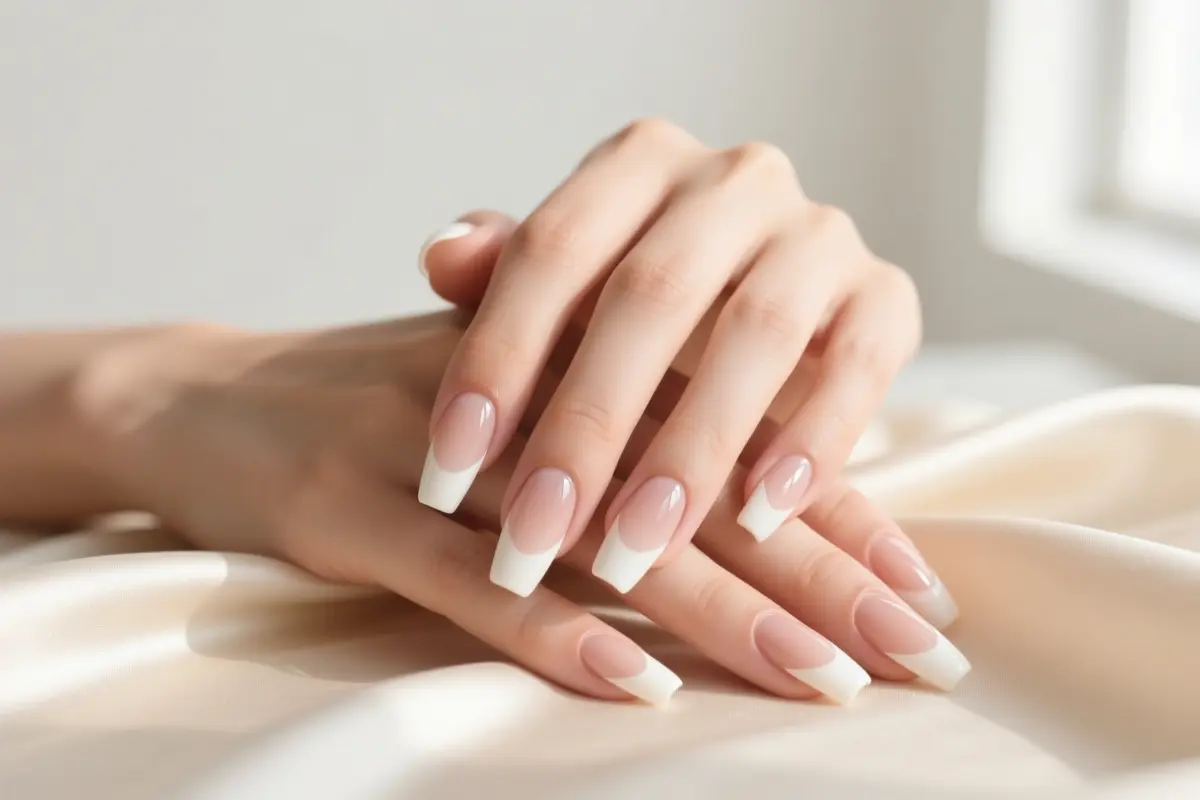
Ballerina Nails: 10 Real-World Nude, French Tip, Ombre, and Bold Design Ideas
Scrolling past glossy ballerina nails on Instagram feels like watching a fairytale, but the moment you try to type an email or pop a can, those tapered tips can snag and crack.
The ballerina, also called coffin, boasts tapered sides and a flat, square tip, demanding serious length to pull off without looking stubby.
Because natural nails rarely have the strength to hold those corners, most pros recommend hard‑gel, builder gel, or acrylic overlays.
Expect a professional fill‑in or shape cleanup every two to three weeks, especially if you gravitate toward lighter nude or French‑ombre shades that reveal dye transfer fast. Bold, saturated colors hide daily wear better, but the upkeep stays the same.
1. Sheer Milky Nude Ballerina Nails
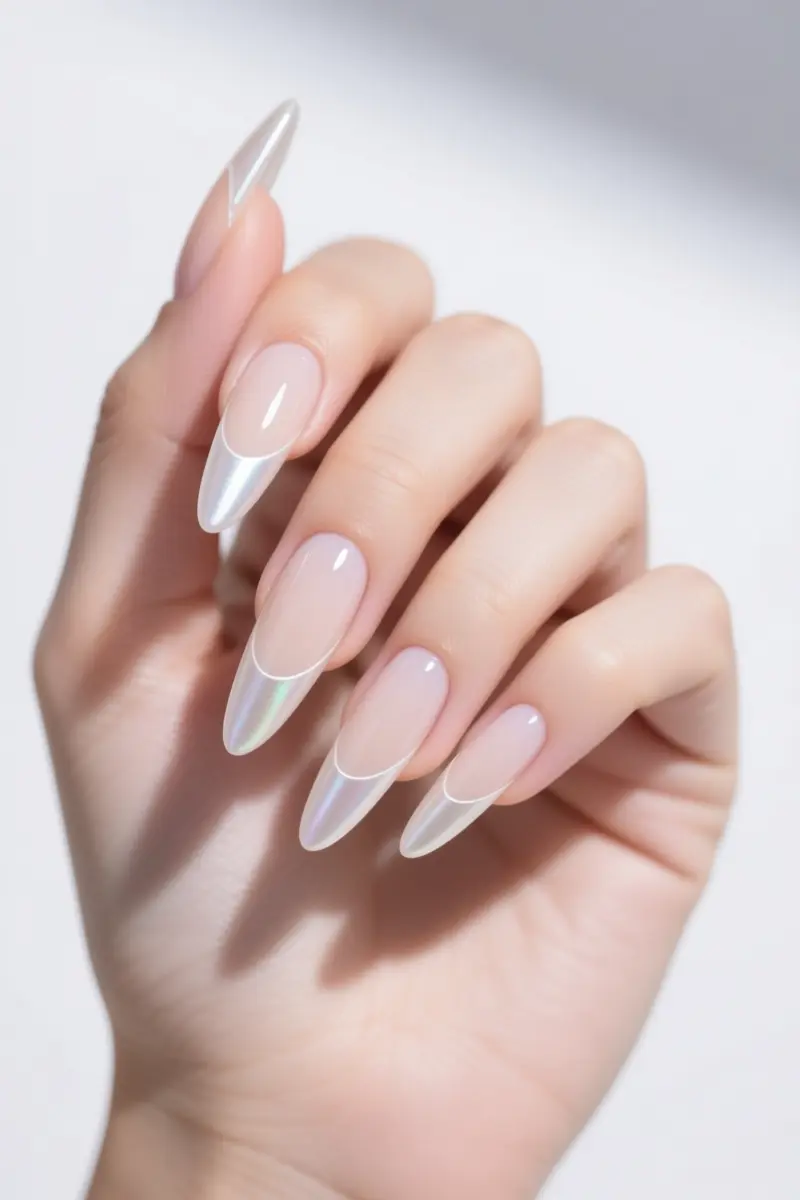
Sheer milky nude ballerina nails give a low‑contrast, elegant look that lets the nail length shine.
For fair skin with cool undertones, a milky pink shade such as OPI Bubble Bath creates a bright, refined finish.
The key is matching the nude to your undertone; a warm beige will wash out cool‑toned skin, while the right pink adds subtle depth.
Sheer polish often applies patchily, leaving a streaky application that looks cheap.
A self‑leveling builder gel base smooths the surface and prevents the polish from clumping, delivering a salon‑grade sheen.
Many nail artists, including Elle, note that today’s nude range spans sheer, milky, jelly‑like, and softly pearlescent finishes, making it easier to find a tone that complements any complexion.
A practical tip: apply a thin builder gel layer, cure it, then swipe on two light coats of sheer polish, capping each with a quick top coat.
This method reduces streaky appearance and extends wear time. Keep in mind the look works best on fair, cool‑toned hands; deeper or warm undertones may need a richer nude to avoid a washed‑out effect.
2. Micro French Tips on a Soft Pink Base
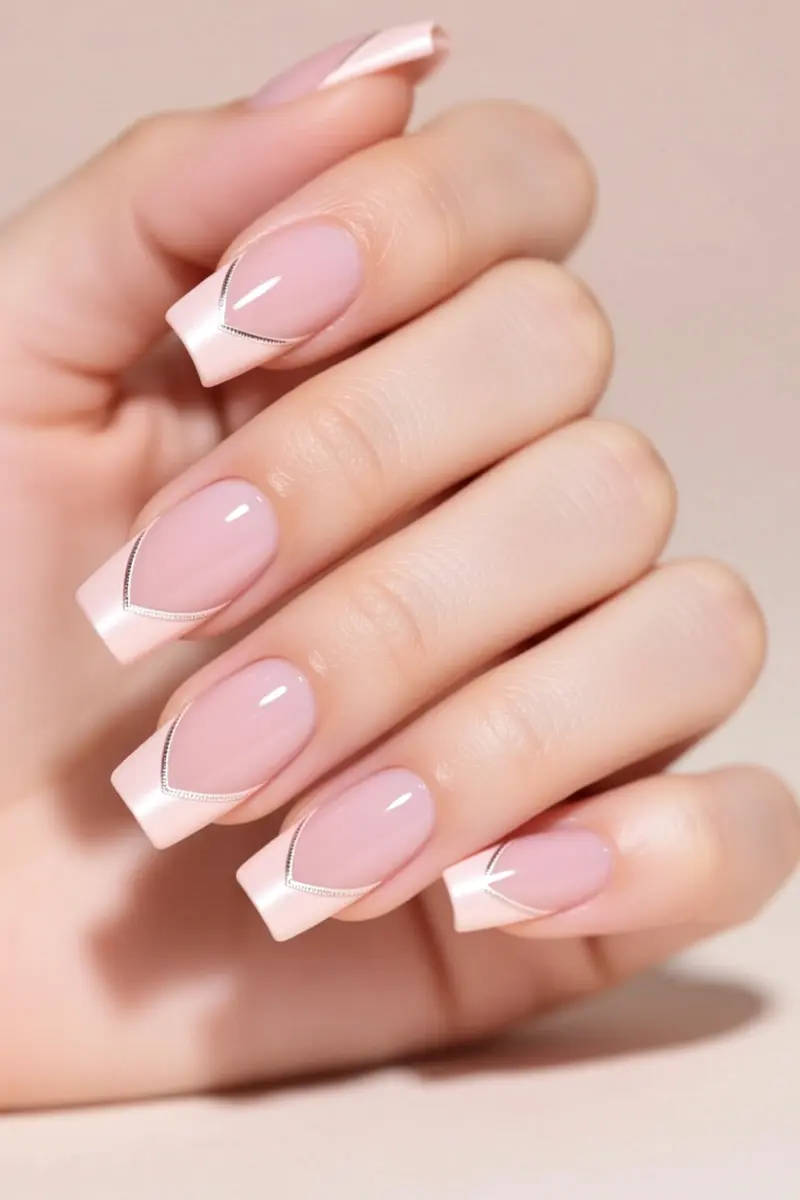
Micro French tips on a soft pink base give ballerina nails an ultra‑thin accent that lengthens the fingers.
The tip sits on the smallest portion of the free edge, creating a delicate smile line that feels both modern and airy.
Because the ballerina tip is perfectly flat, paint the micro line straight across the nail bed and add a barely perceptible curve at the outer corners; this prevents the design from looking top‑heavy.
A fine‑point striping brush makes the line crisp, and the sheer pink base keeps the look quiet‑luxury.
The style works on any nail shape, but the ballerina shape showcases the elongating effect best.
Many people note the micro French adds a youthful vibe without the weight of a classic French. It suits everyday wear and formal events alike.
A practical caveat: the tip is so short that very shallow free edges may make the line hard to spot, so a modest length of at least 1 mm beyond the nail bed helps the detail stay visible.
This balance keeps the design elegant yet low‑maintenance.
3. Classic Baby Boomer French Ombre
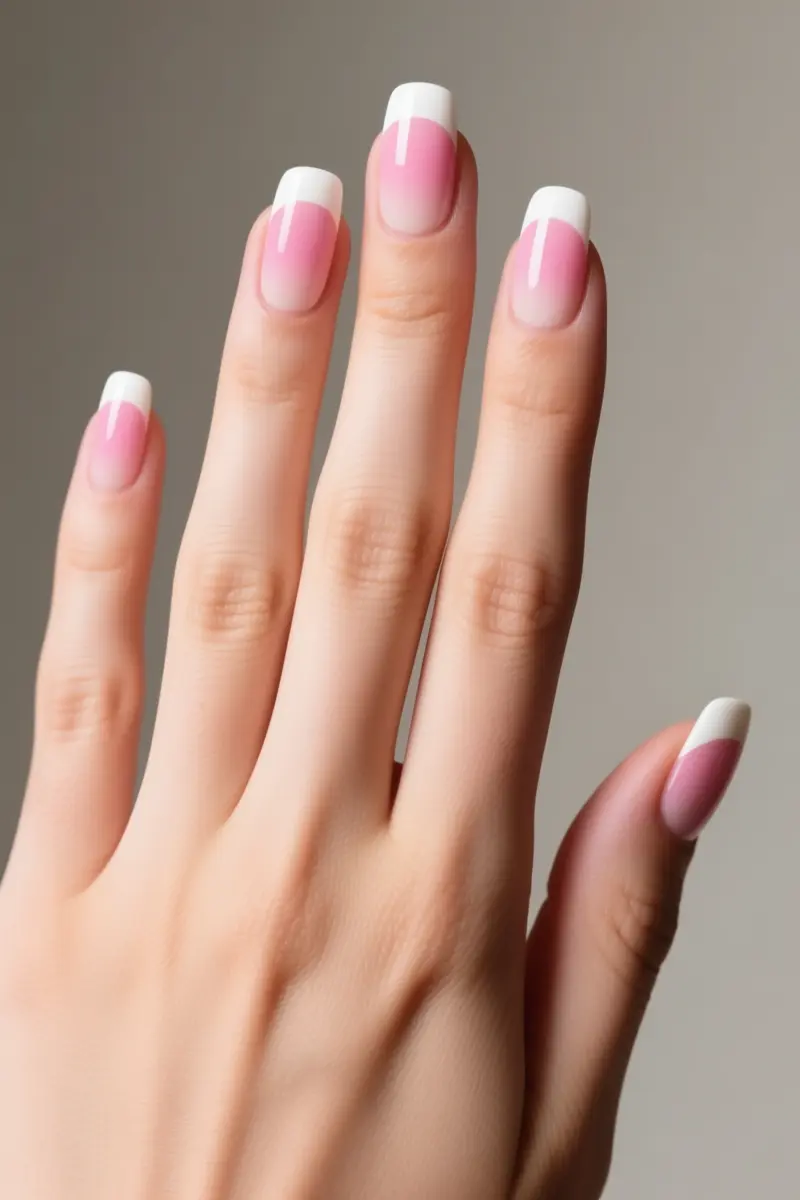
The Classic Baby Boomer French Ombre blends soft pink into milky white for a seamless gradient.
This French fade replaces the stark white tip with a gentle pink‑to‑white melt, creating a gradient effect that feels sophisticated and works for both casual and dressy outfits.
To achieve the smooth transition, start with a base coat, then apply a lighter pink layer followed by a milky white layer, alternating the shades with each pass.
Tap the dip powder using an eye‑shadow brush; its soft bristles keep the base intact while spreading pigment evenly.
A medium‑slow drying liquid gives enough working time to blend the colors without smudging.
For a hand‑held method, dab a damp makeup sponge over the nail surface, pressing lightly to diffuse the line between pink and white.
A gel airbrush works similarly, spraying a fine mist that softens the edge.
Avoid a harsh line by skipping the alternating‑shade step; many people find the result choppy without it.
Fast‑dry liquid often creates a lumpy finish because it hardens before the blend settles.
The milky white tips can yellow after repeated UV exposure or contact with household cleaners, so a top coat with UV protection helps preserve brightness.
4. High-Gloss Cobalt Blue Ballerina Nails
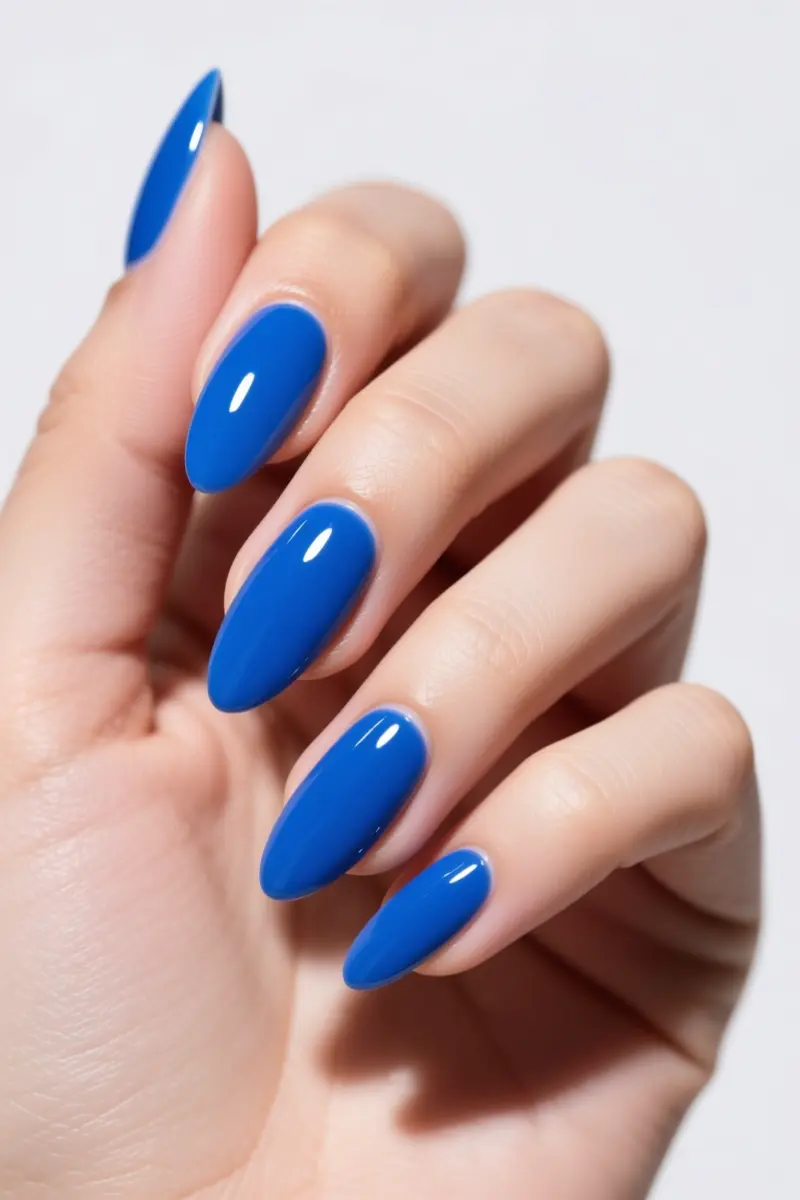
High-gloss cobalt blue ballerina nails give a bold pop of color on the sleek silhouette.
The intense pigmentation shows best when the nail is shaped into a ballerina point, because the flat tip reflects light like a miniature mirror.
Apply a thin base coat to protect the natural nail and lock in the vivid shade.
Cobalt blue gel polish is highly pigmented, so the gel curing lamp needs extra time.
The LED cycle should be extended by 5- 10 seconds per coat; this stops shrinkage and bubbling that can ruin the finish.
Use the same extended timing for the top coat to keep the surface smooth and ultra‑shiny.
When it’s time to remove the shade, many people report staining of the natural nail bed if the polish sits too long or if removal is rushed.
Soak the nails in acetone for the full recommended period and follow with a gentle buffer.
This extra step adds a bit of maintenance, making the look better suited for clients who don’t mind a weekly salon visit or a careful at‑home routine.
5. Glazed Donut Nude with Chrome Overlay
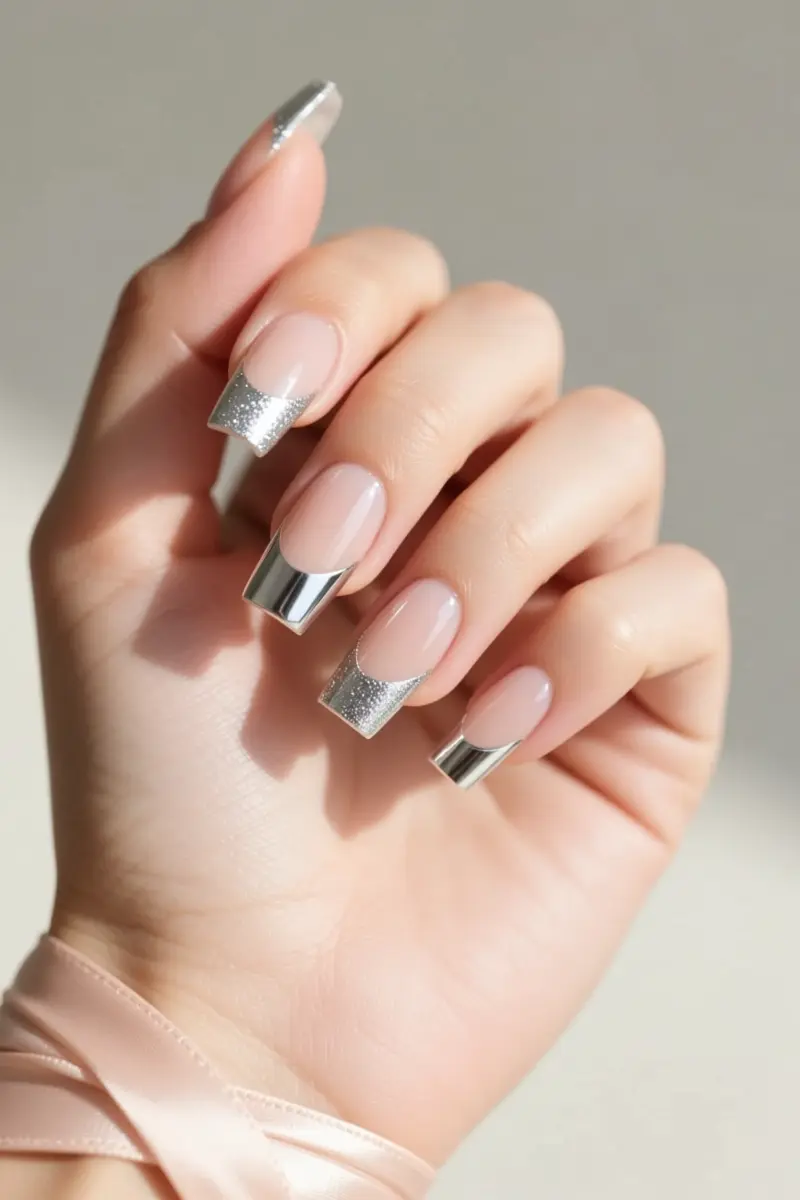
A glazed donut nude with chrome overlay adds a soft, iridescent sheen to a sheer nude base, mimicking the gloss of a fresh donut.
The effect sits between a subtle glazed donut nail and a full‑mirror chrome finish, making it suitable for everyday wear.
- Apply a sheer nude gel polish and cure fully.
- Spread a thin layer of non‑wipe top coat over the nail, then cure for about 30 seconds in a 48W LED lamp until the surface feels like warm rubber.
While the top coat is still tacky, dust fine chrome powder onto the nail with a light hand to keep the pigment subtle.
- Buff the powder gently using a soft buffer until the surface reflects a mirror shine.
- Seal the free edge with a high‑quality top gel, then repeat the seal for a second cap.
A common complaint is that chrome finishes chip at the flat edge of ballerina nails unless capping the free edge twice with a high‑quality top gel.
Expect 2-3 weeks of wear; avoid prolonged water exposure to keep the mirror shine intact.
6. Deep V-Cut French Tips in Chocolate Brown
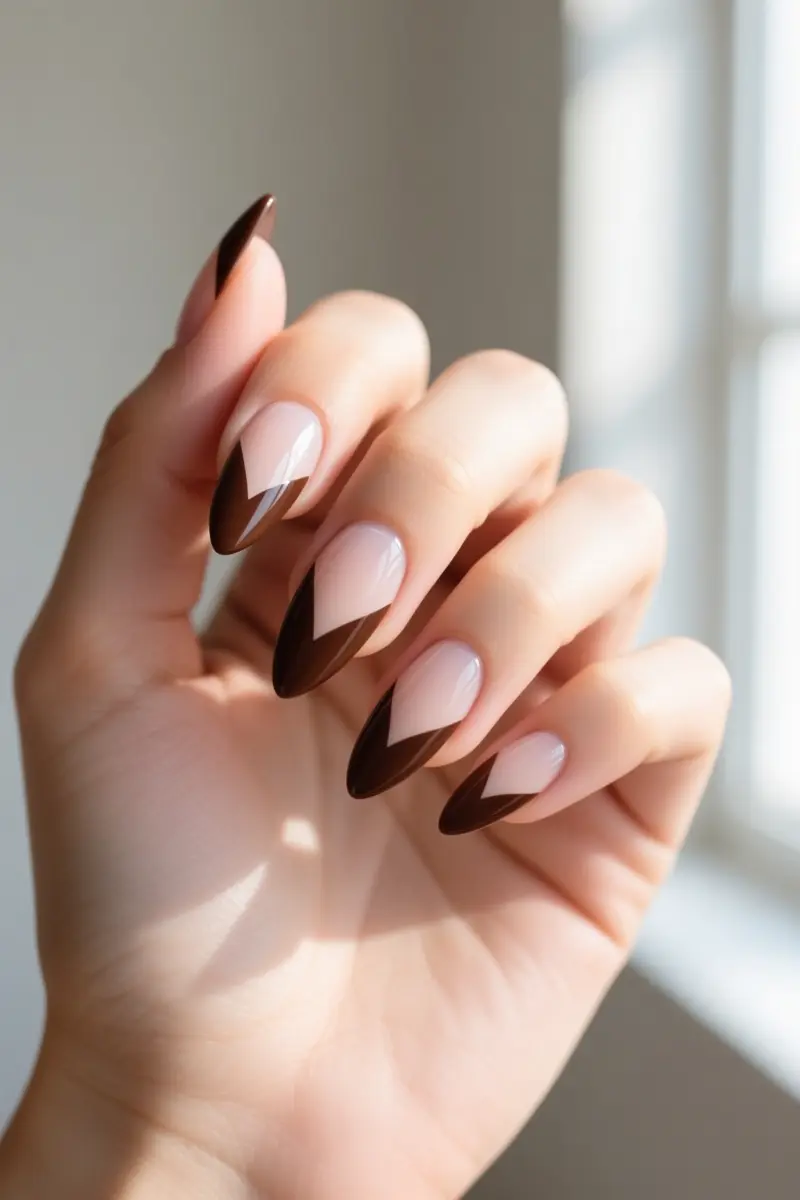
Deep V‑cut French tips in chocolate brown add a sleek, geometric edge to the ballerina shape.
The V shape mirrors the natural taper of the side walls, so the cut looks seamless on a tapered square or classic ballerina nail.
The design uses a rich, earthy hue that complements all skin tones. Chocolate brown creates a subtle contrast against the clear base, giving the illusion of depth without overwhelming the nail.
Hand‑painted V cuts can last three to four days before the tip softens at the edges.
Vinyl nail stencils applied to acrylic extensions extend wear time to two weeks, because the acrylic locks the pigment in place.
A downside is that the precise V line requires steady hands; beginners often see uneven edges that break the clean look.
For best results, practice on a fake nail or choose a professional salon that offers stencil application.
Pair the V‑cut with a thin chevron tip on the ring finger for extra negative space drama. The contrast keeps the look modern while staying elegant enough for office or evening events.
7. Warm Sunset Coral and Peach Ombre
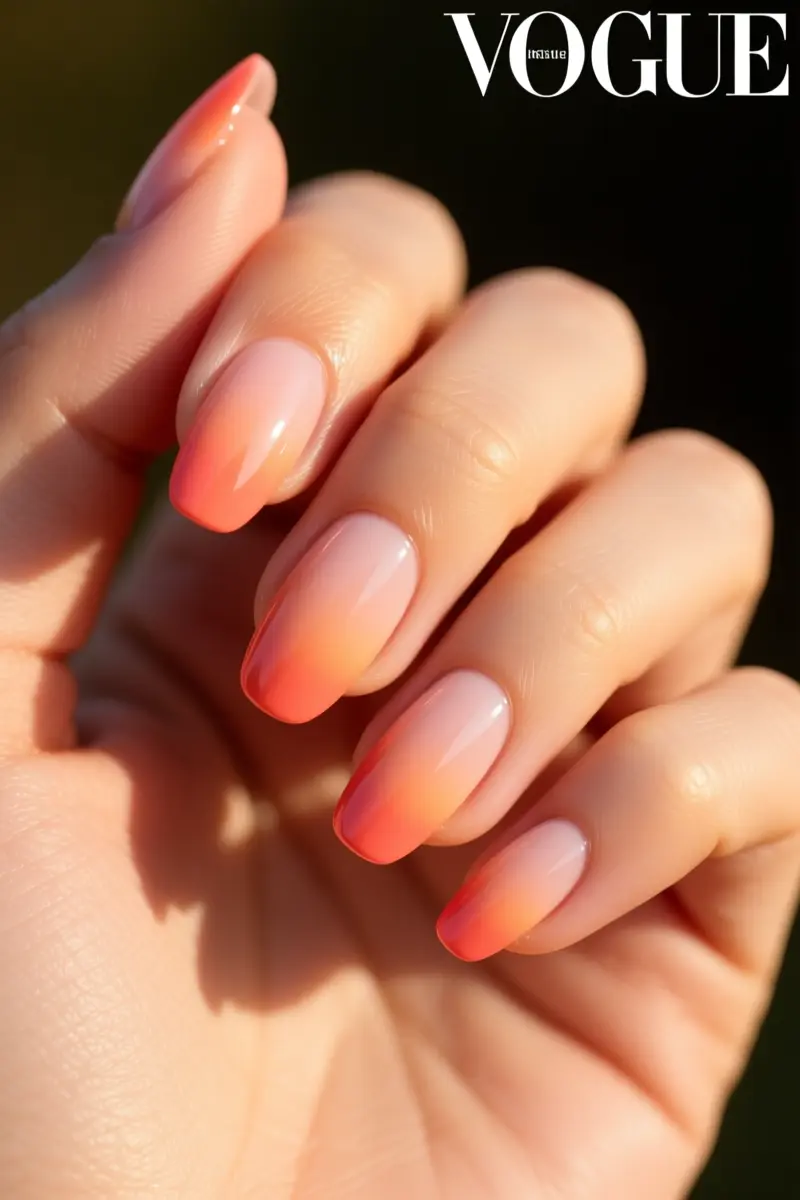
Warm sunset coral and peach ombre delivers a vibrant two‑tone gradient that energizes any manicure.
The look uses coral, a warm red‑orange with pink undertones, fading into peach, a softened orange infused with white.
Because the shades sit next to each other on the color wheel, a blending sponge can merge them without a muddy middle.
Apply a pigmented gel base of coral, then dab the sponge with peach gel and press lightly across the nail.
Sweep the sponge horizontally for a seamless fade; a vertical swipe works equally well. Finish with a high‑gloss top coat to highlight the fluid ombre gradient and add beach‑ready shine.
Skin undertone guides shade choice. Warm‑toned complexions pair best with the richer coral at the base, while cool‑toned skin looks softer when peach leads the gradient.
The design suits any nail shape, short, coffin, almond, or French tip, and stays polished through outdoor events.
A practical note: the blend can chip faster than a solid color, so schedule a touch‑up after two weeks if you need a flawless finish. This minor upkeep is worth the elevated, quietly luxurious result.
8. Matte Black and Nude Negative Space
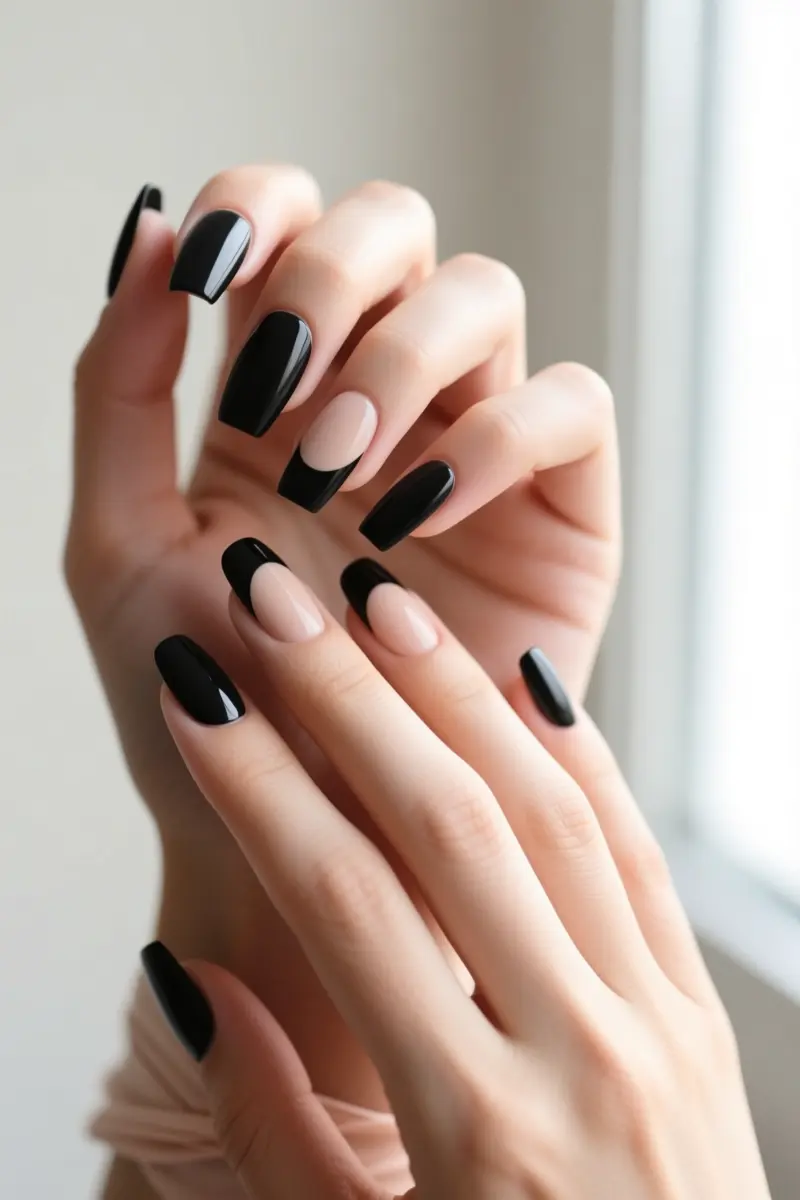
Matte Black and Nude Negative Space creates a striking contrast that pairs a deep matte finish with exposed nail sections for a graphic, high‑impact look.
The design works best on ballerina nails, whose straight, tapered sidewalls narrow toward a flat free edge, giving a sleek canvas for the negative‑space effect.
Short ballerina shapes are especially practical for everyday wear, letting busy hands stay elegant without sacrificing comfort.
Many assume matte top coats last as long as glossy ones, but matte finishes lack the same scratch resistance and tend to absorb oils quickly, leading to faster wear.
This oil absorption means the black matte can dull within a few days, especially on hands that handle food or tools.
To keep the matte black vivid, wipe the surface with a lint‑free wipe dampened with rubbing alcohol after each use.
The alcohol removes oil without damaging the matte top coat, and the lint‑free material prevents fibers from sticking to the finish.
Because the design relies on a clean, oil‑free surface, it suits clients who prefer a polished appearance but can commit to regular maintenance.
Those who avoid frequent touch‑ups may opt for a glossy French tip instead.
9. Velvet Textured Nude with Magnetic Shimmer
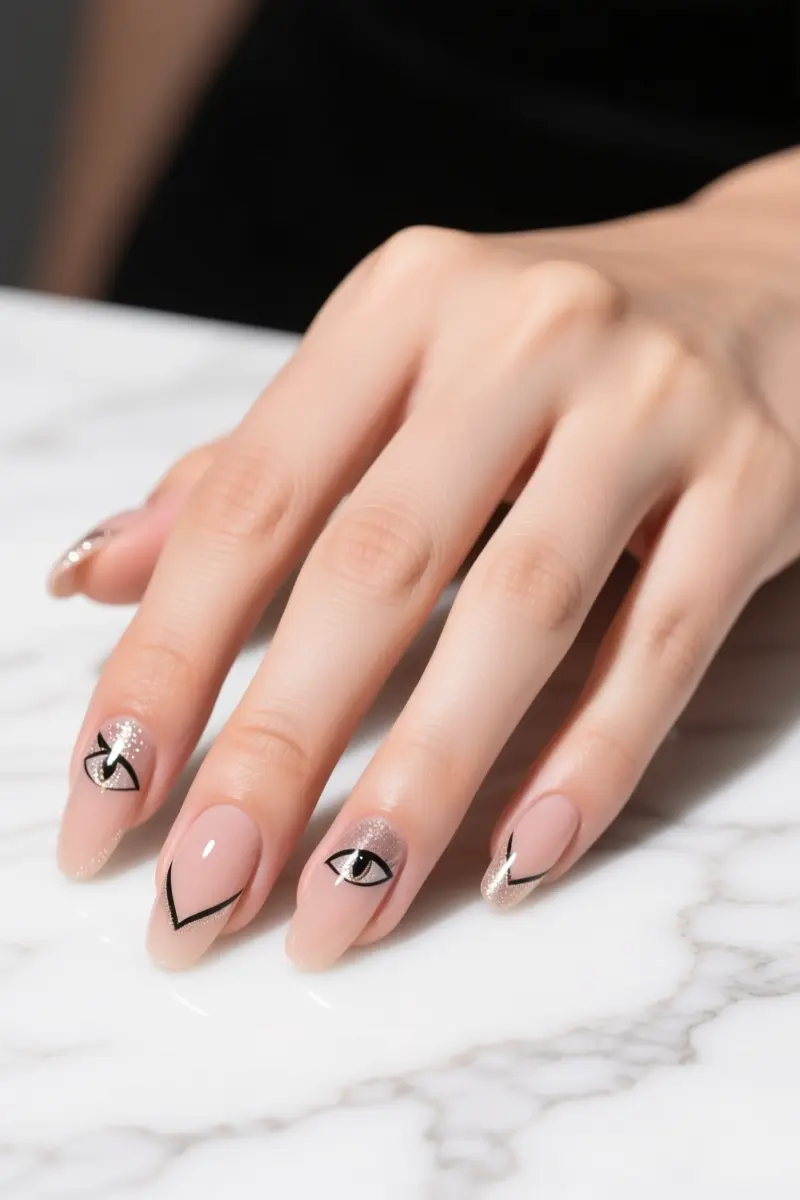
Velvet textured nude with magnetic shimmer uses a cat‑eye gel and a magnetic wand to create a 3‑D velvet pattern over a nude base.
The gel contains tiny iron particles that move toward the magnet while the polish is still wet; a cylindrical or long rectangular magnet held about 0.5 cm from the surface pulls the particles toward the nail’s center, producing the broad, velvet‑like shimmer known as the “wide cat eye.”
Start with a clean, filed nail, apply a base coat, then a soft jelly nude or a black gel for contrast.
While the cat‑eye gel is still uncured, place the wand at the prescribed distance and sweep it along each side of the nail, then flash cure to lock the particles in place.
Finish with a top coat to seal the design. The finished manicure wears exactly like a standard hard‑gel set, so chips and lift follow the same timeline as regular gel.
A common limitation is the need for steady hand control; beginners often find the 0.5 cm magnet distance tricky, which can lead to uneven shimmer if not practiced.
This technique topped 2026 social‑media trends for cat‑eye nails, offering a luxe look without extra maintenance.
10. Forest Green Tips with Gold Foil Accents
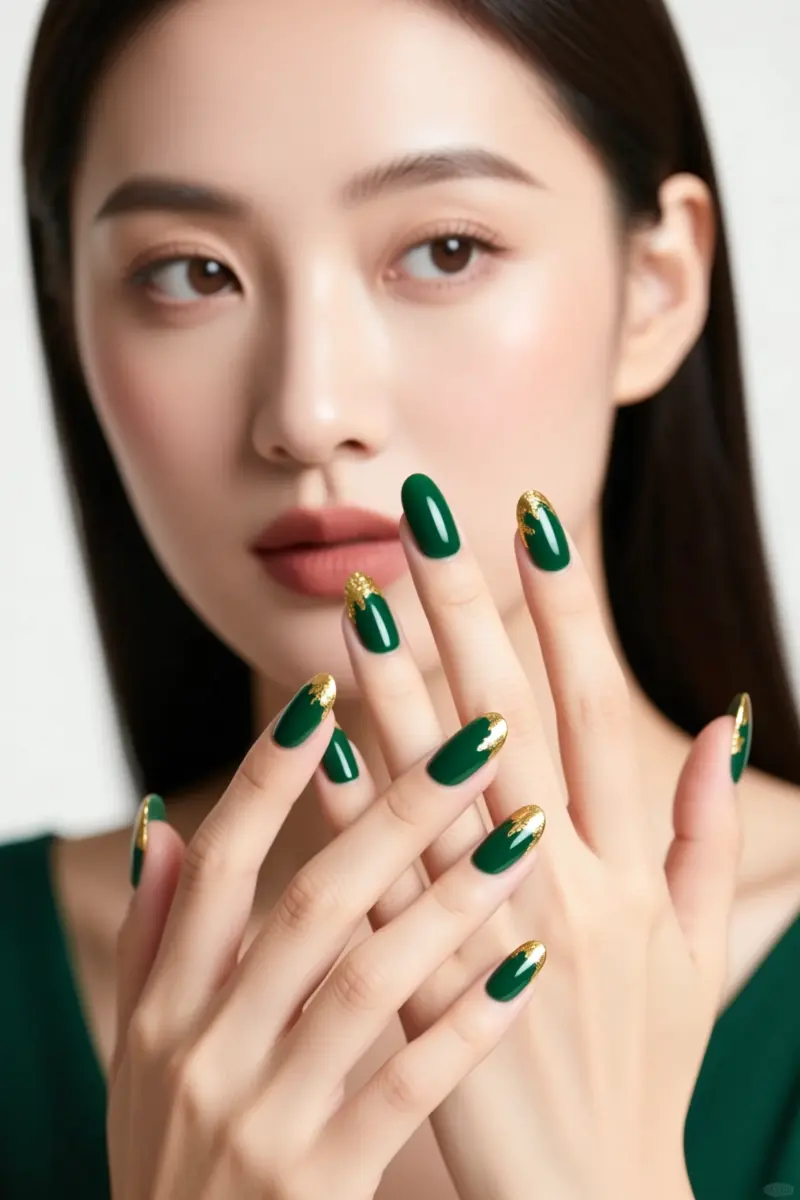
Forest green tips with gold foil accents create a rich, earthy French‑tip that feels both luxe and unexpected.
Start with a base coat, then apply two coats of a deep forest‑green polish; the color gives a fall‑ready vibe that’s more dramatic than pastel shades.
While the polish is still tacky, dab a tiny amount of transfer foil glue onto the tip area, then place gold leaf pieces with a toothpick and press lightly.
This prevents the foil from lifting or forming a bumpy texture under the topcoat. Seal the design with a glossy top coat to lock in shine.
Gold foil sheets or flaked gold leaf are sold at craft stores and online retailers such as Amazon, and the adhesive is often included in foil kits.
A DIY approach costs roughly $15‑$25 for polish, glue, and foil, while a salon appointment that includes foil application and professional foil adhesive can run $60‑$120 depending on the technician.
Many users report the finish looks “super glam, unique,” and note the process is easier than it appears.
Keep in mind the extra steps add time, so plan for at least an hour if you’re doing it at home.
Your Next Nail Moment Awaits
First, choose a hard‑gel, builder gel, or acrylic overlay before you even file the shape; those materials give the ballerina its needed backbone.
Second, mark your calendar for a fill‑in or shape cleanup every two to three weeks to keep side walls from snagging.
Finally, if you love nude or French‑ombre, apply a high‑gloss top coat to shield against dye transfer.
With the right reinforcement and a regular maintenance routine, those elegant tips can transition from screen‑time fantasy to everyday confidence.
Save this list for your next salon appointment, and feel free to share it with anyone hunting a polished, runway‑ready nail look.
Frequently Asked Questions
Are ombre nails still in style?
Yes, ombre nails remain a staple in modern nail design because they offer a seamless, soft gradient that grows out far more gracefully than solid block colors, minimizing the visible gap at the cuticle.
What is the hottest nail color right now?
Deep chocolate browns, olive greens, and semi-sheer milky nudes are currently dominating the nail scene, offering a clean, sophisticated look that pairs effortlessly with any wardrobe.
Is French ombre classy?
Yes, French ombre is considered highly sophisticated and classy because it softens the stark, traditional white tip of a classic French manicure into a delicate, clean gradient that looks professional and clean.
What is the difference between coffin nails and ballerina nails?
While often used interchangeably, true ballerina nails have slightly curved side walls that taper in before ending in a flat, straight-cut tip, mimicking a pointe shoe, whereas coffin nails feature sharp, completely straight geometric lines.
Can I get ballerina nails on short, natural nails?
No, the ballerina shape requires a medium-to-long length to properly taper the sides inward; attempting this shape on short nails will result in a stubby, awkwardly proportioned square.