
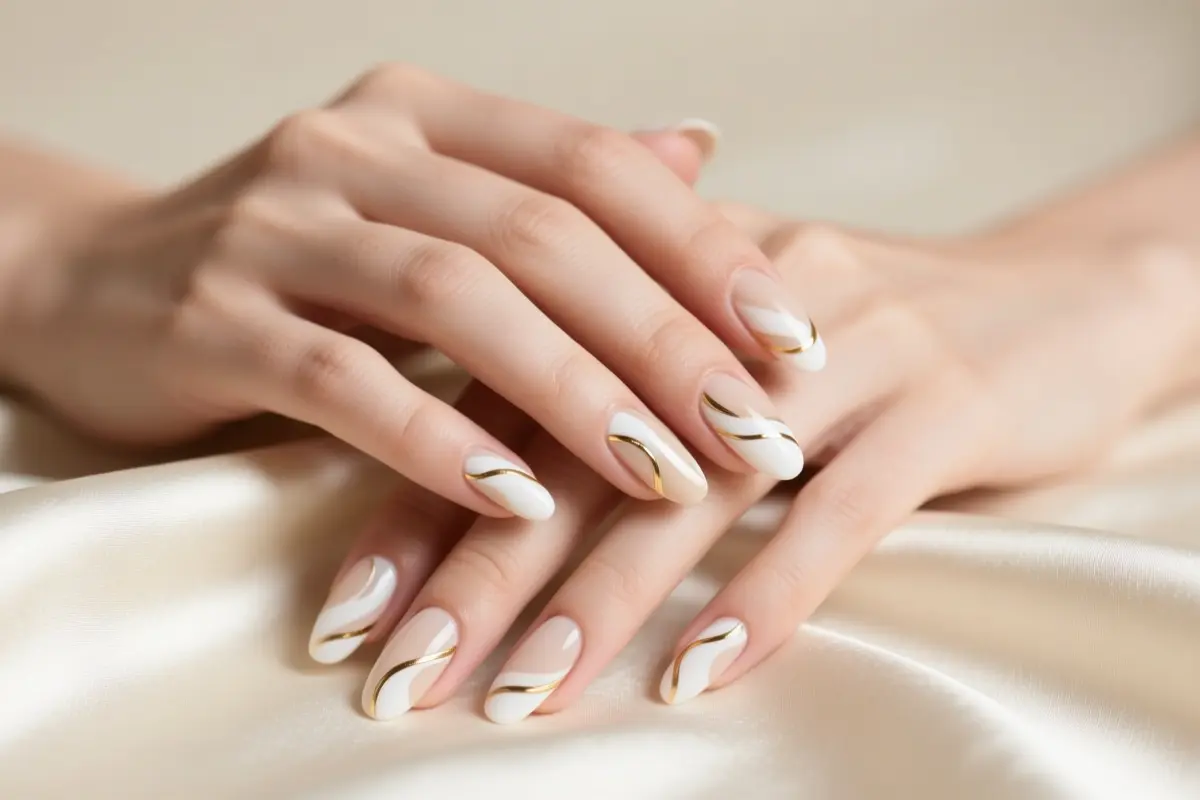
12 Dope Nail Designs Too Stylish Not to Try This Year
Are you ready to take your nail game to the next level? From bold and bright to sleek and sophisticated, this year’s most stylish nail designs are all about making a statement. Get ready to be inspired by these dope nail designs that are too stylish not to try.
1. The Minimalist Chic
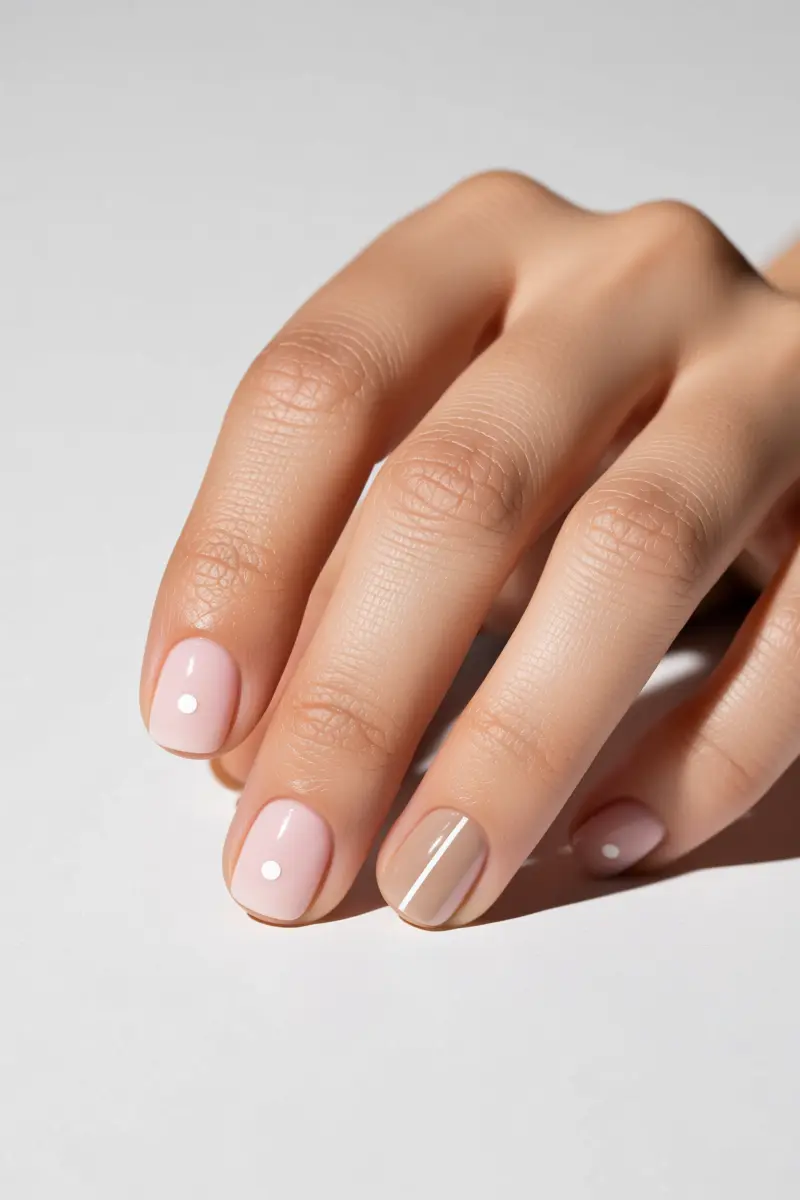
Simple nail designs can be incredibly chic. A single dot or a thin stripe can add a touch of elegance to your nails.
Neutral palettes like beige, white, or pale pink work well for a minimalist look. Negative space accents can also create a clean and sophisticated design.
Even short nails can pull off these designs effectively, as I’ve seen on many clients. The key is to keep it simple and avoid over-accessorizing.
Over-complicating minimalist designs is a common mistake – it’s better to stick with one or two subtle elements.
This understated look is suitable for any occasion, from work to a night out. With a minimalist design, you can’t go wrong.
2. Abstract Artistry
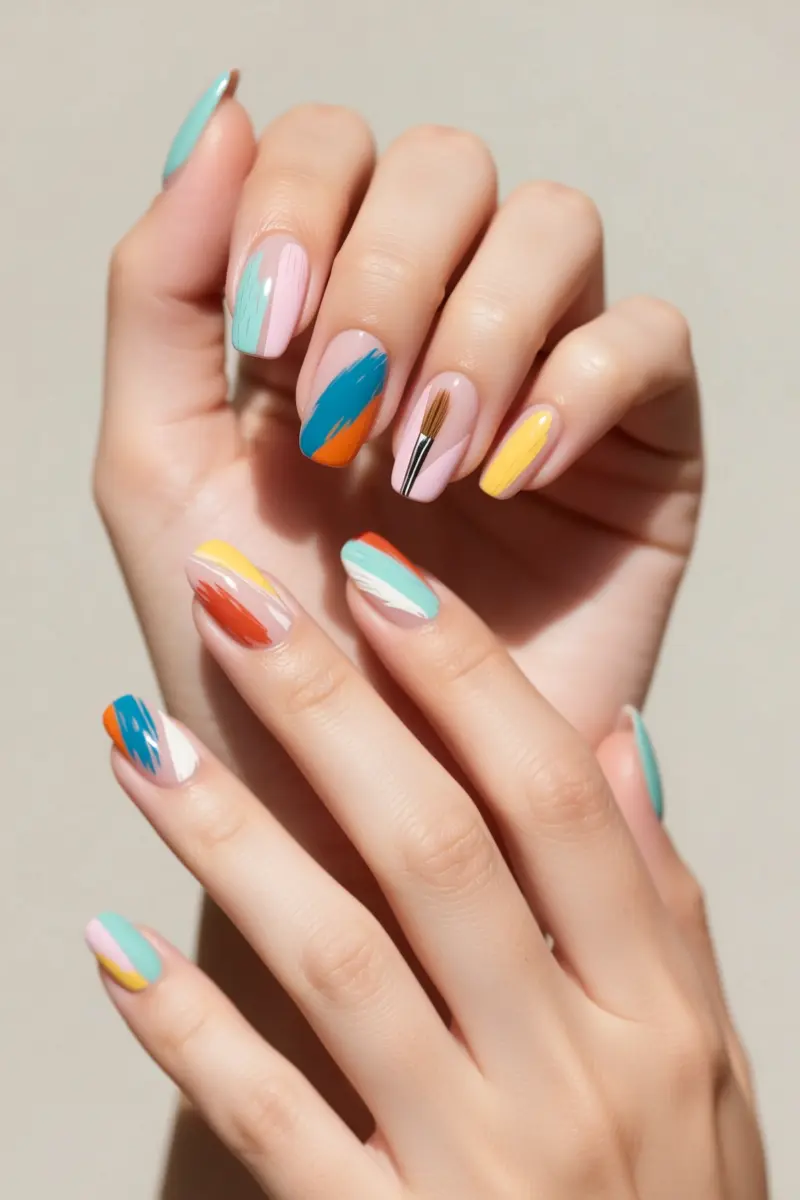
Abstract nail art is all about embracing uniqueness. Use a mix of bold and pastel colors to create a one-of-a-kind design.
Asymmetry is key, so don’t be afraid to experiment with uneven shapes and brushstrokes. A flat brush is great for broad strokes, while a detail brush is perfect for adding fine lines.
Dry brushing is a technique that adds texture and depth to your design. Marbling is another effect that can be achieved by dragging a toothpick through wet polish.
Try combining brights with neutrals for a striking contrast. Bold contrasts can make or break a design, so play around until you find the perfect balance.
A small brush is essential for adding intricate details. Practice makes perfect, so don’t be discouraged if your first attempts don’t turn out as expected.
3. Gleaming Chrome Finish
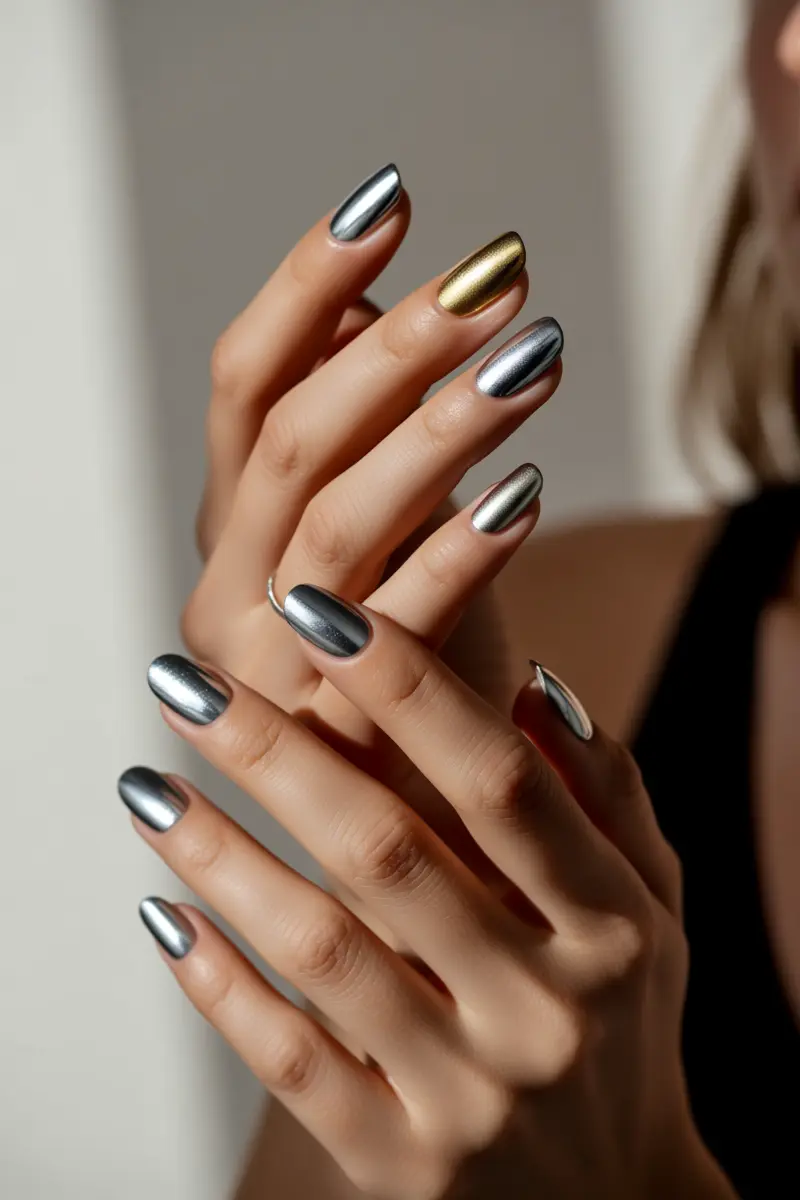
Chrome nails are a game-changer. They offer a mirror-like finish that’s hard to resist. To achieve this look, start with a gel polish base coat in a neutral shade.
Apply a thin layer of chrome powder on top for a subtle effect. For a bolder look, use a darker base color and layer the chrome powder for depth.
The application process can be tricky, requiring a steady hand and the right technique. When done correctly, the result is stunning.
The chrome finish looks incredible under different lighting, from natural to artificial. It’s satisfying to see the light reflect off the nails.
Proper topcoat application is crucial to prevent chipping. This requires expertise and a gentle touch. With the right technique, chrome nails can last for weeks without losing their gleam.
4. French Tip Revamp
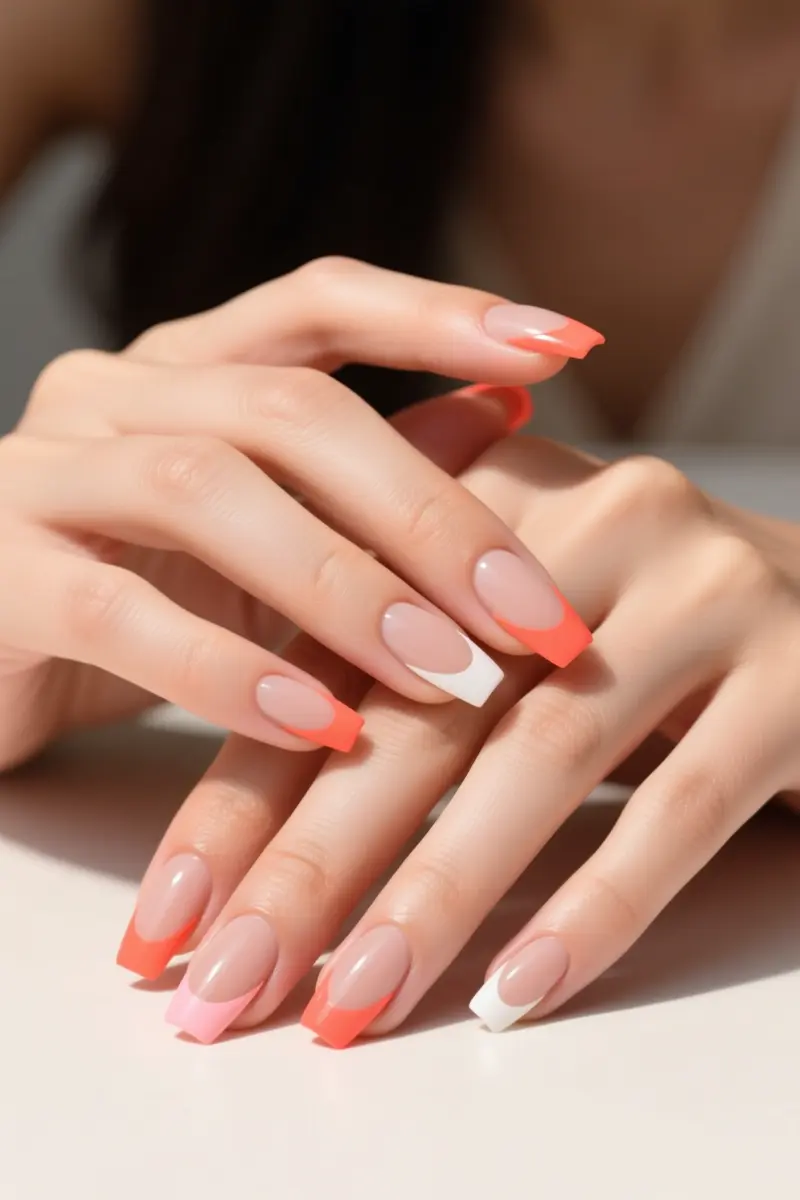
The classic French tip gets a modern makeover with bold twists. Colored tips add a pop of personality to this timeless look.
Try pairing bright coral tips with neutral nails for a chic contrast. Glitter tips bring a touch of luxury and sophistication. Double French tips create a unique, edgy vibe.
Abstract wavy lines instead of straight ones add a playful touch. To customize this look, choose a tip color that complements your skin tone.
I’ve seen how a bold red tip can instantly elevate a manicure, giving it a dramatic, glamorous feel. On the other hand, a soft pastel tip can create a soft, romantic vibe.
Experiment with different tip colors to find the one that suits your style. A metallic tip can add a sleek, contemporary touch.
5. Matte Elegance
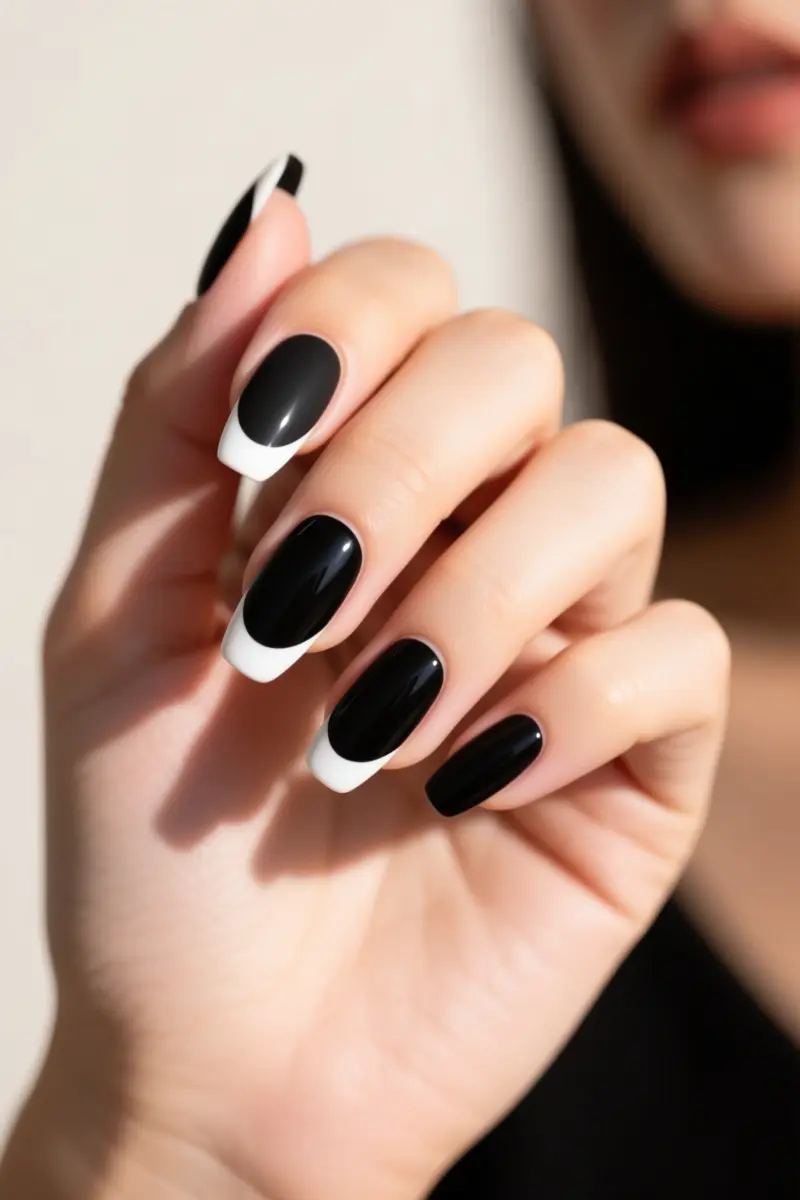
Matte nails exude sophistication. A matte topcoat can transform any color or design, giving it a velvety finish.
This chic look is perfect for those who want to stand out from the glossy crowd. To add contrast, pair matte with glossy elements, like metallic accents or rhinestones.
When selecting a matte topcoat, choose a high-quality one for a long-lasting finish. High-quality matte topcoats can outlast glossy ones by several days.
They are less prone to chipping and fading. For a stylish combination, try pairing matte black with glossy white tips. This look is both elegant and edgy.
6. Ombre Gradient Glam
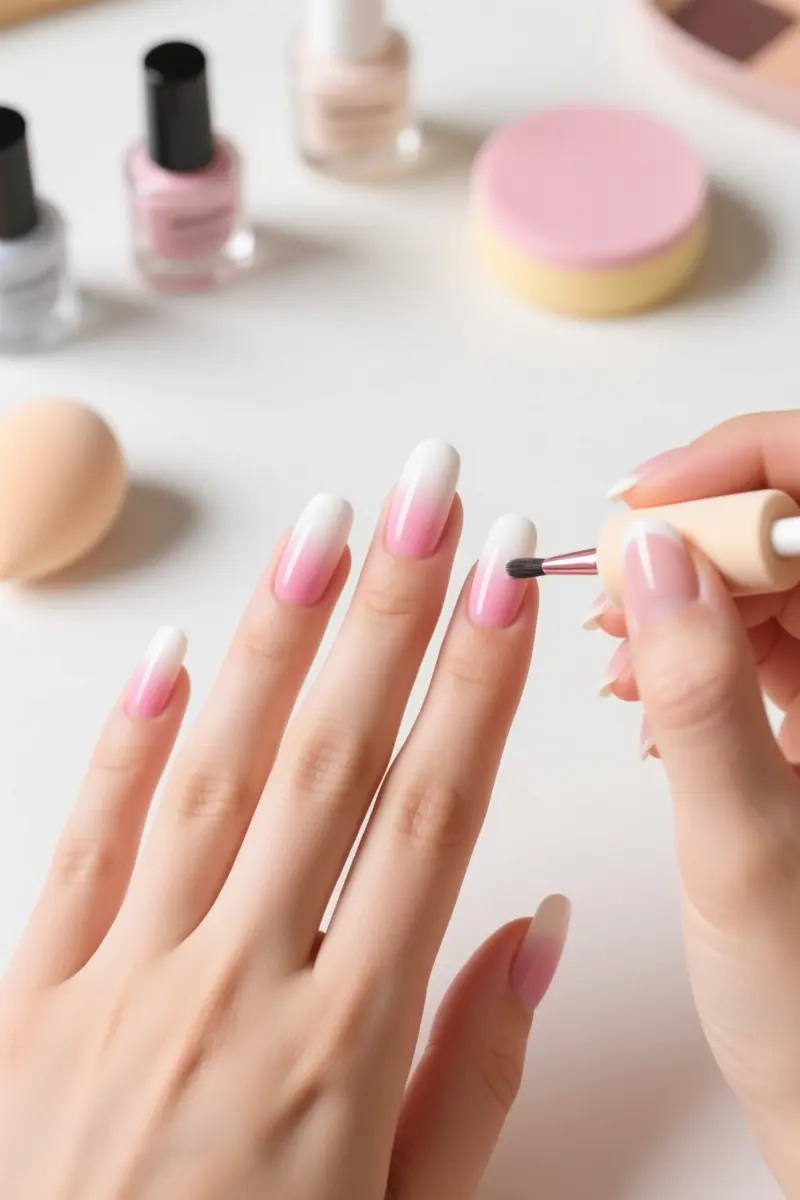
Ombre gradient nails are a classic choice. They can be subtle or bold, depending on your style. Horizontal ombre creates a beautiful, multi-dimensional effect.
Vertical ombre is perfect for those who want a more dramatic look. Diagonal ombre adds a touch of sophistication to any nail design.
To achieve a smooth gradient, use a sponge to blend colors. Start with a light base color and layer on darker shades. For a seamless blend, use a gentle dabbing motion.
Popular color pairings include pastel pink and white, or bold blue and purple. Neutral shades like beige and gray are also great for a subtle ombre effect.
For a bold look, try pairing bright coral with deep red. Or, go for a metallic ombre with silver and gold.
To take your ombre game to the next level, experiment with different sponge application methods. Try using a makeup sponge for a more precise blend.
7. Floral Fantasy & Botanical Bliss
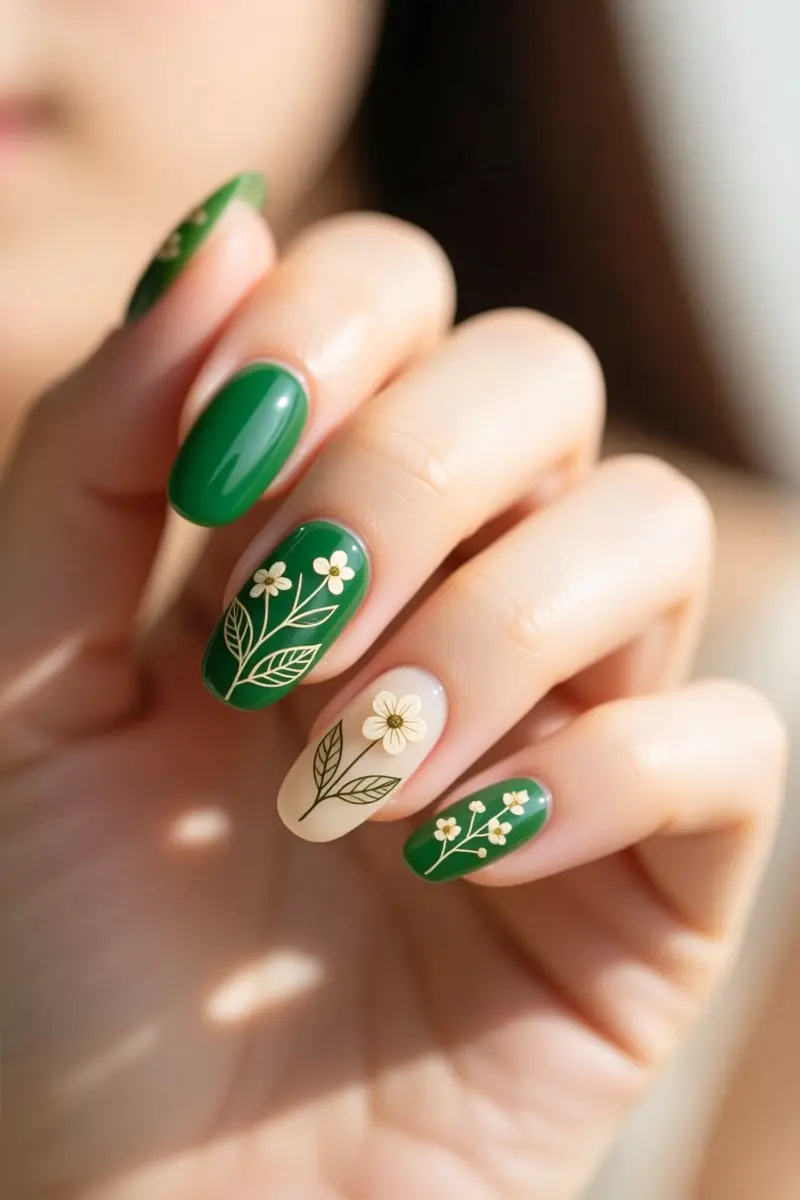
Floral nail art gets a modern twist with micro-florals and delicate line-art leaves. These intricate designs add a fresh touch to any outfit.
During spring and summer, they’re especially perfect for capturing the season’s natural beauty. Pressed flower encapsulations are another way to incorporate florals into your nail design.
This technique involves preserving real flowers in a resin or gel finish, creating a stunning, three-dimensional effect.
For a more subtle look, try pairing micro-florals with neutral colors like beige or soft pink. Line-art leaves can also be used to create a beautiful, whimsical design when paired with bold colors like emerald green.
These modern floral designs bring a touch of elegance and sophistication to any nail look.
They’re perfect for special occasions or everyday wear, and can be customized to fit your personal style.
8. Geometric Patterns & Lines
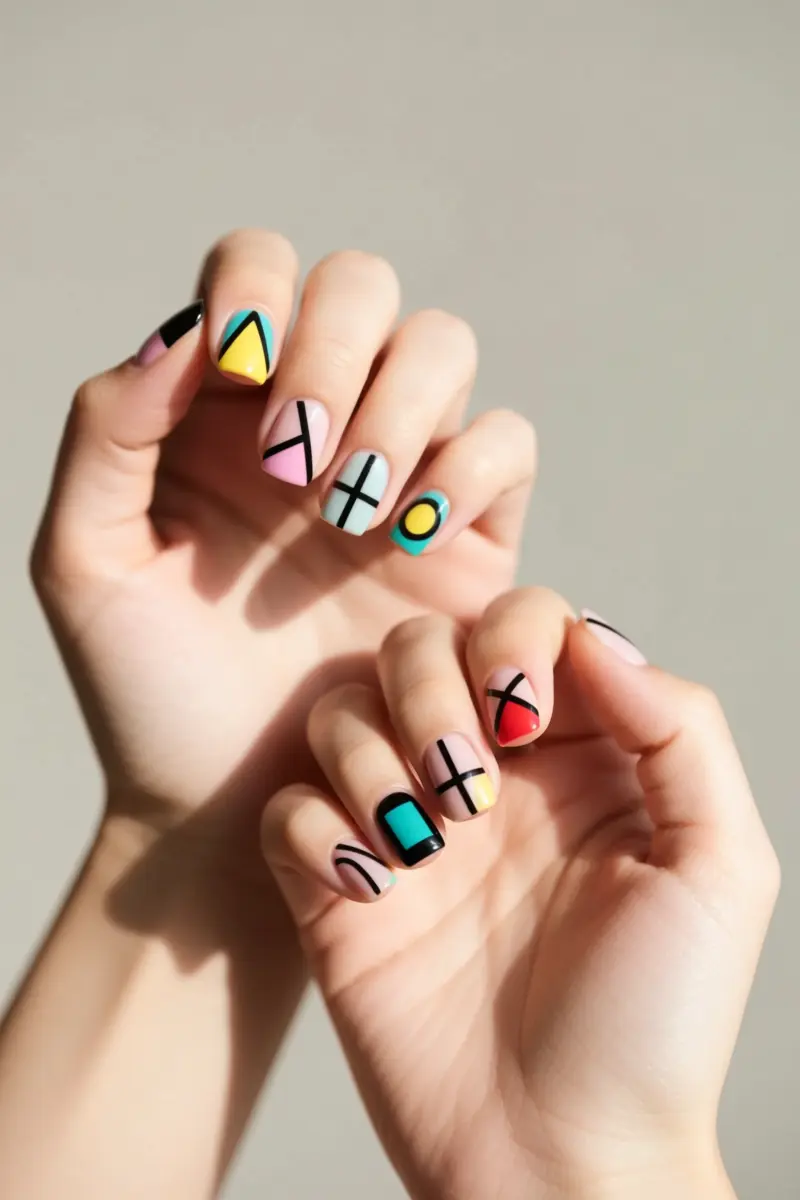
Geometric nail designs are a great way to add some edge to your look. Squares, triangles, and lines can be used to create unique patterns.
To get sharp, clean lines, use striping tape or a fine brush. This technique requires precision, but the result is worth it.
Layering different colors and shapes creates a dynamic visual effect. For example, pair bold black lines with bright colors for a chic look.
Alternatively, use pastel shades with white grids for a softer appearance. When layering, start with a base color and build up your design. This helps prevent smudging and ensures a clean finish.
Fine brushes are ideal for intricate details, while striping tape is better for straight lines and shapes.
To add some extra flair, mix and match different geometric patterns. Combine triangles with squares or lines with circles for a one-of-a-kind design.
9. Glitter & Glam Accents
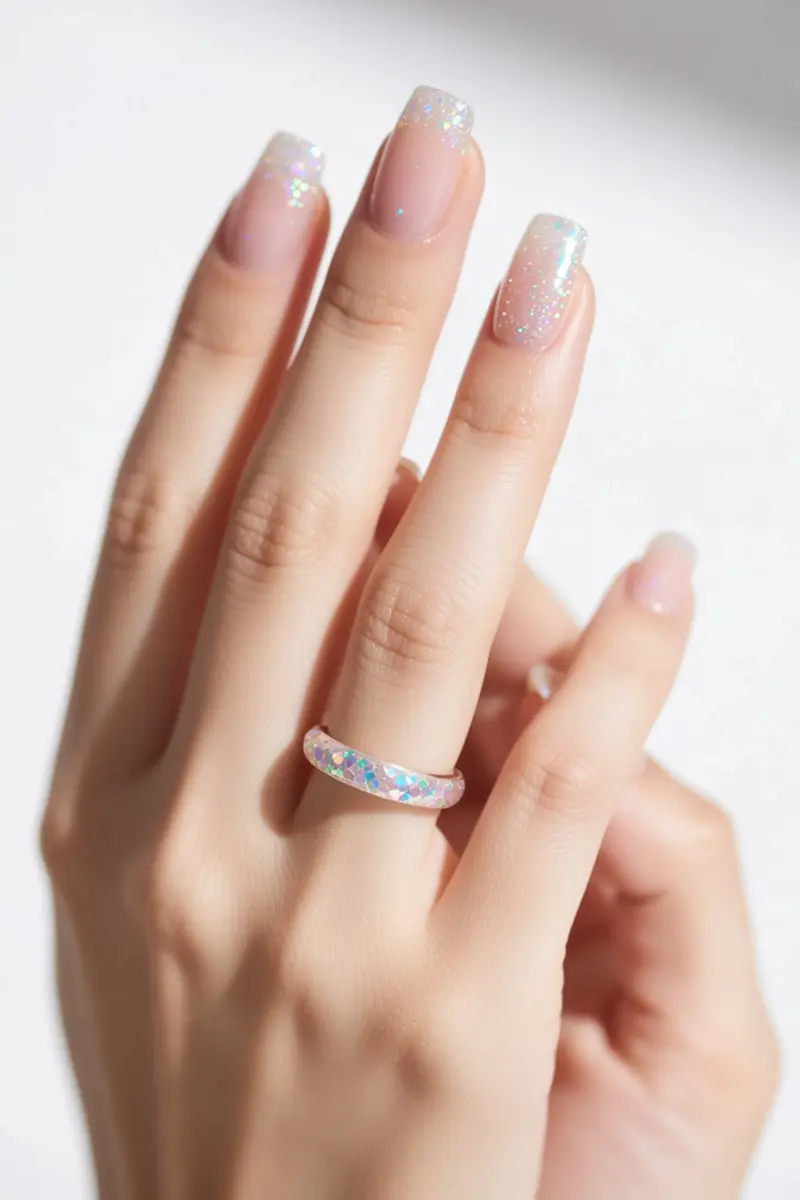
Glitter adds a touch of luxury to any nail design. Fine glitter creates a subtle sparkle, while chunky glitter makes a bold statement.
Iridescent glitter shifts colors in the light, giving nails a mesmerizing effect. For a party-ready look, add glitter accents to a simple manicure.
This transforms the entire style, making it perfect for special occasions. To apply glitter, use a glitter top coat or mix it with clear polish for a DIY approach.
Chunky glitter requires a special adhesive to ensure it stays in place. Fine glitter can be applied with a regular top coat, making it a great option for everyday wear.
With the right application method, glitter nails can last up to a week without chipping. By incorporating glitter, you can elevate a basic nail design into a glamorous, eye-catching look.
Glitter accents can also be used to add a pop of color or create a festive theme.
10. Playful Animal Prints
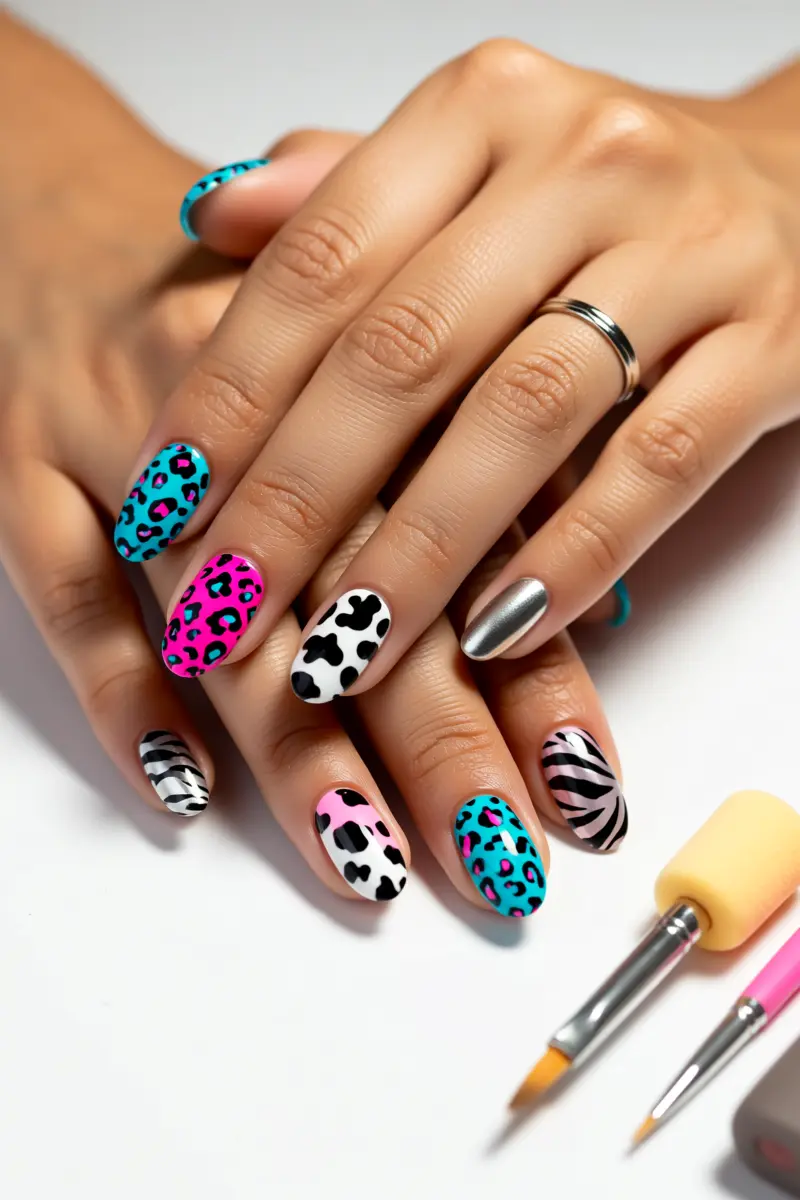
Leopard spots in neon pink and electric blue create a bold look. Zebra stripes in metallic silver and black add edge to any outfit.
Cow print in pastel hues is a fresh take on a classic design. For a modern twist, try pairing animal prints with bright colors like yellow or orange.
Freehand techniques allow for unique, abstract patterns. Stencils provide crisp, precise designs.
To achieve a distressed look, use a sponge or a textured brush. For intricate details, try using a nail art brush with a fine tip.
Animal prints can be mixed and matched for a one-of-a-kind design. Combine leopard spots with zebra stripes for a playful look. Use stencils to add geometric patterns to your animal print design.
11. The Negative Space Revolution
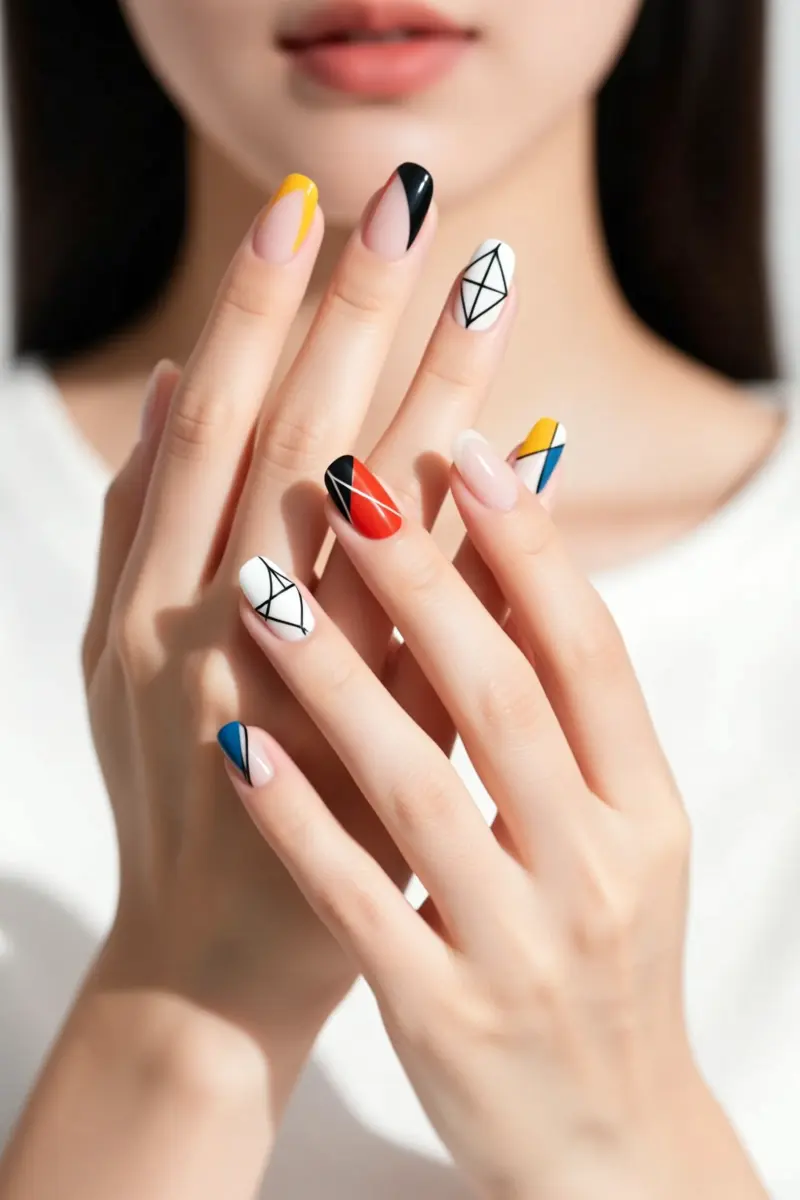
Negative space nail designs are a game-changer. They involve leaving parts of the natural nail exposed to create intricate patterns or outlines.
This technique adds depth and modernity to any design. It’s perfect for those who want a sleek, minimalist look.
By not covering the entire nail, negative space designs create a sense of length. I’ve seen it make nails appear longer and more elegant, especially on almond-shaped nails.
The contrast between the bare nail and the polish creates a beautiful visual effect. It’s a great way to add some edge to a classic design.
For a chic look, try pairing negative space with a bold color. The result is a nail design that’s both stylish and understated.
12. Pearl & Embellishment Power
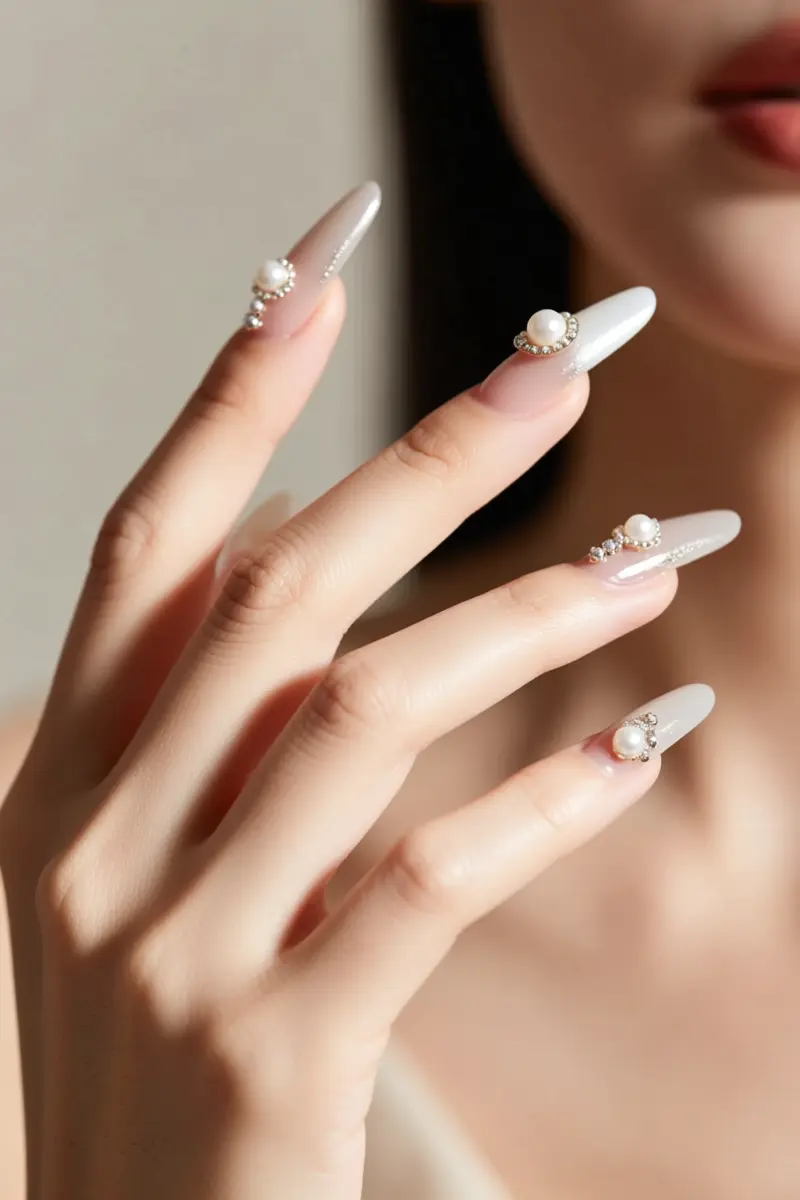
For a luxurious touch, pearls and embellishments can elevate any nail design. Strategically placing a few pearls or studs at the center of your nail creates a beautiful focal point.
To avoid overwhelming the design, balance embellishments with negative space.
Proper adhesion is key to ensuring embellishments stay in place. Use a small dot of nail glue to secure each pearl or stud, then finish with a top coat to seal.
For rhinestones, apply a thin layer of nail adhesive to the back before placing. This prevents lifting and promotes long wear.
To add dimension, mix different textures, such as matte and glossy finishes, with your embellishments.
Placement is also crucial, as embellishments near the cuticle can make nails appear shorter. Instead, place them towards the tip for a lengthening effect.
Time To Get Creative
With these 12 dope nail designs, you’ll be spoilt for choice. Remember to have fun and experiment with different colors and patterns to find the look that’s uniquely you. Save this for your next salon visit or share it with a friend who needs a nail-inspiration boost.
Frequently Asked Questions
What nail designs are currently trending?
Current trends lean towards minimalist designs, abstract art, chrome finishes, and modern takes on French tips. Negative space and subtle embellishments are also very popular, offering a chic and sophisticated look.
How can I make my nail designs last longer?
To extend the life of your nail designs, ensure proper nail preparation, use a high-quality base coat, apply thin layers of polish, seal with a durable top coat, and moisturize cuticles regularly. Avoid using your nails as tools, and consider gel polish for extra longevity.
What nail shape is best for intricate designs?
Almond, coffin, and square nail shapes generally provide ample surface area for intricate and detailed nail designs. Longer nails naturally offer more space for complex art, but many minimalist and abstract designs work beautifully on shorter, rounded nails as well.
Can I achieve professional-looking nail designs at home?
Yes, many stylish nail designs can be achieved at home with practice and the right tools. Investing in good quality polishes, fine brushes, dotting tools, and striping tape can help you create impressive looks. Start with simpler designs and gradually work your way up to more complex ones.
How often should I change my nail design for optimal nail health?
It’s generally recommended to change your nail design every 2-3 weeks, especially if you’re using gel or acrylics. This allows you to assess the health of your natural nails and give them a break from products if needed. For regular polish, you might change it more frequently based on chip resistance.