
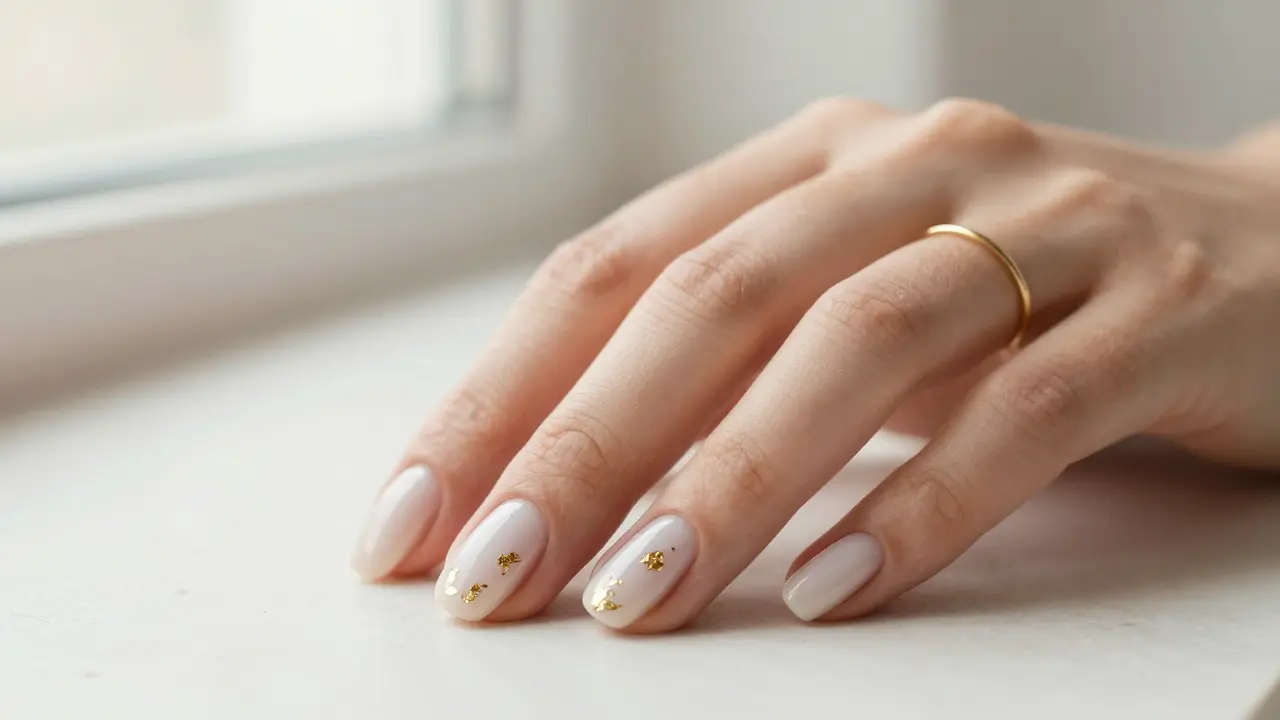
Gold Quiet Luxury Nails: 12 Minimalist Designs That Actually Look Expensive
Minimalist nails don’t have to be plain beige. The quiet‑luxury movement promises subtle sparkle, but most salon trends demand endless touch‑ups and pricey chrome powders that scream cheap if they aren’t sealed right.
A golden twist lets you add a metallic accent that stays elegant, provided you use a non‑wipe gel top coat cured for 15‑30 seconds and finish with a hard‑durability layer.
If you’re on a shoestring budget or can’t commit to a reinforced top coat, skip the micro‑gold designs; they’ll chip in three days. The look flatters olive and dark complexions with warm yellow gold, while champagne tones suit cooler fair skin.
1. The Micro Gold French Tip
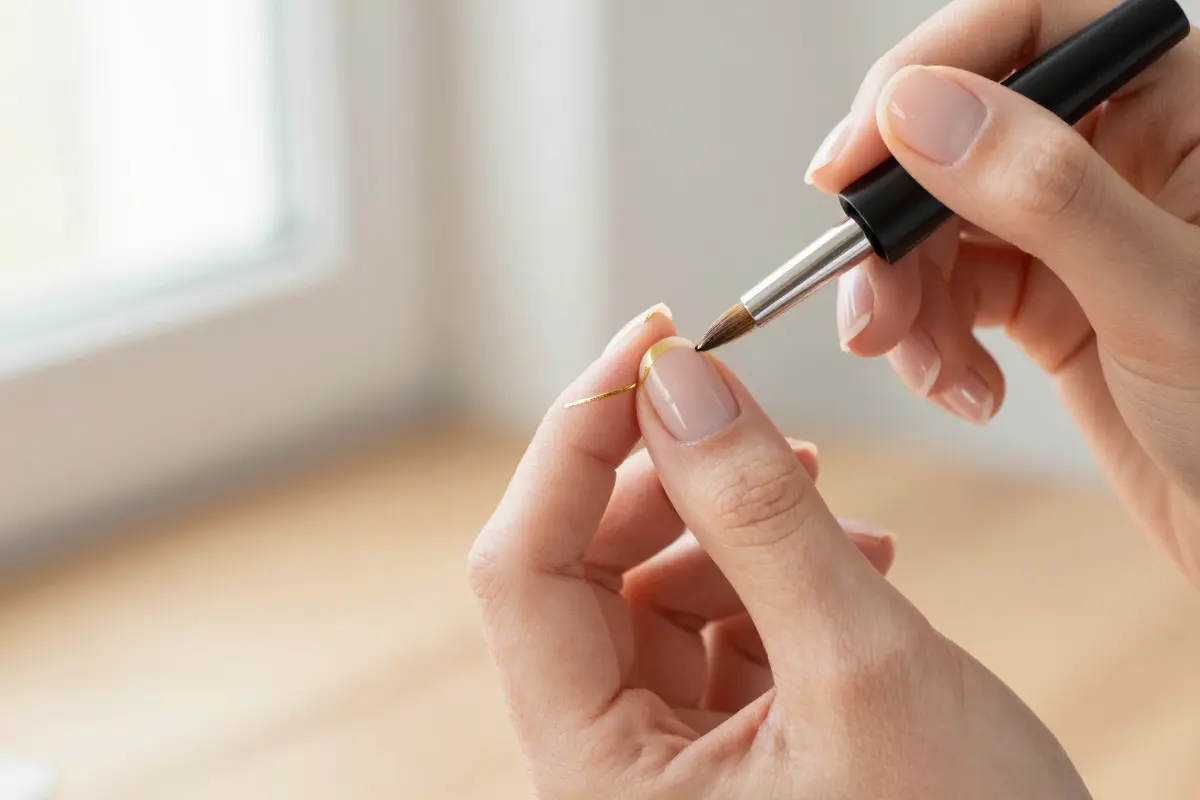
The Micro Gold French Tip adds an ultra‑fine gold line to the free edge for a luxe, minimalist look. Start with clean, pushed‑back cuticles, then apply two thin sheer nude coats and let them dry fully.
Load a 9 mm 00‑detailer brush sparingly so the bristles are damp, not flooded, and draw a smooth arc from one side of the free edge to the opposite corner, anchoring the wrist and exhaling.
Clean the line with an acetone‑soaked angled brush, then seal with a top coat. The finish lasts longer on structured gel overlays; on natural nails, the micro tip chips within a week.
- elegant minimalism
- precise application required
- quick chip on soft nails
- needs steady hand
uneven arcs appear on very short nails without practice
2. Milky White Base with Raw Gold Foil Flakes
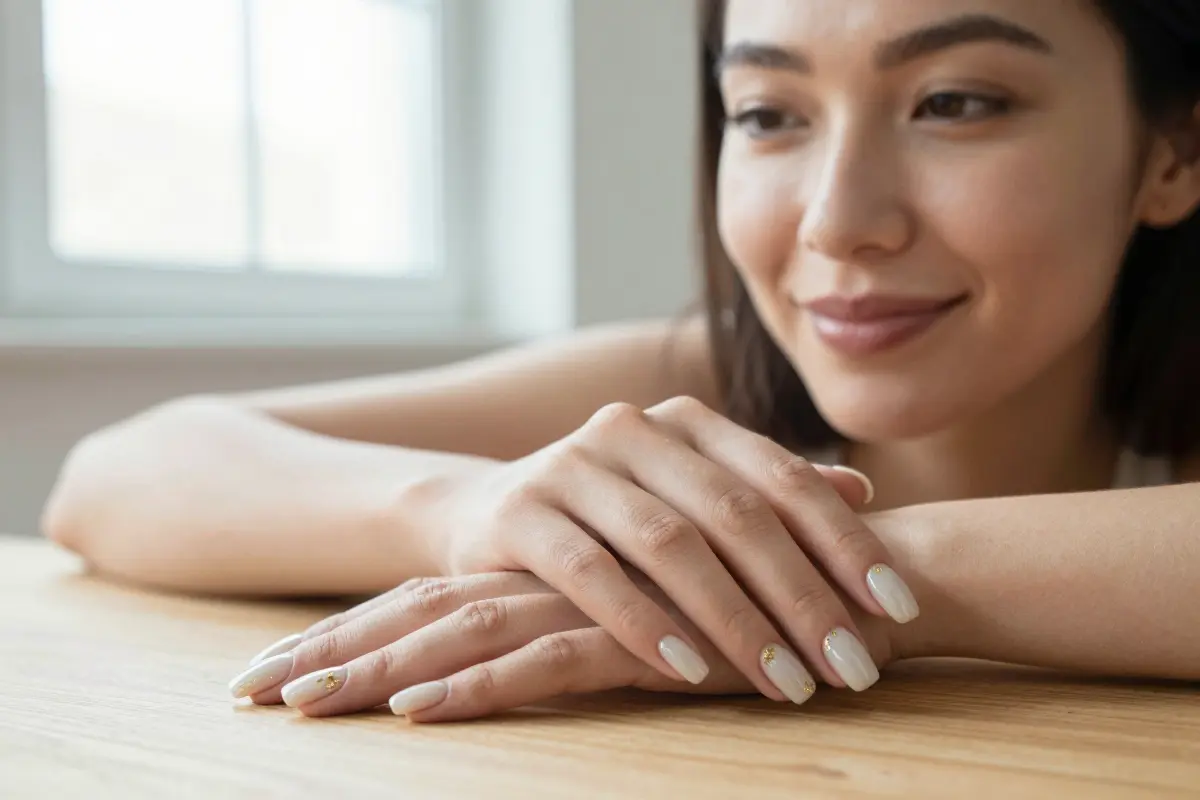
A milky white base scattered with raw gold foil flakes looks like a soft cloud with flecks of real metal in it.
The milky tone keeps the nail clean and neutral, while the irregular foil pieces add a hand-finished, slightly imperfect shimmer that reads as expensive rather than sparkly.
It flatters nearly every skin tone, and the sheer white forgives uneven nail beds better than a solid color.
Foil needs the right surface to grip. Cure the milky base, apply a thin layer of no-wipe gel top coat, and cure only for 5‑10 seconds so it stays tacky.
Press small flakes on with a silicone tool or a dry brush, then seal with a second no-wipe top coat, brushing over each flake edge so none lift.
Skip that seal and the flakes catch on sweaters and peel within days. Place pieces away from the free edge, since flakes there chip first.
The design suits short to medium nails and works on natural nails with a gel overlay. A jar of gold foil flakes costs roughly $5‑$12 and covers many manicures, while a salon set typically runs $45‑$80.
Real gold leaf is thinner and more delicate than craft foil, so use nail-grade flakes, which hold their shape better under a top coat.
- forgiving on uneven nails
- cheap, long-lasting supplies
- flakes lift without a full seal
- tricky to place on regular polish
Tear the foil into tiny pieces before placing them, since small irregular flakes look more refined than large sheets
Foil dragged by a brush smears into the milky base, so lift flakes straight on and straight off rather than sliding them
3. Champagne Gold Chrome Ombré
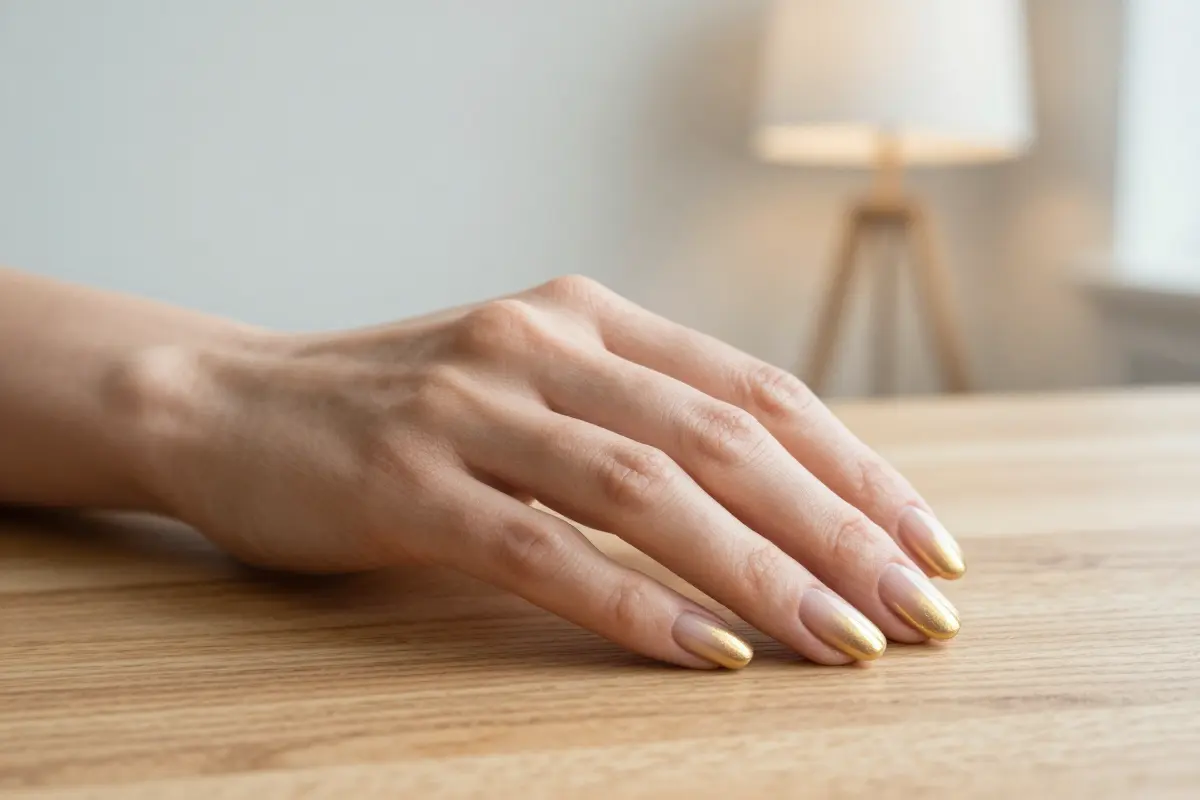
Champagne Gold Chrome Ombré blends a nude cuticle base into a mirror‑like champagne gold tip on ombre nails. The soft beige‑gold shimmer follows the 2026 trend toward gentler metallics, making it ideal for professional settings or understated glam.
Start with a clean French base, apply a thin layer of non‑wipe gel, then dust champagne gold chrome powder.
Cure under a lamp for exactly 8‑10 seconds, then buff gently to lock in a mirror finish. Finish with a top coat and a quick wipe to remove residue.
- Apply nude French base
- Add thin non‑wipe gel layer
- Dust champagne gold chrome powder
- Cure 8‑10 seconds
- Buff to mirror finish
Use a soft silicone brush to avoid streaks; works well for nail techs seeking flawless gradients
4. Matte Nude with a High-Shine Gold Cuticle Band
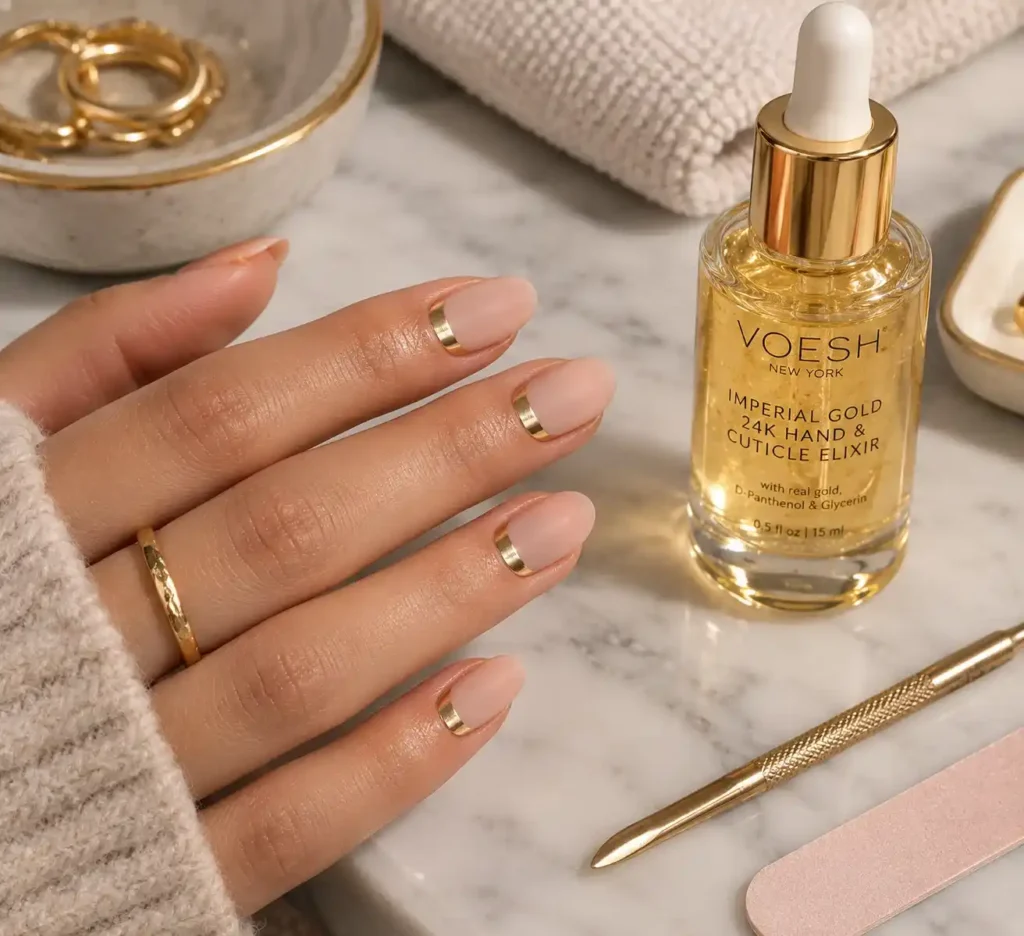
A matte nude base paired with a high‑shine gold cuticle band creates a luxe contrast that feels quiet yet pricey.
The flat matte coat lets the metallic band pop, making the nails look salon‑finished. Because the gold sits at the cuticle, flawless eponychium prep is non‑negotiable; even a tiny overgrowth can lift the polish in a day.
Apply VOESH Imperial Gold 24K Hand & Cuticle Elixir first; its real gold, D‑Panthenol, and glycerin keep cuticles hydrated, reducing lift risk. The elixir retails around $15‑$25. Best for short to medium lengths where the band stays visible; longer nails may hide the detail.
- high contrast impact
- matches any outfit
- needs perfect cuticle prep
- gold may lift if uneven
Overgrown eponychium will cause gold polish to lift and peel quickly
5. The Abstract Gold Thread
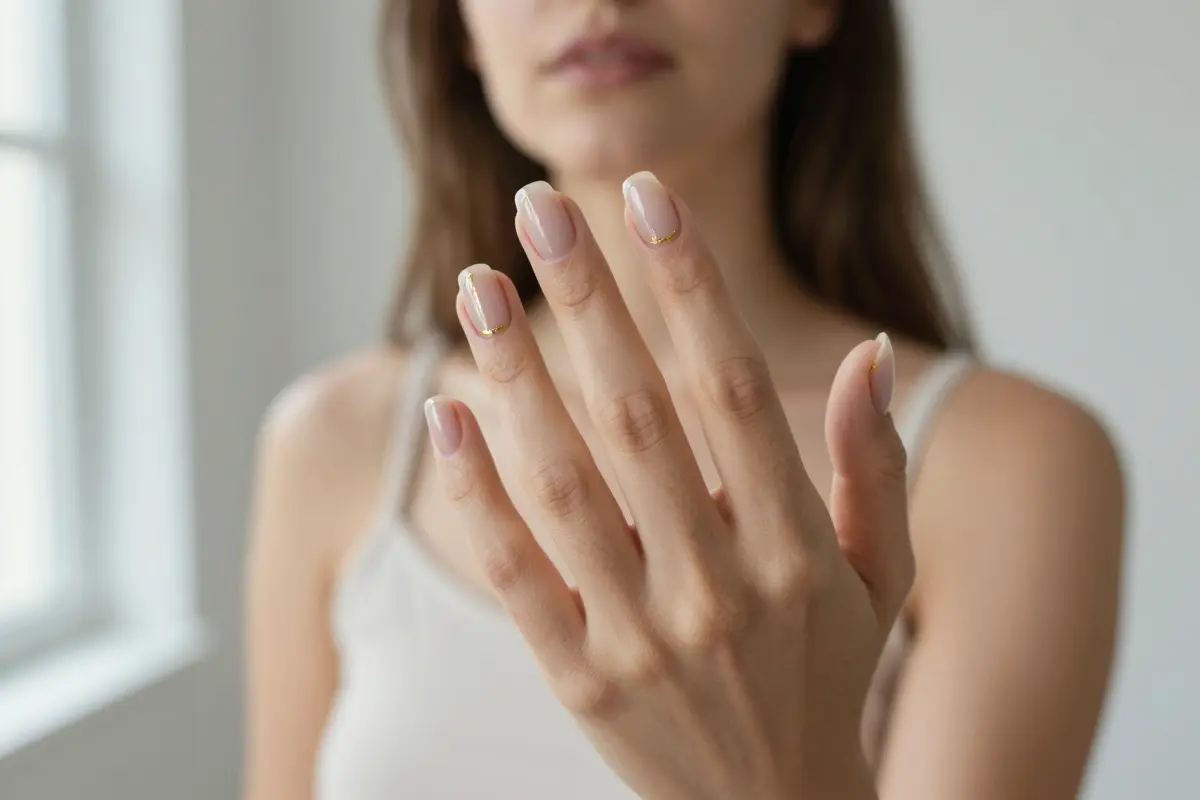
The Abstract Gold Thread is a single, fluid gold line hand‑painted across a sheer blush base. The line sweeps asymmetrically, so the design looks intentional even as the cuticle grows.
Busy professionals love it because the gold stripe disguises nail regrowth, letting you stretch appointments to three weeks.
The look feels like minimalist art while still shouting quiet luxury. It suits skin tones that show a pink undertone and anyone who prefers a subtle sparkle over full‑cover glitter. Reapply a clear top coat every few days to keep the line glossy.
Use a fine‑tipped brush and let the gold dry before applying top coat for longer wear.
- hides regrowth
- adds luxe feel
- needs steady hand
- may chip faster
6. Sheer Pink with Micro-Mini Gold Studs
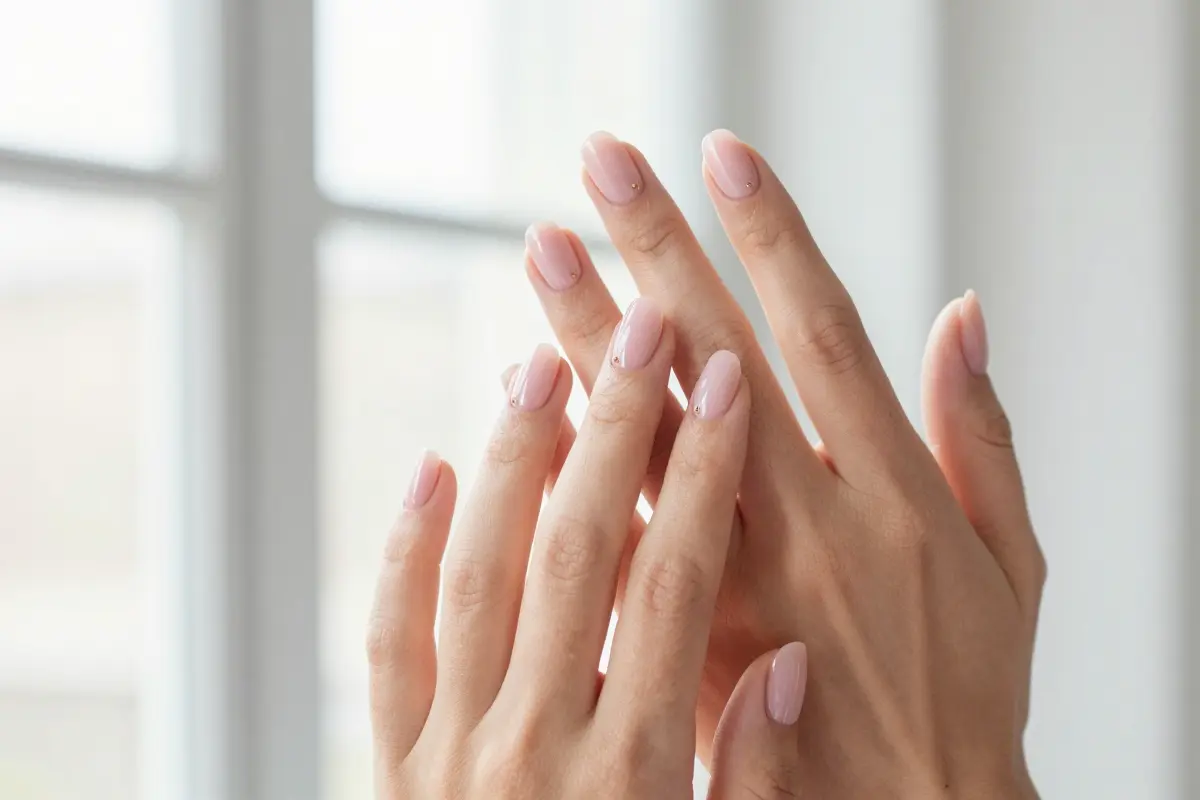
Sheer pink with micro‑mini gold studs adds a subtle sparkle to a soft base. The look pairs a milky sheer pink polish with a single 3D gold stud placed near the cuticle on each nail.
It works best on short oval or squoval shapes, where the tiny accent stays visible without overwhelming the minimalist vibe.
- adds luxe feel
- easy to apply
- prone to snagging
- needs gel seal
The studs create a quiet luxury that catches light without shouting.
This design looks especially elegant on fair skin tones.
3D charms can catch on knits and fine hair unless sealed with structural gel glue
For durability, press each stud with a thin layer of structural gel and cure for ten seconds.
7. Warm Tortoiseshell with Gold Leaf Highlights
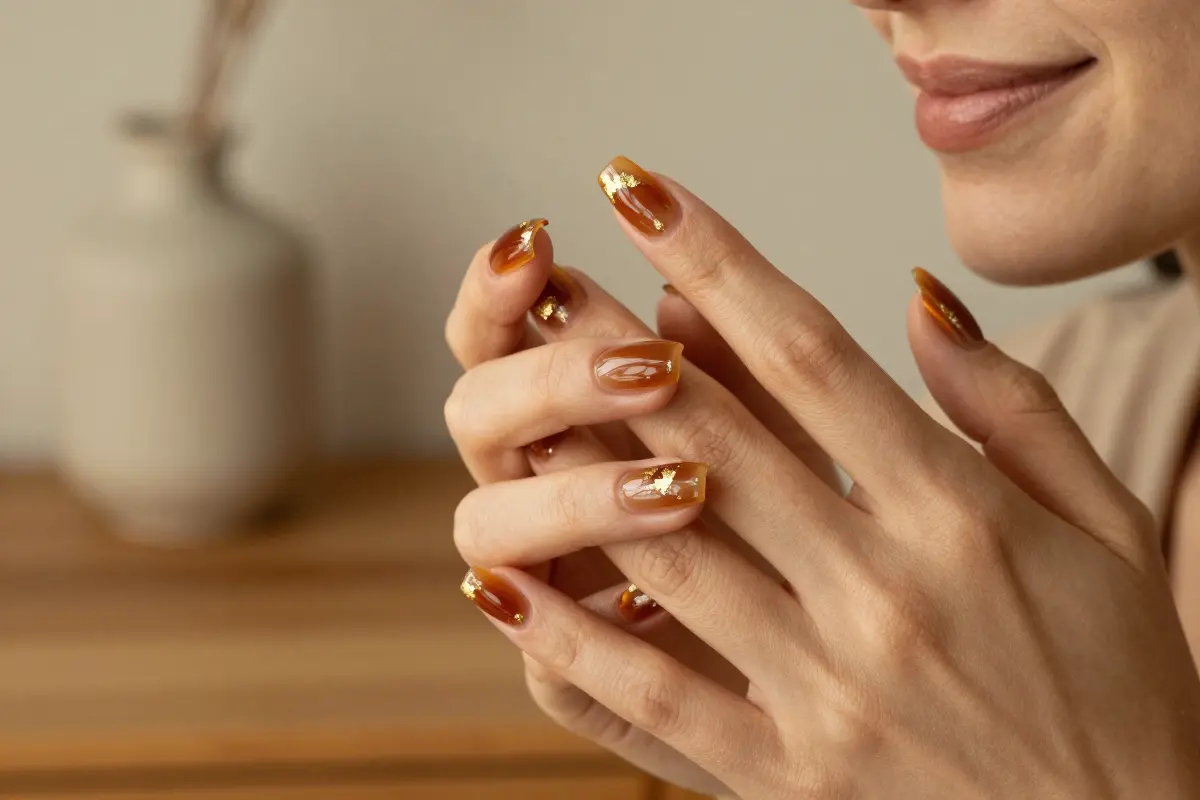
Warm Tortoiseshell with Gold Leaf Highlights blends amber and brown jelly polish with gold leaf for a luxe effect.
The amber base mirrors warm undertones, while the brown adds depth; color theory says gold leaf amplifies this harmony on warm skin. Apply a thin amber jelly, let it set, then layer a translucent brown over the tip, leaving a sliver of amber exposed.
Press tiny gold leaf flakes onto the exposed amber for a subtle sparkle that catches light without overwhelming. A common mistake is sealing the leaf too early, which causes it to lift during wear.
Apply gold leaf while the polish is still tacky for strongest bond
- Adds depth
- Complements warm skin
- Requires steady hand
- Can chip quickly
8. Negative Space Half-Moon in Metallic Gold
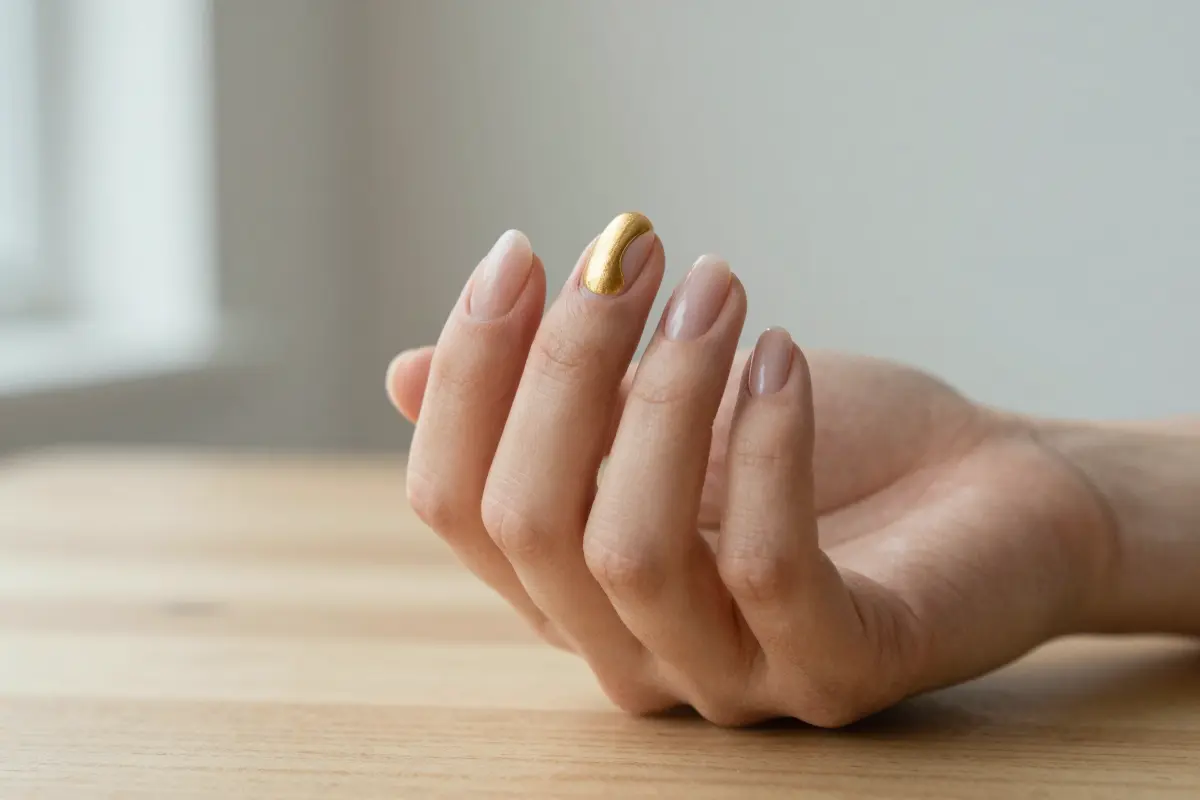
The Negative Space Half‑Moon in Metallic Gold gives a sleek, vintage vibe while hiding nail growth.
It paints a crescent at the lunula with metallic gold lacquer, leaving the rest of the nail bare for a clean negative‑space look. Because the gold band stays above the cuticle, the visible gap during regrowth shrinks, letting the manicure stay tidy for up to four weeks.
Vintage lovers and fans of architectural lines find it especially flattering.
Pair the gold half‑moon with a matte top coat on the free nail for contrast.
- elegant, low‑maintenance
- limited contrast on deep skin tones
- Origin: 1930s‑40s Hollywood
- Placement: crescent at the lunula, rest of the nail bare
- Regrowth hidden: up to 4 weeks
If you have very short nails, a thinner gold line may disappear quickly, so a full‑moon version works better.
9. Liquid Gold Velvet Cat-Eye
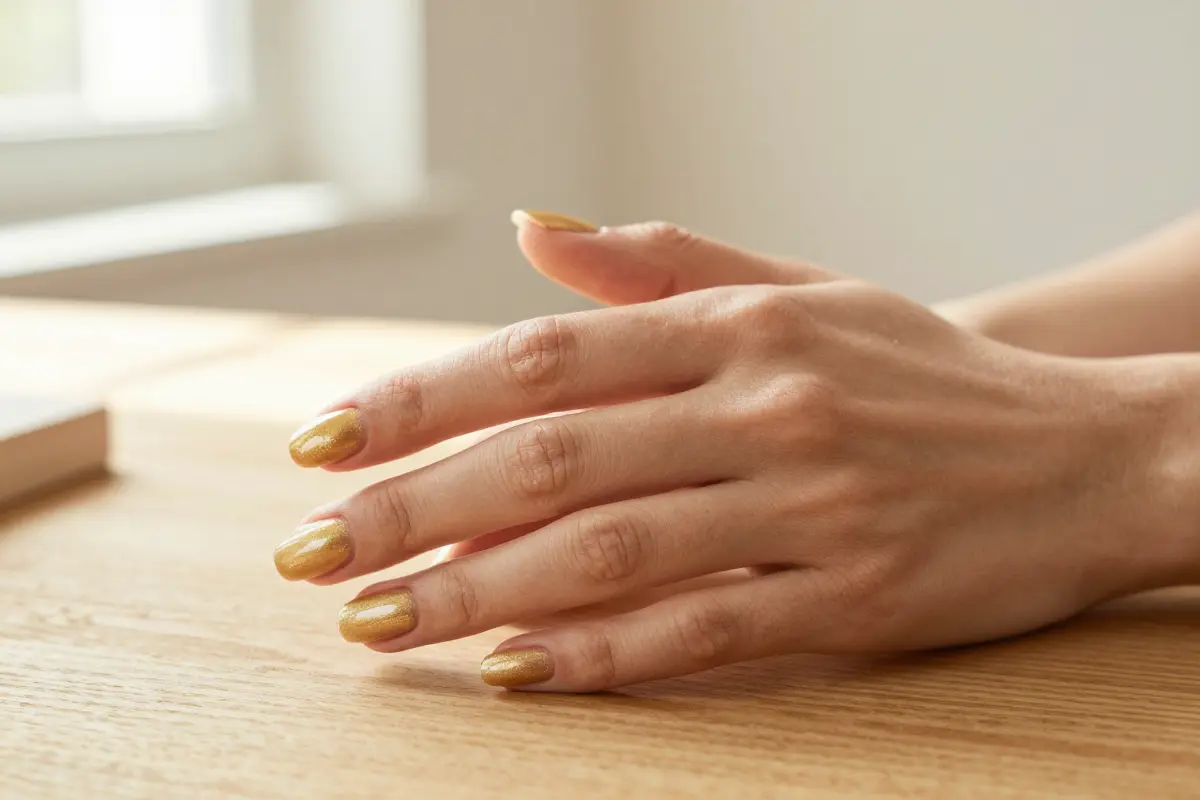
Liquid Gold Velvet Cat‑Eye uses magnetic gel polish for a soft, gold‑tinged shimmer. The gel contains iron filings that line up when a magnet passes over the wet surface, but holding the wand 2‑3 cm away and moving it slowly creates a diffused glow instead of a sharp line.
Moonlit Melody’s version is TPO‑HEMA free, comes in a 7.5 ml bottle, and retails around $21, making it a budget‑friendly option for salon‑grade results.
The velvet finish stays glossy for up to a week with proper top coat, so it works well for events or everyday wear.
- Apply nude gel base
- Paint wet magnetic gel
- Hold wand 2‑3 cm away, sweep slowly
- Cure under lamp
- Dust gold velvet powder, cure
Use a light‑touch magnet to keep the cat‑eye subtle
10. Creamy Vanilla with a Vertical Gold Stripe
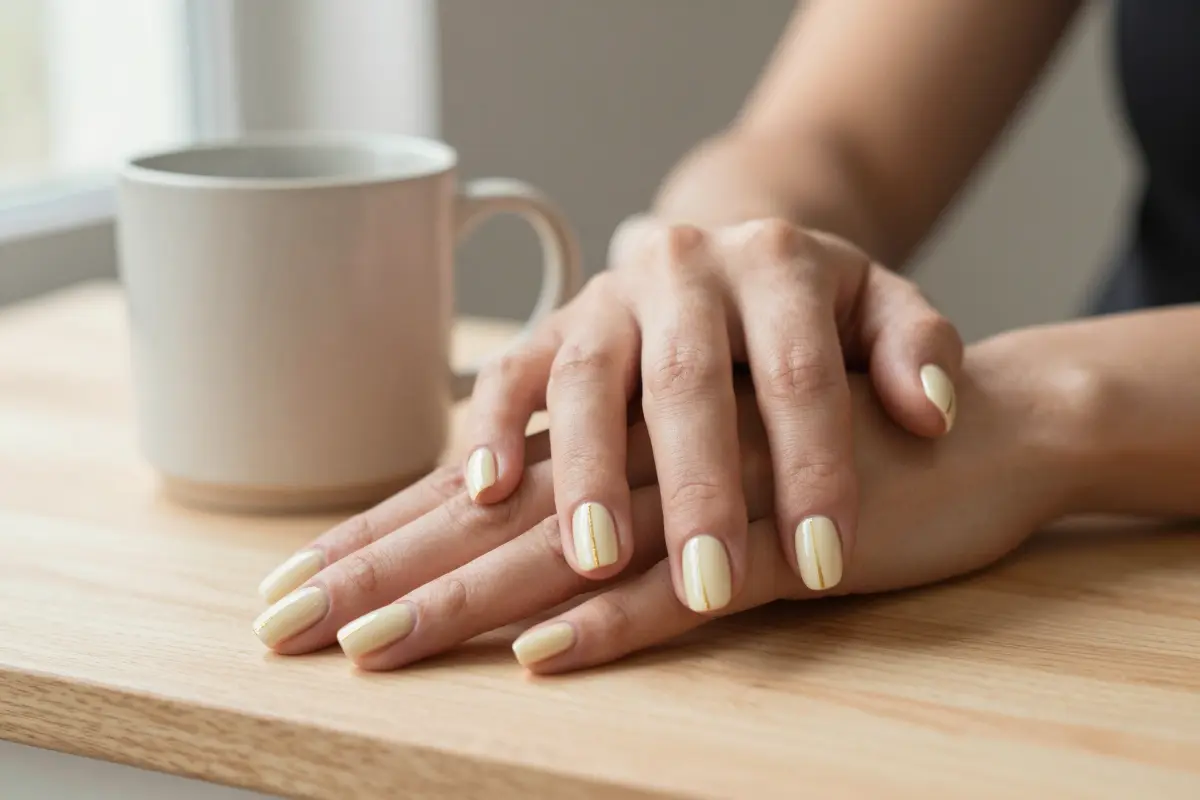
The Creamy Vanilla with a Vertical Gold Stripe design pairs a vanilla‑cream base with a razor‑thin gold line down the center of each nail.
The muted background keeps the look minimal, while the vertical stripe creates a visual elongation that balances short, wide nail beds. Active people appreciate the subtle sparkle that won’t clash with sports gloves or frequent hand washing.
A common limitation is that the thin line can wear quickly on very busy hands, so frequent touch‑ups may be needed. It works best on short to medium nails, where the stripe can fully span the surface.
- subtle luxe
- elongates nails
- requires steady hand
- chip risk on heavy use
Apply striping tape for a crisp, even gold line and seal with a top coat
11. Frosted Pearl Sheer with Gold Dust Shimmer
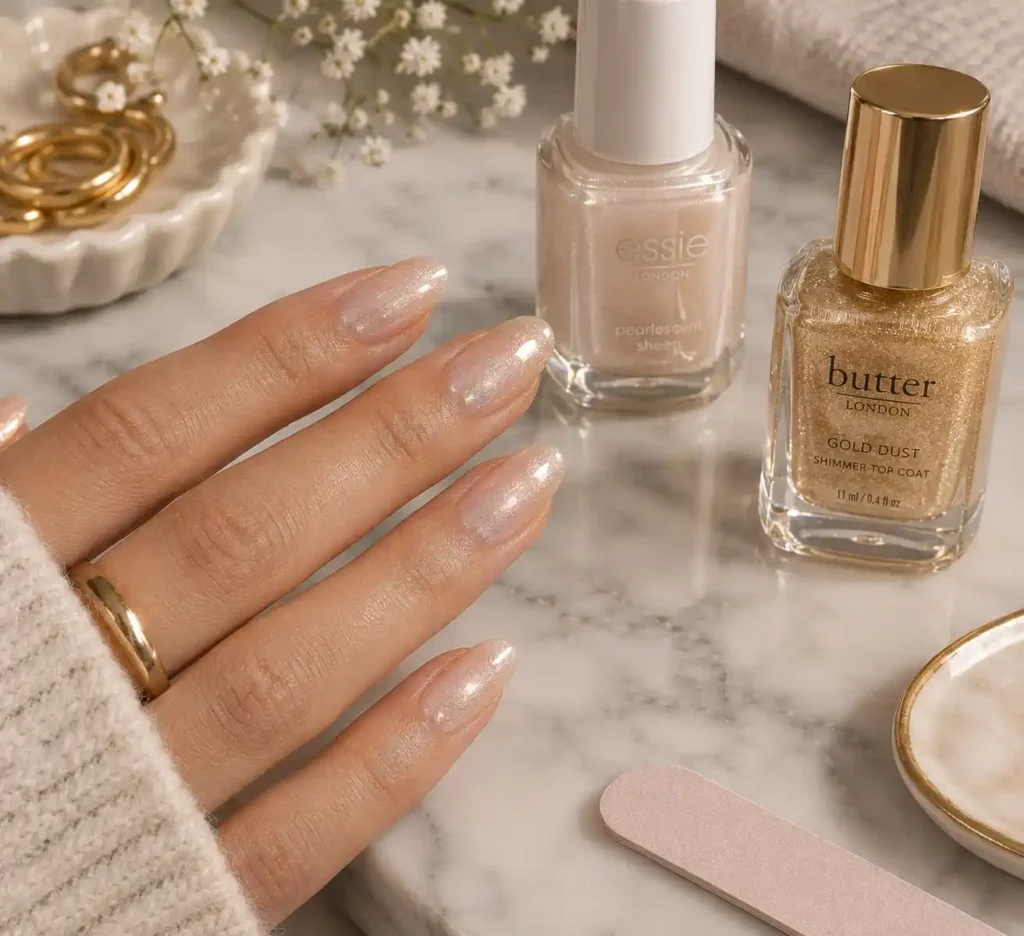
The frosted pearl sheer with gold dust shimmer delivers a muted glam that camouflages brush strokes and minor chips better than solid metallic polishes.
Start with a clear pearlescent sheer base, then sweep a micro‑fine gold shimmer top coat over the wet surface for an even, glassy finish.
Because the shimmer particles are tiny, they fill in tiny imperfections, making the DIY manicure look salon‑polished without painstaking brush work.
A quick tip is to let the base dry completely before applying the top coat; this prevents streaks and extends wear by a day or two. If you prefer a cooler tone, swap the gold for a rose‑gold dust without losing the forgiving quality.
- Pearl sheer polish: $8‑$15
- Gold shimmer top coat: $8‑$18
- Salon application: $40‑$70
Apply thin top‑coat layers to keep shimmer even
12. The Gold Edge Reverse French
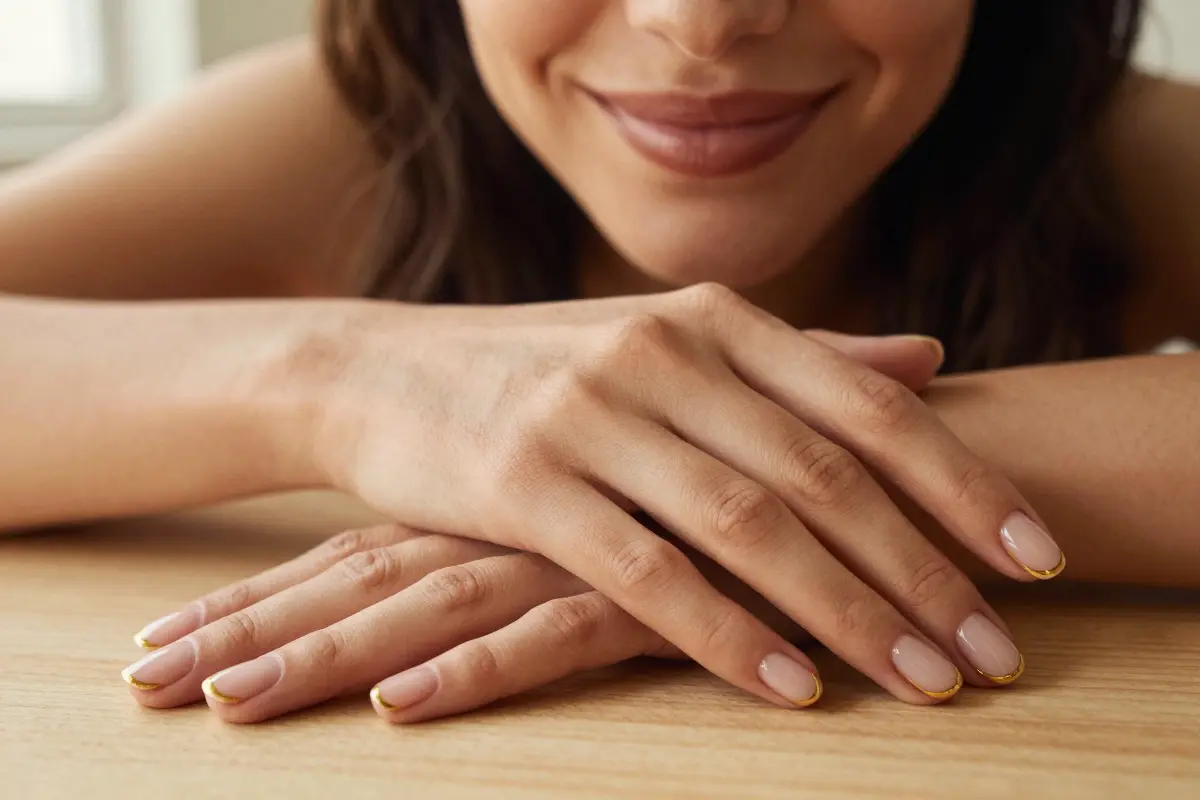
The Gold Edge Reverse French outlines the entire lateral nail folds and cuticle curve with a hairline of gold.
This flip of the classic French places the gold tip at the base, drawing the eye downward for an editorial feel. Nail artist Natalia Mercedes notes the look feels fresh while staying minimal.
For clean edges, prep the cuticle, file the lateral folds smooth, and use a high‑pigment gel to avoid bulky lines.
- Elegant minimalism
- Editorial edge
- Requires steady hand
- Thick line can look heavy
A practical tip: apply the gel with a fine‑point brush and seal with a thin top coat. A quick‑dry top coat locks the line in place. The design shines on medium to long nails; very short nails may look cramped.
Which Look Are You Trying First
Start with a clean, lightly buffed nail and a gel‑friendly base coat. After applying any gold chrome or foil, seal with a non‑wipe gel top coat, cured 15‑30 seconds, then add a hard‑durability finish to stop micro details from chipping in three days. Keep designs tiny on short, natural nails for understated luxury, and store powder or leaf in a dry container to keep its shine.
Pick the design that matches your skin tone and daily schedule, then let the subtle gold do the talking. Save this post for your next at‑home mani or pin it for a salon reference, and feel confident that quiet luxury can be both affordable and lasting.
Frequently Asked Questions
How do you keep gold nail details from chipping?
To prevent chipping, cap the free edge of the nail with your top coat, and always apply a dedicated foil-sealer gel or a thin layer of builder gel over gold chrome or gold leaf before applying your final shiny top coat.
What shade of gold nail polish looks best on cool undertones?
Cool undertones look best in pale golds, champagne shades, or soft white-golds, as deep yellow or copper-toned golds can clash with the skin and make hands look flushed.
Can you do quiet luxury gold designs with regular nail polish?
Yes, but metallic regular polishes show brush strokes easily; for the cleanest look, use a high-quality metallic lacquer with a wide brush, apply it in swift, parallel strokes, and protect it with a fast-drying top coat.