
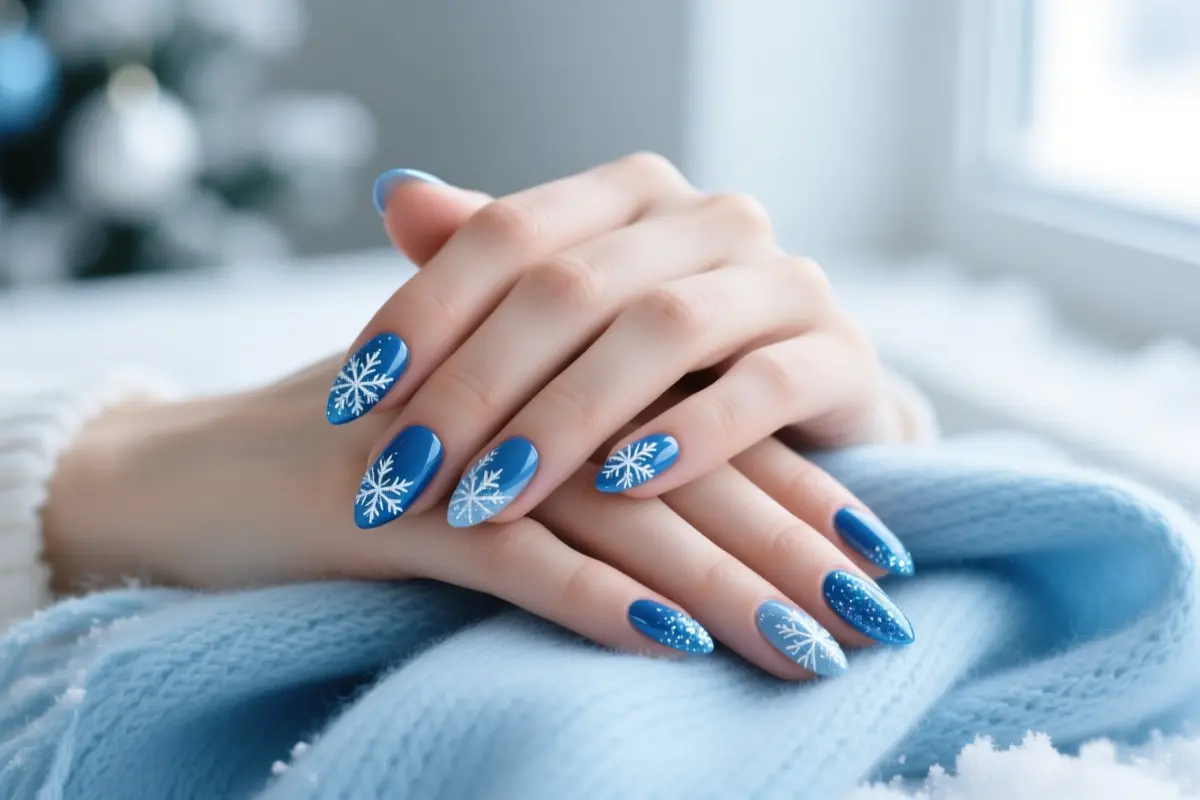
12 Enchanting Blue Christmas Nail Ideas for Winter Sparkle & Icy Chic
Get ready to sleigh the holiday season with icy chic nail art. Blue Christmas nails are the perfect way to add some winter sparkle to your look. From frosty blues to glittering snowflakes, we’ve got 12 enchanting nail ideas to inspire your holiday style.
1. Classic Navy & Silver Glitter
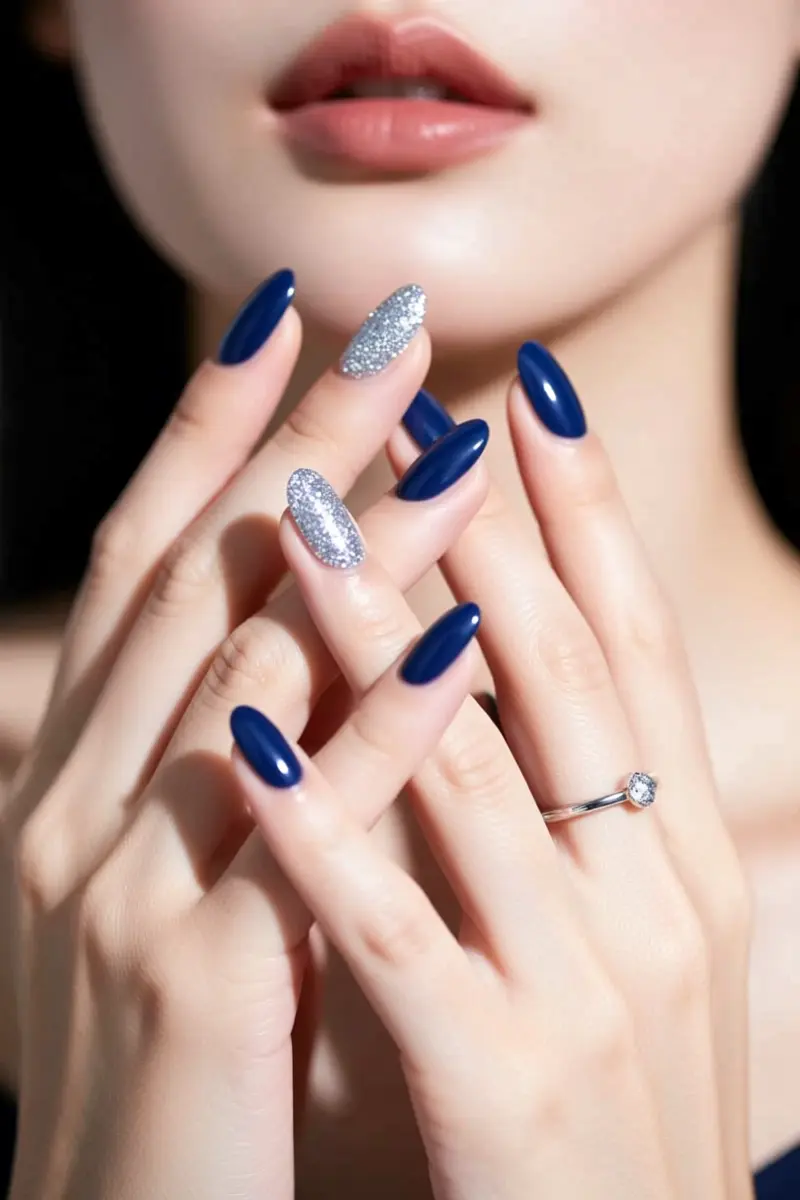
Deep navy blue is a timeless choice for winter nails. Add silver glitter for a look that shines like a starry night. This classic combination works perfectly for both day and evening holiday events.
I’ve found that it transitions seamlessly from a casual daytime gathering to a more formal evening party.
For maximum impact, fine silver glitter is a great choice. It adds a subtle sparkle that catches the light. Chunky glitter can also work well, but be careful not to overdo it to avoid fallout.
A silver glitter accent nail can add a touch of elegance to an otherwise simple look. Alternatively, a full glitter nail can make a bold statement.
2. Frosted French Tips with Blue Accents
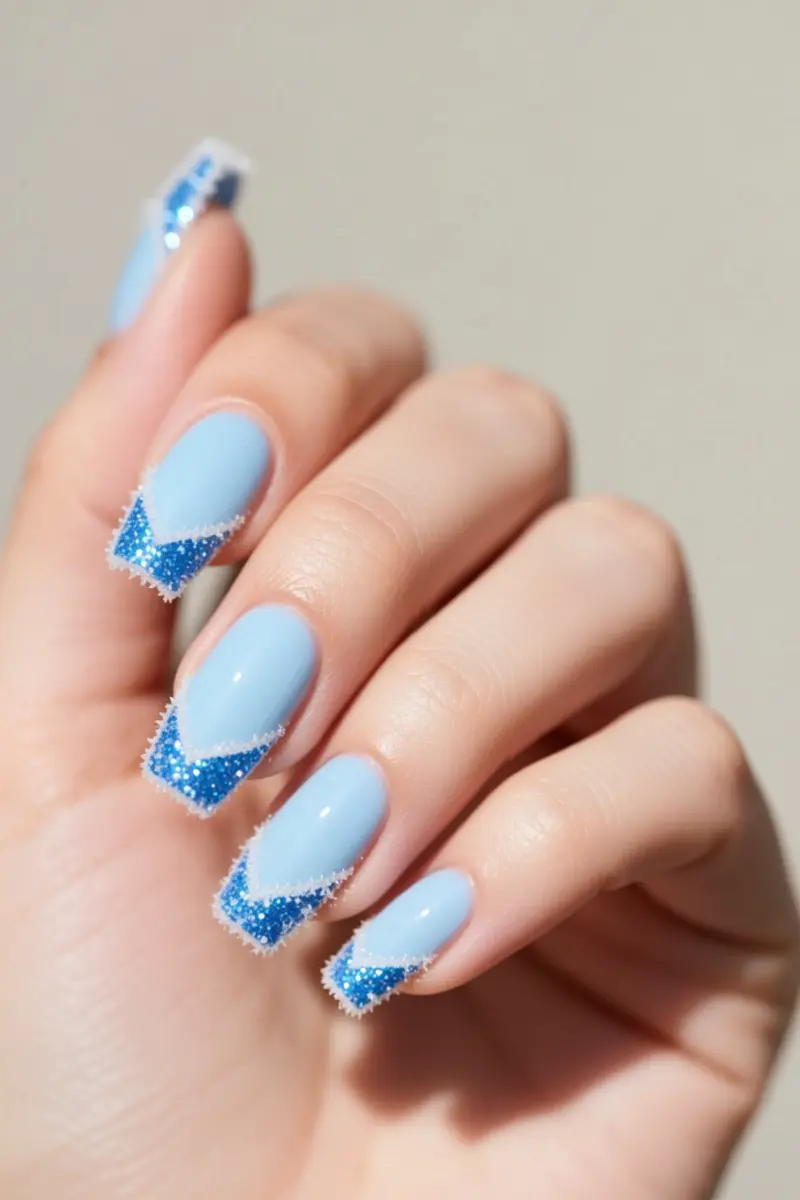
For a sophisticated holiday look, try frosted French tips with icy pale blue or white as the base. Add a frosty, glittery blue tip for a touch of winter sparkle. To achieve a crisp line, use a nail guide or sticker to separate the tip from the rest of the nail.
Blue glitters in shades of sky blue or powder blue work well for the tip. For a professional finish, apply glitter polish in a thin layer, allowing each layer to dry before adding more.
Using striping tape can help create a sharp line between the base and tip. Apply the tape carefully to ensure it is straight and even. Remove the tape after polishing to reveal a crisp, clean line.
Even glitter application is key to a polished look. Use a light touch when applying glitter polish to avoid clumping. With practice, you can achieve a salon-quality finish at home.
3. Midnight Blue Ombre with Snowflake Stamping
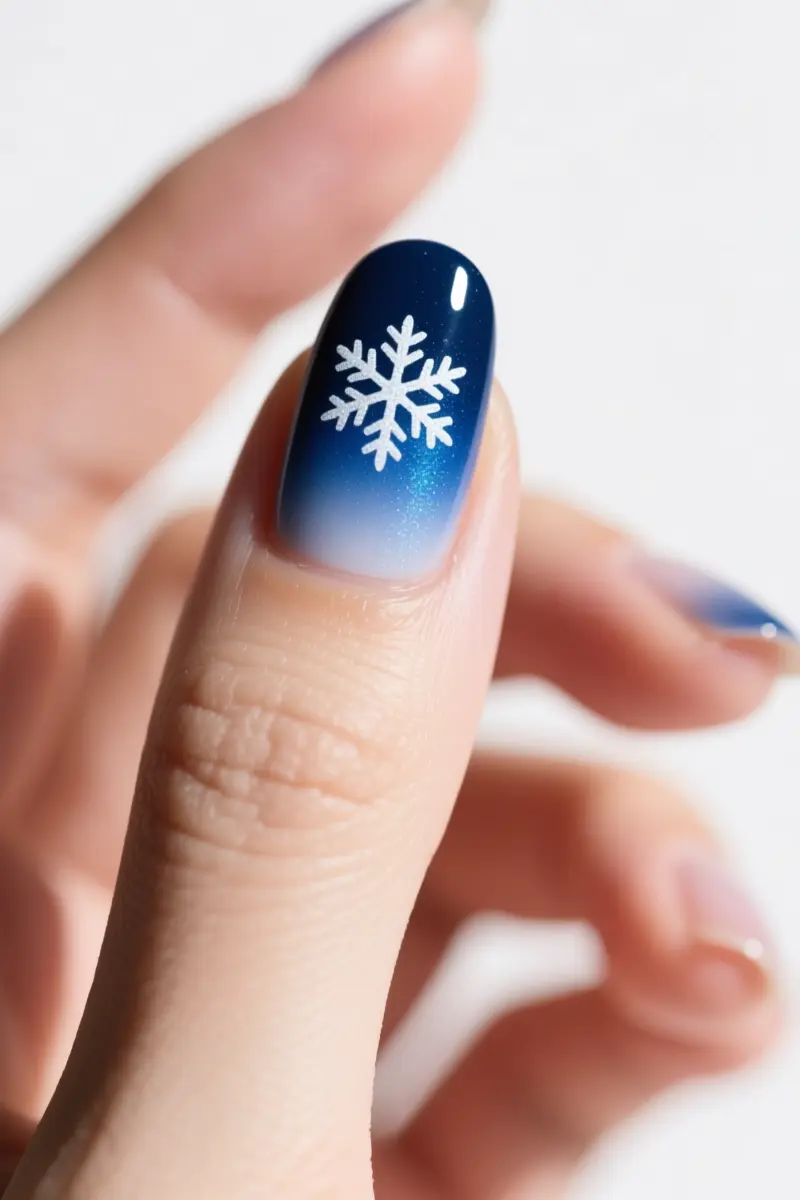
To create a dramatic midnight blue ombre effect, start by applying a deep blue polish to the cuticle area.
Use a makeup sponge to blend the color downwards, gradually lightening the shade towards the tip. Switch to a lighter, shimmery blue polish and continue sponging to achieve a seamless transition.
For a clean stamping process, make sure your nail is completely dry before applying a stamp with delicate white snowflakes. Gently scrape off excess polish and place the stamp on your nail, applying gentle pressure.
This design adds incredible depth and elegance, making my nails feel truly magical and intricate.
I’ve found that the combination of midnight blue and shimmery blue creates a sense of luxury, perfect for the holiday season. With delicate snowflakes on top, this look is sure to turn heads.
4. Icy Baby Blue with Iridescent Flakes
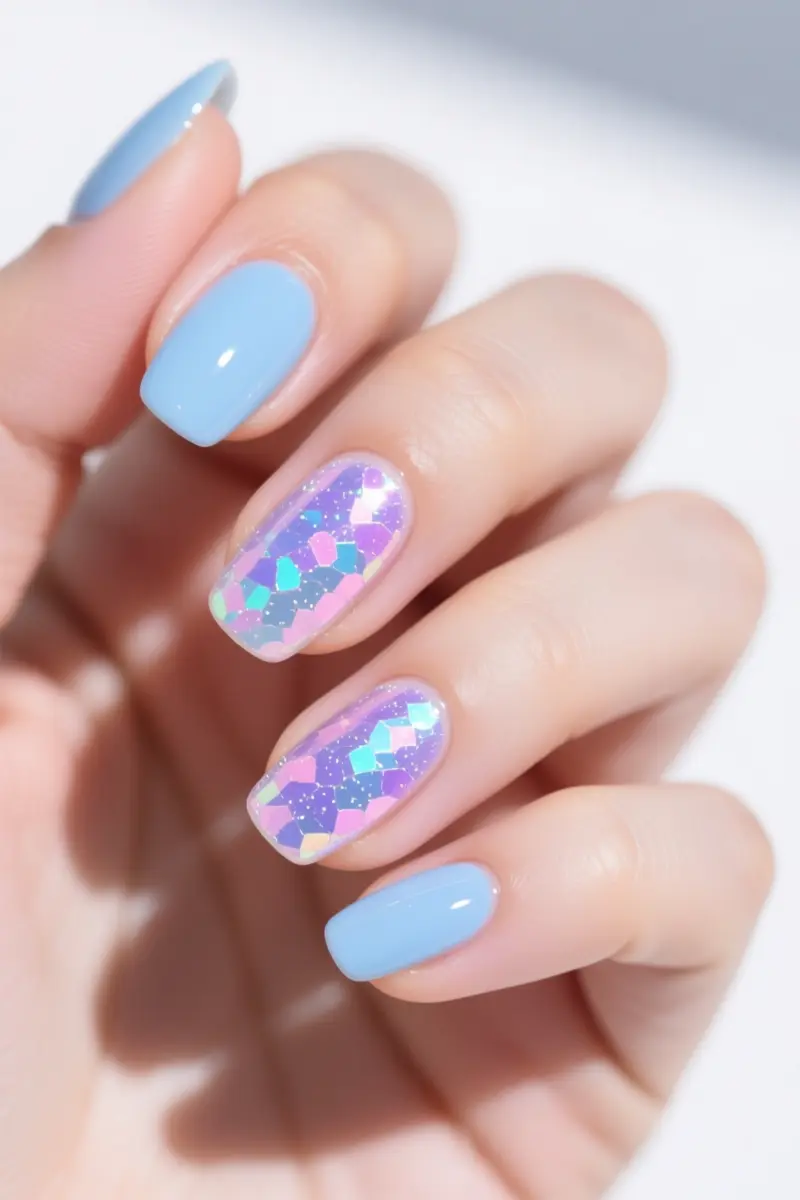
Soft baby blue polish is a serene base for icy winter nails. Adding iridescent flakes creates a multi-dimensional effect.
These flakes catch the light, shimmering in hues of pink, blue, and purple. To maximize shimmer, apply flakes strategically, focusing on the center of the nail.
This technique creates a sense of depth. A thin top coat enhances the magical glow of the flakes. For extra sparkle, use a glossy top coat to seal in the flakes.
This look is perfect for those who want a subtle yet eye-catching winter nail design. Iridescent flakes add a touch of whimsy, making this icy baby blue polish truly enchanting.
5. Deep Teal & Gold Foil
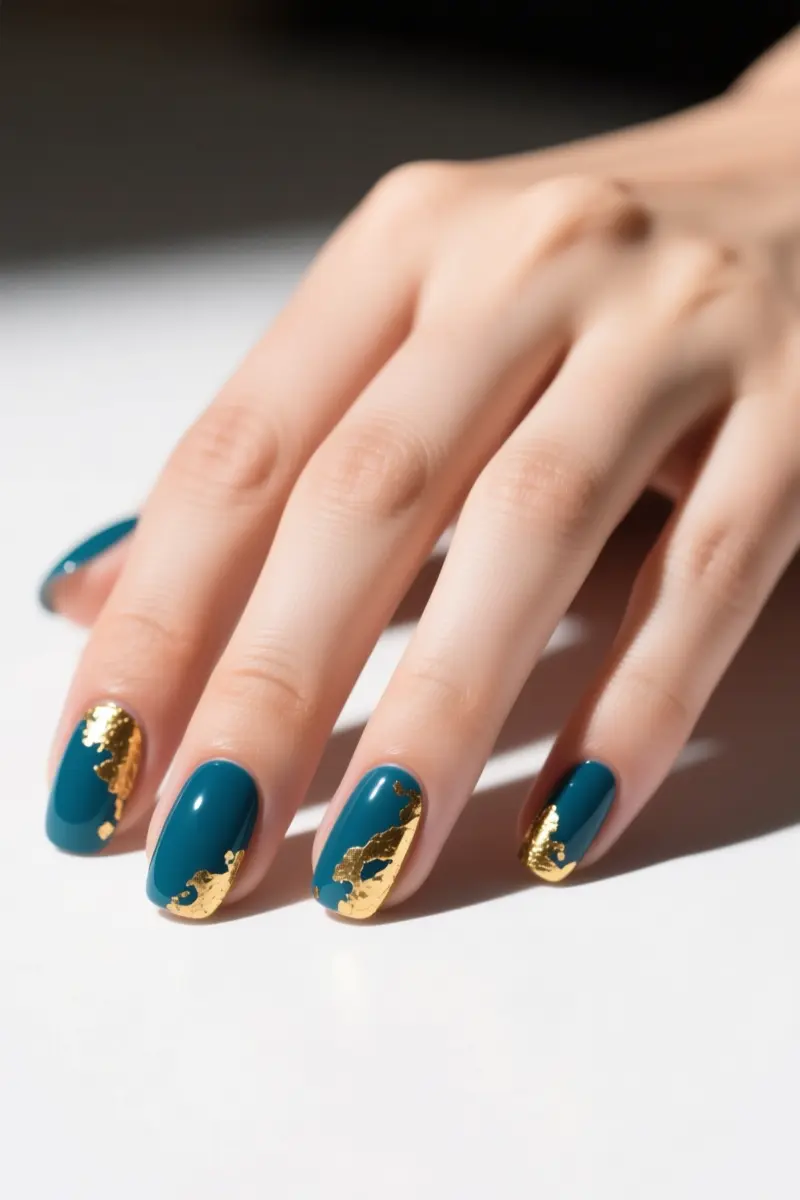
Deep teal blue nails exude luxury, especially when paired with gold foil accents. This combination feels opulent, adding a touch of warm festive glamour to the cool blue tones. To achieve this look, start by applying a rich, deep teal blue polish as the base coat.
For the gold foil accents, use a nail art brush to apply a small amount of clear topcoat to the area where you want the foil to adhere. Gently place the gold foil on top, smoothing out any air bubbles with a cuticle pusher.
To create a slightly distressed look, use a dotting tool to gently scratch the surface of the foil, revealing the teal blue underneath.
This adds a touch of sophistication to the overall design, making it perfect for dressier holiday occasions.
The result is a nail design that shines with icy chic elegance, perfect for holiday parties and gatherings.
The gold foil accents catch the light, adding a warm glow to the deep teal blue polish. This combination is ideal for those who want to add a touch of glamour to their holiday look.
6. Glitter Gradient Blue Nails
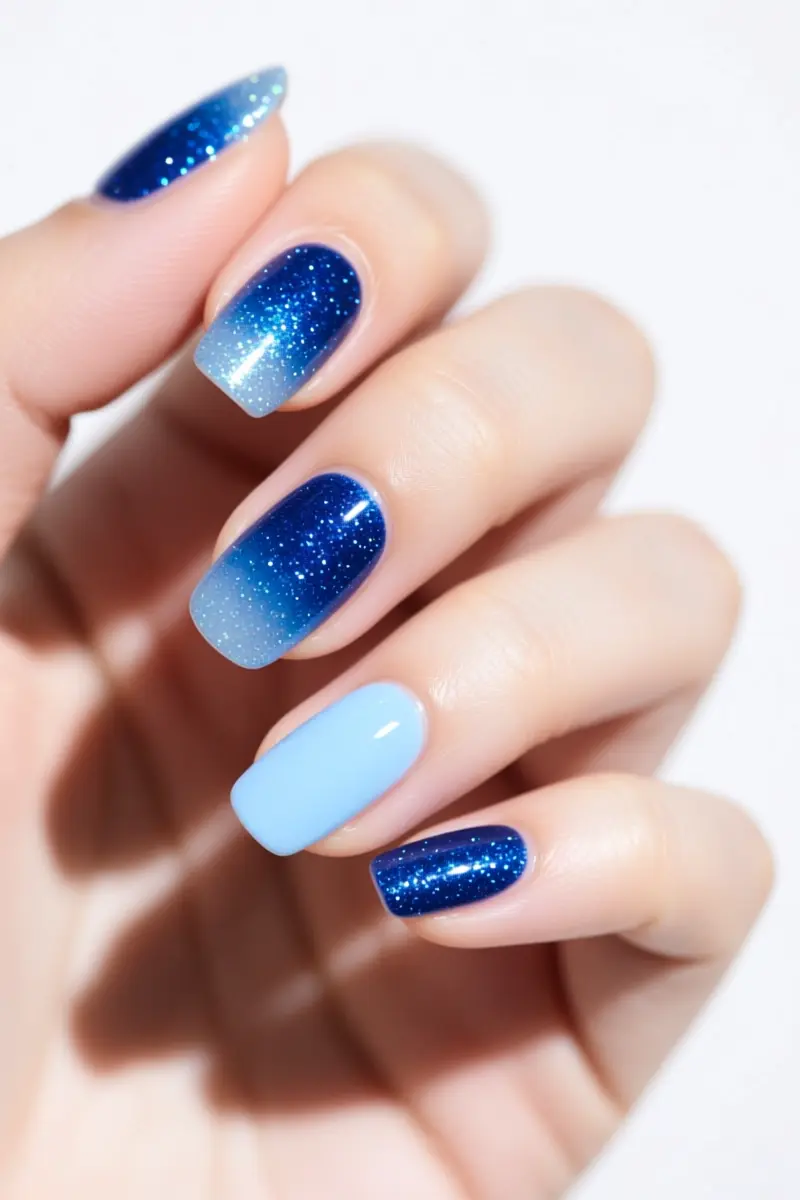
To create a dazzling glitter gradient, start by applying a dense blue glitter polish at the cuticle or tip of your nail. Transition to a sheer sparkle by layering a lighter shade of blue glitter on top.
Cobalt and light blue glitters work well together for a beautiful ombre effect. For a more intense look, layer glitters with a thin clear coat in between to avoid bulk.
When layering, focus on building up the glitter gradually to ensure a smooth transition. This technique prevents the polish from becoming too thick and uneven.
Try pairing a deep navy glitter with a pale icy blue for a striking contrast. By mastering the glitter gradient technique, you can achieve a mesmerizing winter sparkle that’s perfect for the holiday season.
7. Matte Cobalt with Glossy Snowflakes
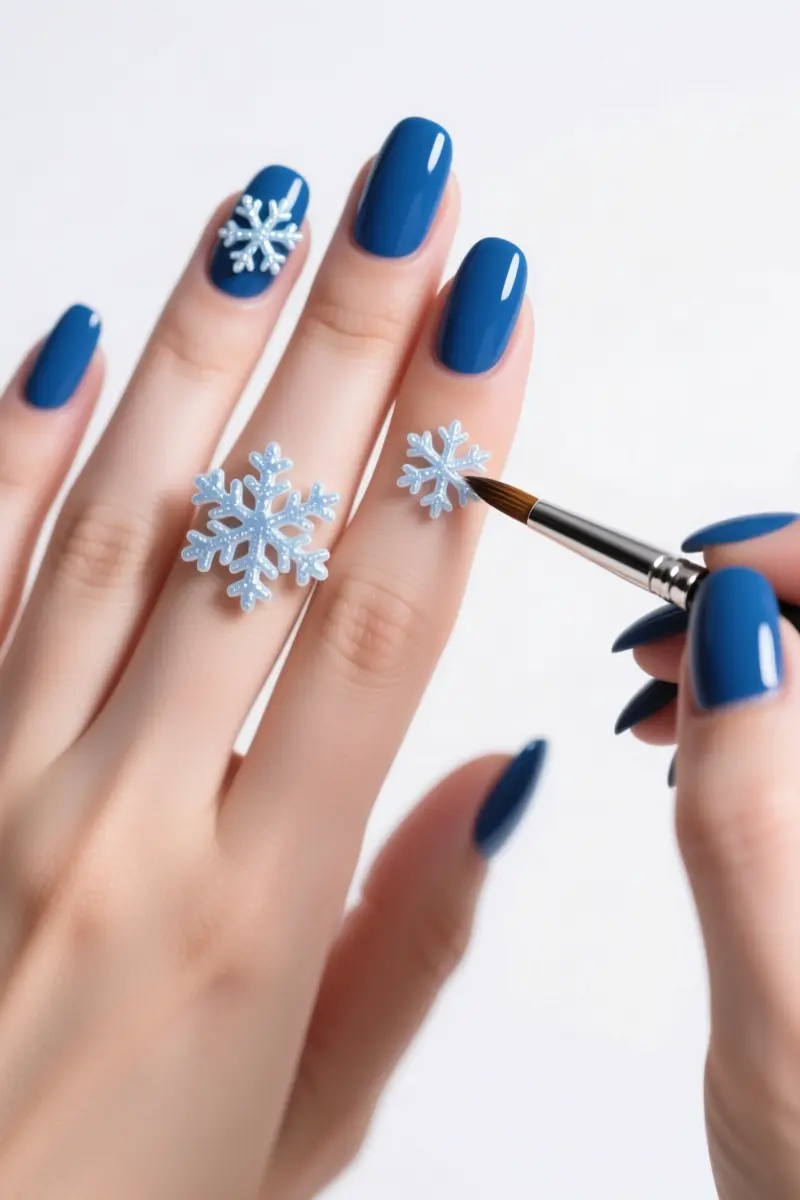
Matte cobalt blue nails provide a sleek base for this winter design. Glossy, raised snowflakes add a touch of elegance. The contrast between matte and glossy finishes creates a unique visual effect.
To achieve this look, apply a matte top coat over your cobalt blue polish. Then, use a fine brush to paint on glossy snowflake details. This technique requires precision, but the result is worth it.
The raised glossy details add a tactile element, making this design stand out. The combination of smooth matte and bumpy glossy textures is visually interesting. This design is perfect for those who want a chic, icy look for the holidays.
The matte finish prevents the glossy snowflakes from getting lost, allowing them to take center stage. With this design, you’ll have a one-of-a-kind winter nail look that’s both stylish and eye-catching.
8. Jeweled Sapphire Blue
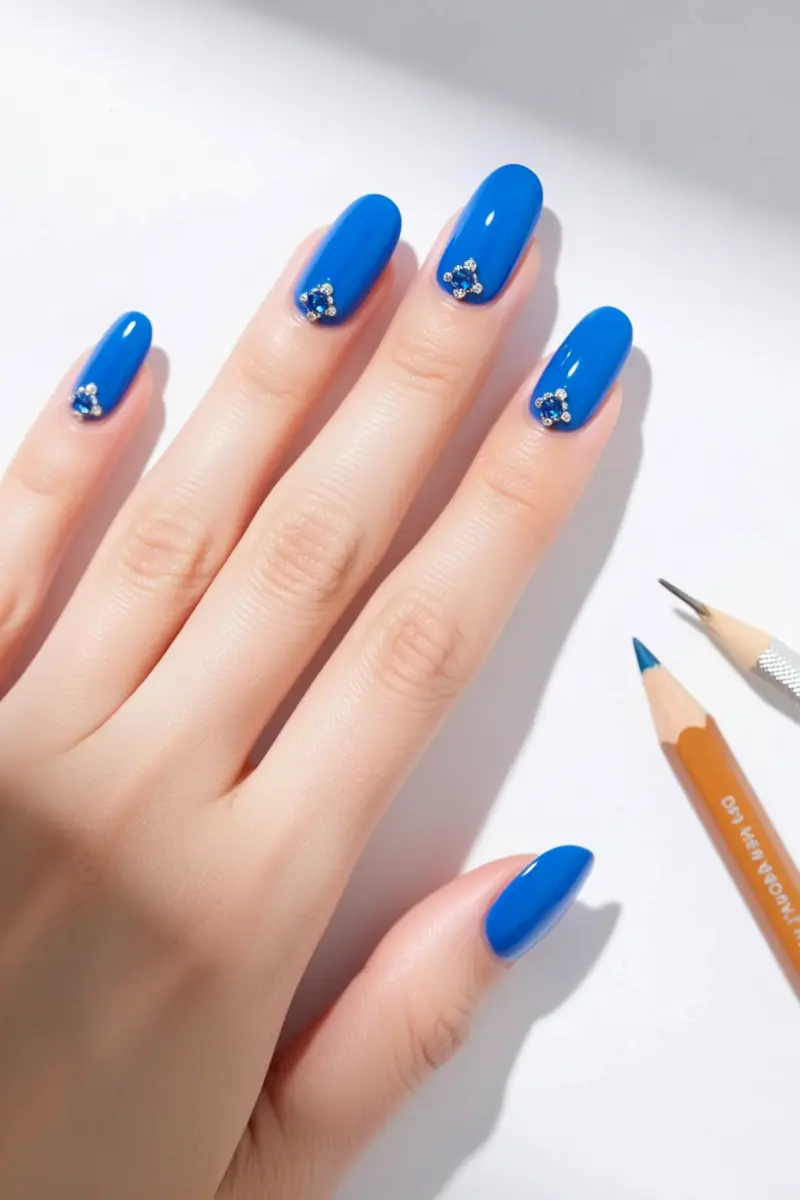
Vibrant sapphire blue nails are a stunning choice for the holidays. Add small rhinestones or gem accents for extra sparkle.
Place gems at the nail’s center or near the cuticle for a balanced look. Avoid over-accessorizing, as this can overwhelm the nail.
For easy gem application, use a dotting tool or wax pencil to pick up and place the gems. This technique allows for precise placement and control.
Apply a strong top coat to secure the gems and prevent them from falling off. This will ensure your jeweled sapphire blue nails remain intact throughout the holiday season.
9. Shimmering Sky Blue with White Details
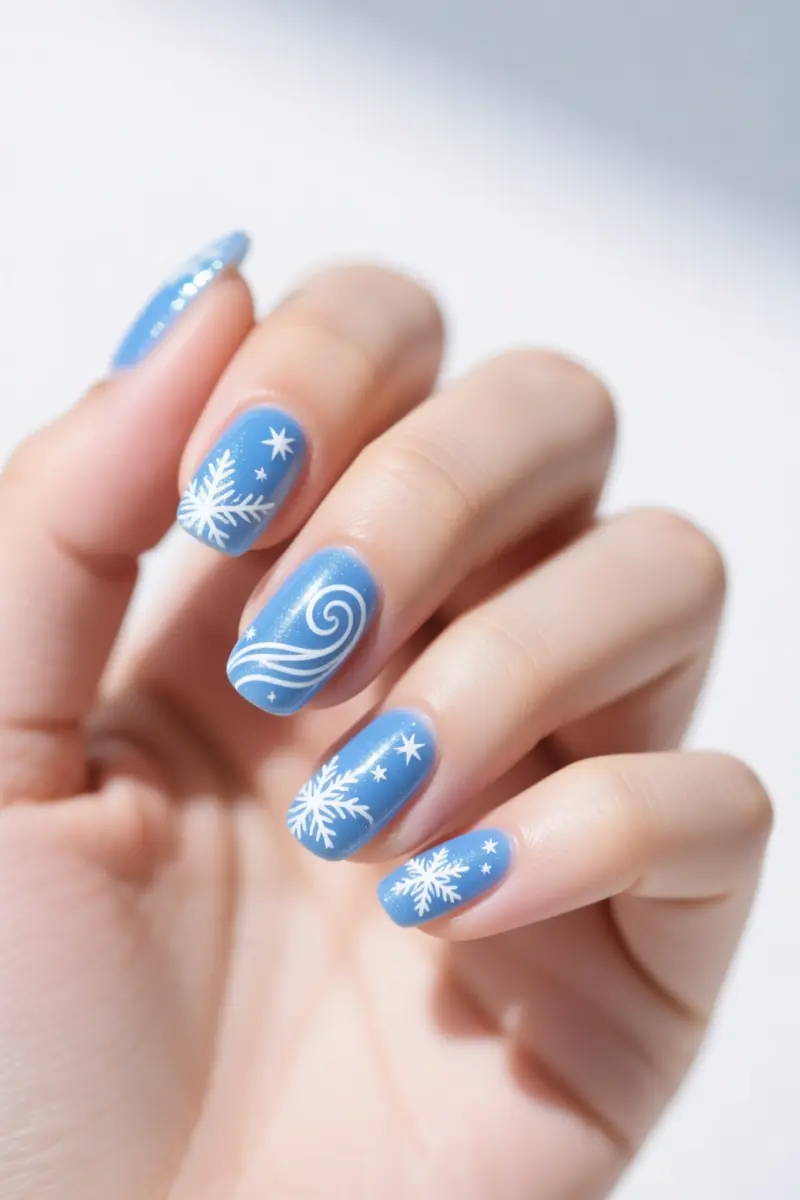
Shimmering sky blue nails evoke a sense of winter wonderland. This design features a light, airy base color with delicate white details. Swirling frost patterns or tiny stars add a touch of magic. To achieve fine details, use a small, flat brush with synthetic fibers.
This type of brush allows for precise strokes and sharp lines. For intricate work, maintain a steady hand by resting your arm on a flat surface.
Practice painting small stars or swirls on a nail wheel before applying the design to your actual nails. A steady hand and the right brush make all the difference in creating a beautiful, icy chic look.
Delicate white details on a shimmering sky blue base create a mesmerizing winter sparkle effect. This design is perfect for those who want a light, airy feel for the holiday season.
10. Galactic Blue with Star Embellishments
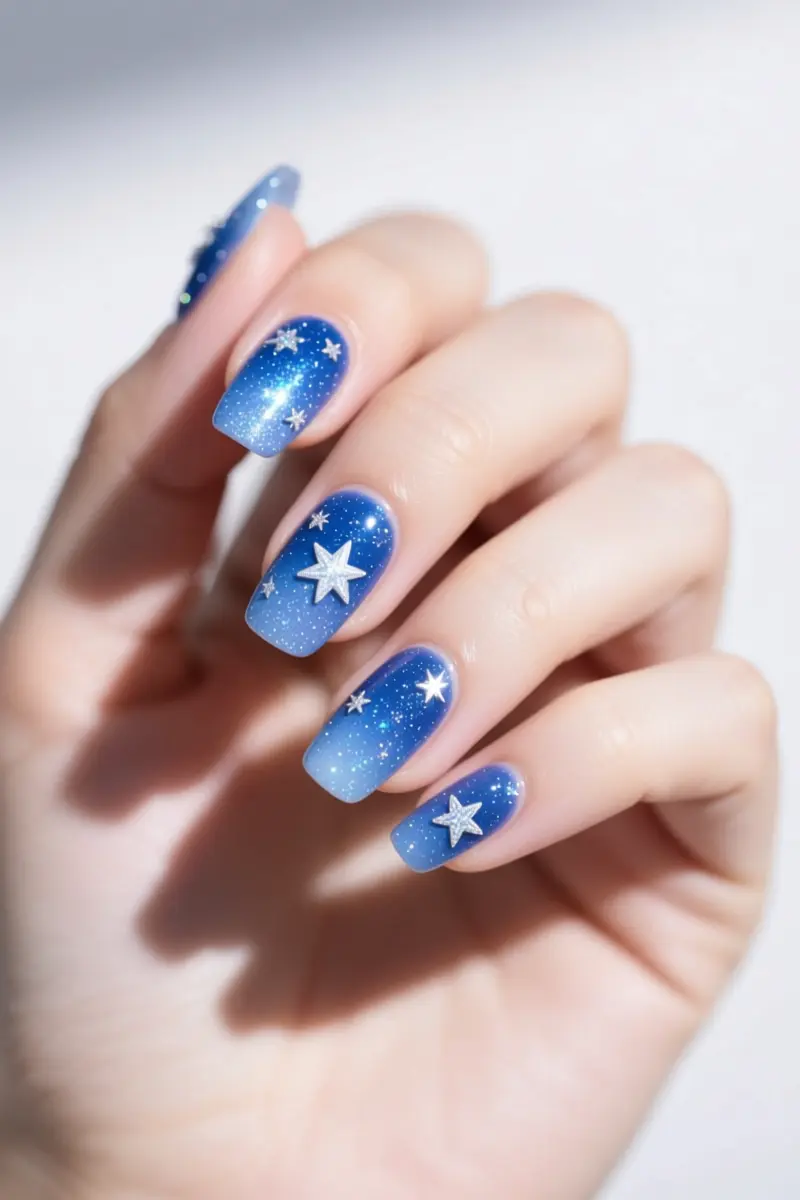
Deep blue nails with fine shimmer evoke a galaxy effect. This cosmic look is enhanced with tiny star-shaped glitter or decals.
To create depth, apply multiple layers of sheer blue shimmers. Start with a base coat, then add a layer of blue shimmer polish. Repeat this process two to three times for a mesmerizing effect.
The result is a nail design that feels like a miniature night sky on your fingertips. I’ve found this look to be uniquely captivating, as if the stars are shining just for you.
The subtle sparkle of the blue polish catches the light, drawing attention to the tiny star embellishments. With this design, you’ll feel like you’re wearing a piece of the galaxy on your nails.
11. Chrome Blue Mirror Nails
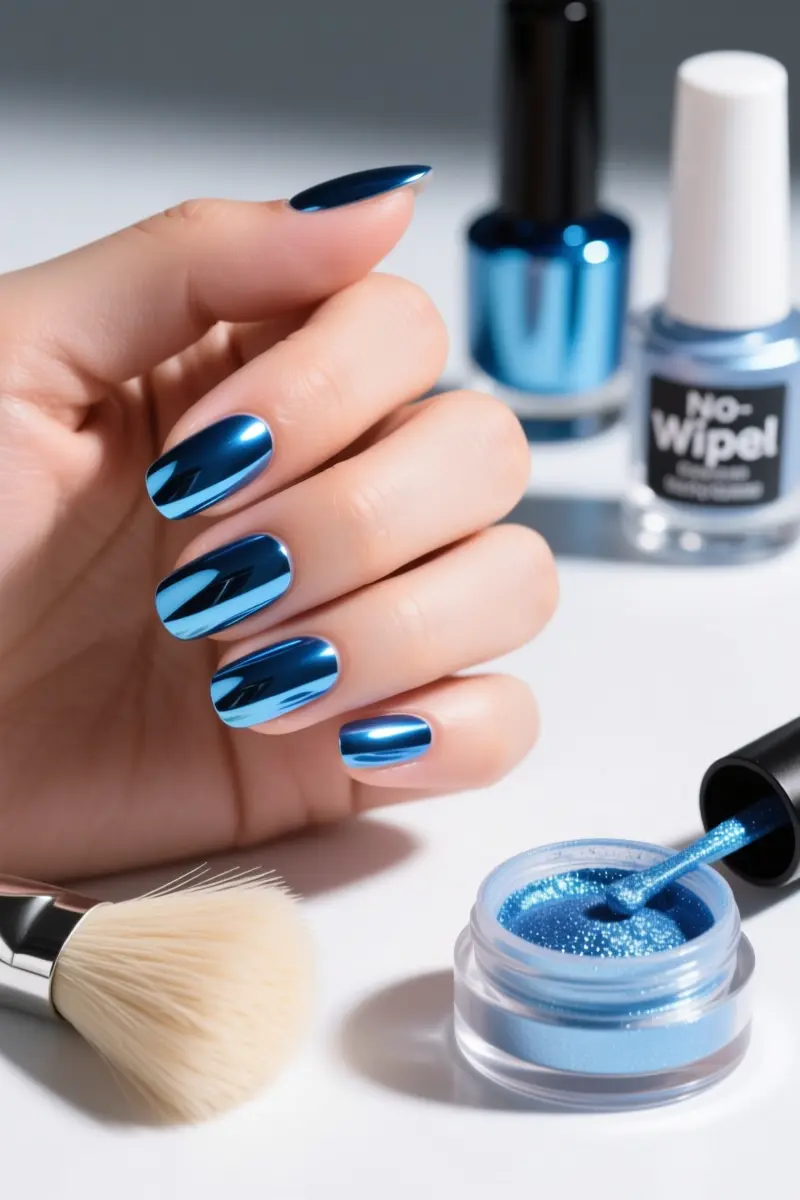
For a high-impact, modern look, try chrome blue mirror nails. This striking finish is achieved with chrome powder over a no-wipe gel top coat.
To get it right, apply a thin layer of gel polish and cure for the recommended time, usually 30 seconds to 1 minute. Next, add a no-wipe gel top coat and cure again. Then, gently rub chrome powder onto the nail using a fluffy brush.
Use a gel polish that’s specifically designed for chrome powder adhesion, like a gel that’s labeled as “chrome-friendly”.
Proper curing times are key to preventing chipping, so make sure to follow the instructions for your specific gel polish and top coat.
With the right products and a little practice, you can achieve a perfect, mirror-like finish that’s sure to turn heads.
For best results, choose a chrome powder that’s highly pigmented and has a fine texture, and pair it with a good quality gel top coat that’s designed for long-lasting wear.
12. Blue & White Marble with Silver Linings
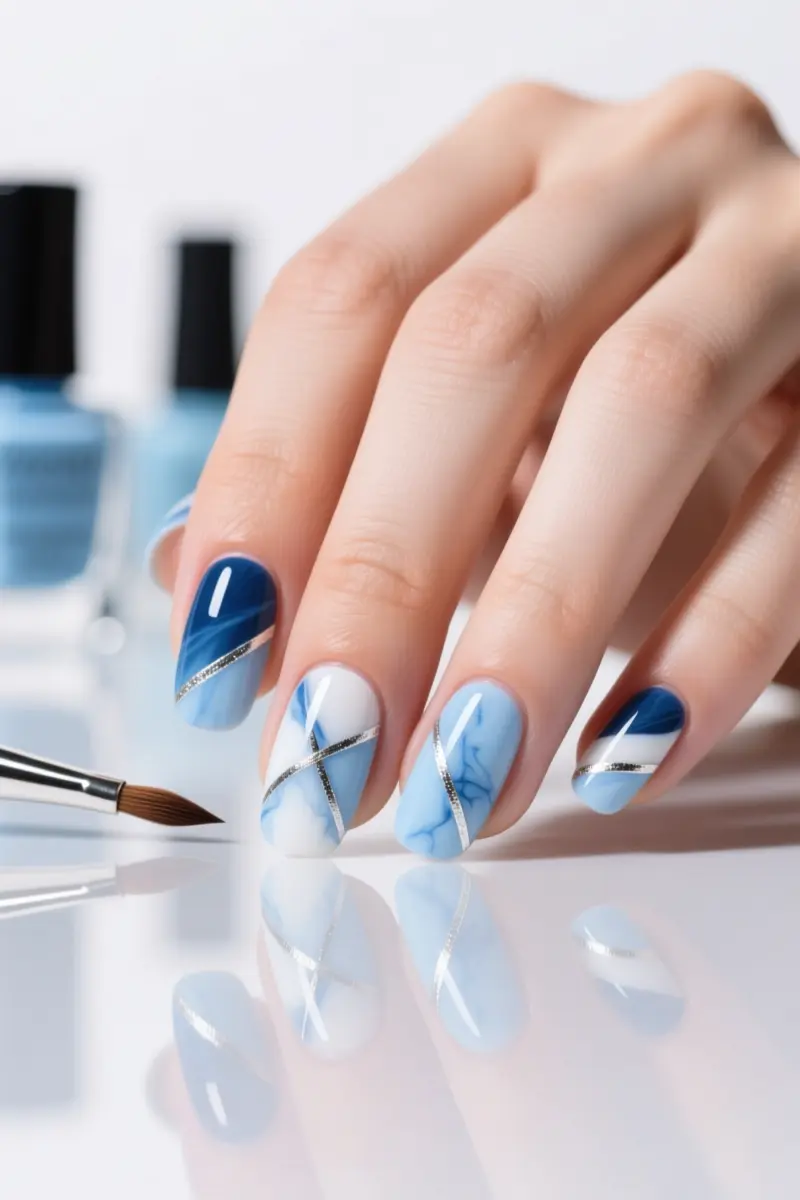
For a sophisticated look, combine soft blue and creamy white hues in a marble design. Choose blues with similar undertones, like pale sky blue and dusty navy, for a cohesive effect.
Apply a base coat, then use the wet-on-wet technique to blend the blues and white. Use a fine striping brush to paint thin silver lines, accenting the marble pattern.
This adds a touch of luxury to the icy design. To achieve crisp lines, dip the brush in polish remover before painting to prevent streaks.
Selecting the right blues is key to a polished marble effect. Consider the overall aesthetic you want, from soft and serene to bold and dramatic.
Time To Shine
With these blue Christmas nail ideas, you’ll be the belle of the holiday ball. Remember to have fun and experiment with different shades and designs to find your perfect winter wonderland look. Save this for your next salon visit or share with a friend who needs a little holiday cheer.
Frequently Asked Questions
What shades of blue are most popular for winter and Christmas nails?
For winter and Christmas, popular blue shades include deep navy, sapphire, icy baby blue, cobalt, and teal. These colors evoke feelings of snow, ice, starry nights, and festive elegance.
How can I make my blue glitter Christmas nail design last longer?
To extend the life of your glitter nail design, start with a good base coat, apply thin layers of polish, ensure each layer is fully dry before applying the next, and finish with a high-quality top coat. For extra durability, use a gel top coat.
Can I achieve an ‘icy chic’ look with regular nail polish, or do I need gel?
Yes, you can absolutely achieve an ‘icy chic’ look with regular nail polish. Opt for metallic, shimmery, or glitter polishes in icy blue and silver tones. For added texture, incorporate iridescent flakes or glitter toppers. Gel polish offers more durability and a high-gloss finish, but it’s not strictly necessary.
What are some common mistakes to avoid when applying glitter to blue Christmas nails?
Avoid applying too much glitter at once, which can create a lumpy texture. Don’t skip a clear base coat, as glitter can stain nails. Ensure your polish layers are dry before adding glitter or a top coat to prevent smudging. Use a good-quality top coat to seal in the glitter and prevent fallout.