
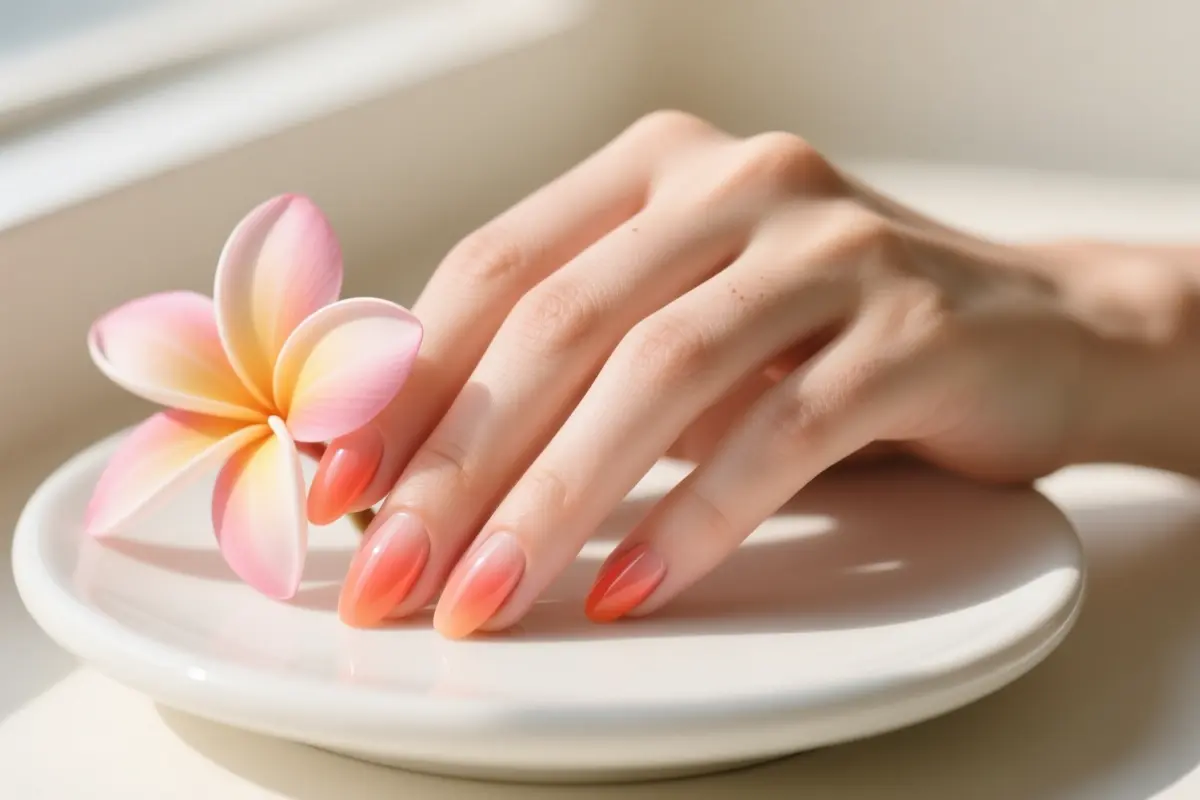
The Realist’s Guide to Coral Nails: 10 Peachy and Neon Designs That Actually Last
Coral isn’t just a summer cliché; it’s a hybrid pigment that can swing from warm peach to electric neon, and the difference matters. If you have cool undertones, the neon side pops; warm undertones shine in peachy shades. The wrong match leaves you looking washed out.
Keeping those shades bright means a white base under neon formulas, a high‑gloss top coat to hide oils, and choosing gel if you need weeks of wear. Matte finishes will betray dirt faster, especially on high‑pigment coral. Regular lacquer will fade under UV, so expect re‑touches every few days, whereas gel can lock the pigment for up to two weeks.
1. High-Pigment Neon Coral Solids
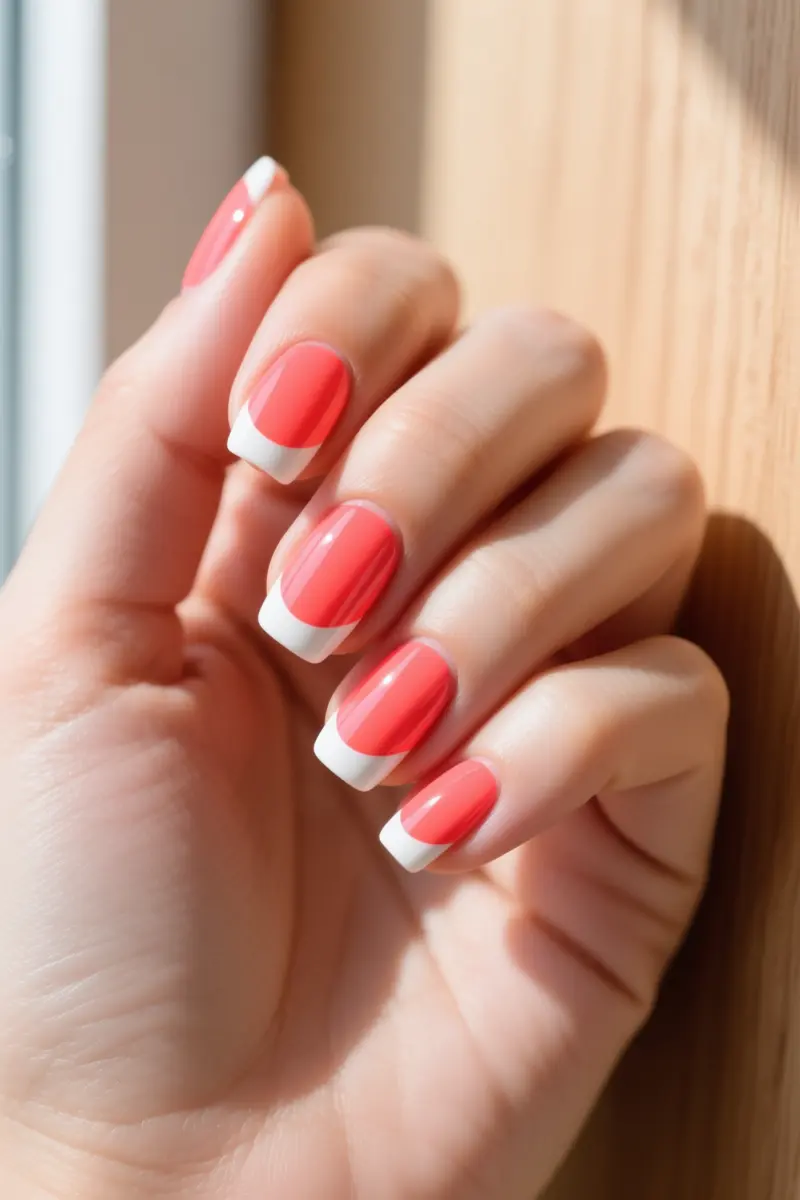
High-pigment neon coral solids need a thin white base coat for true opacity. The white layer creates a neutral canvas that lets the neon pop, especially on deeper skin tones. Apply it in a single swipe and let it dry.
Brush two thin coats of neon coral cream over the base; two layers give an opaque finish without streaking. Thin coats stop bubbling that occurs with heavy application. Finish with a fast‑dry top coat to lock in shine and reduce tip wear.
UV exposure breaks down neon pigments, so the color fades faster in sunlight. At concerts, the pigments glow under black‑light, but everyday wear loses intensity after a week.
Keep the manicure longer by using cuticle oil daily and reapplying a top coat every 5-7 days.
Warm undertones amplify the coral’s brightness, while cool undertones give a softer look.
The shade works best on warm or deeper complexions; very pale cool skin may appear muted. Avoid thick layers to prevent bubbling and maintain the neon finish.
2. Peachy-Coral Matte Coffin Nails
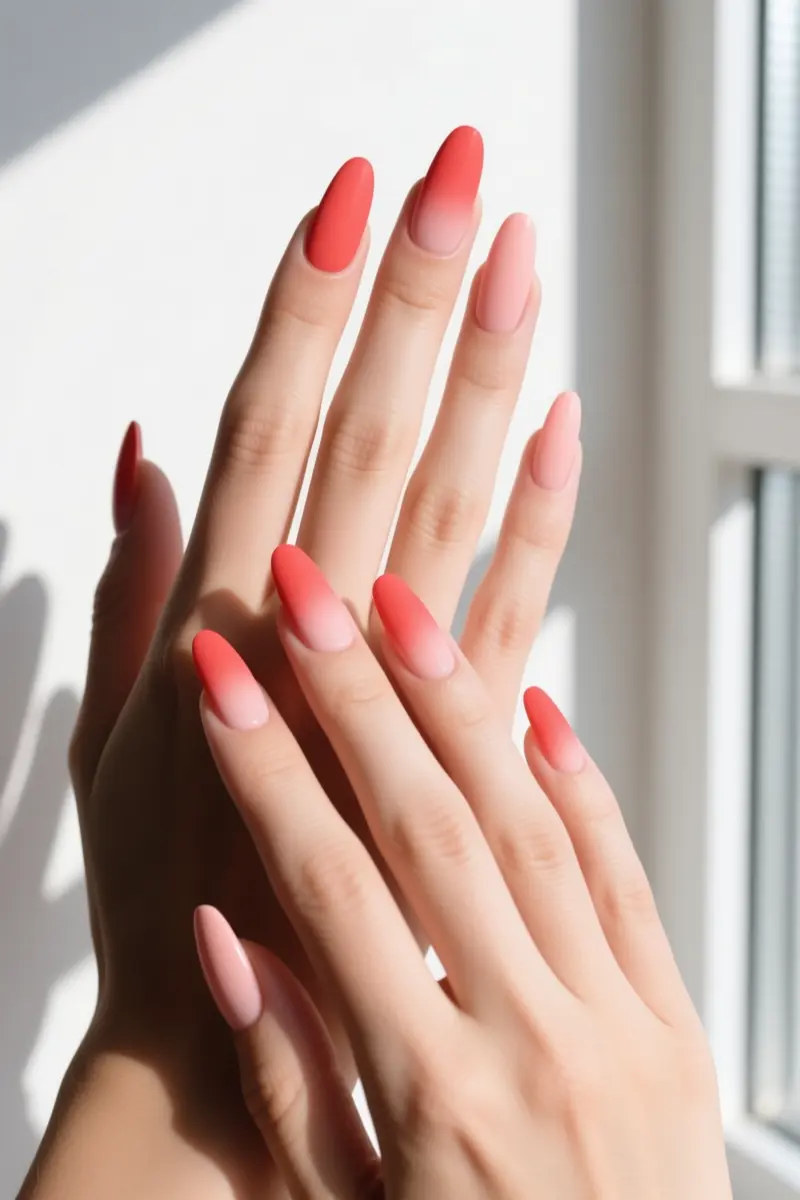
Peachy‑coral matte coffin nails give a velvet finish that feels soft yet bold. The flat tip of a coffin shape creates an uninterrupted canvas, making it perfect for an ombre fade.
The sponge method works well for beginners, allowing a smooth gradient without precise brush control.
For sharper lines, the brush method pairs best with a gel formula, delivering cleaner edges on the matte top coat.
Matte top coats, however, attract daily dirt and oil stains faster than glossy finishes, so a quick swipe with isopropyl alcohol each night keeps the peachy hue bright.
Air‑dry matte formulas tend to wear off after a few days, while gel matte top coats can last up to two weeks with proper care.
A common downside is the need for regular maintenance; without frequent wipes, the velvet surface can look dull and uneven.
This look suits hands with medium to long nails, as the coffin shape showcases the gradient without crowding the fingertip.
3. Sunset Coral Ombré
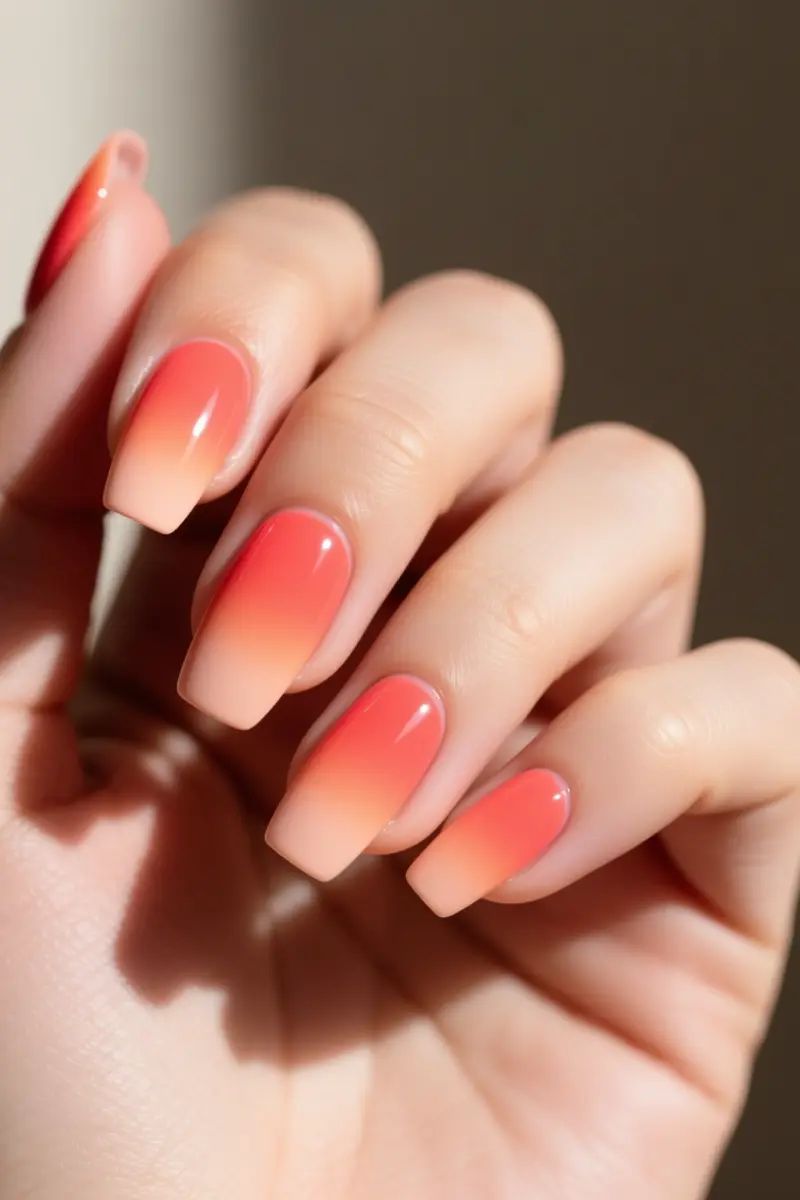
Sunset Coral Ombré creates a smooth gradient from deep neon coral at the cuticle to soft peach at the tip.
The gradient blend shows no harsh lines, matching the seamless gradient definition. Apply a thin gel base and cure 30 seconds under a 405 nm lamp.
Load a sponge applicator with coral gel, warm red‑orange with pink undertones, and press on the lower nail.
Without cleaning the sponge, add peach gel, softened orange with white, to the upper half and dab until the colors meet.
A quick brush swipe removes patchiness, then cure another 30 seconds to lock the blend and stop sliding.
The “Balance Formula” notes that coral adds bold energy and high warmth for depth, while peach supplies soft energy and medium warmth for transition, so the ombre works on tan, deep, and most other skin tones.
Fair skin looks natural with more peach; medium and deep tones gain contrast from richer coral.
Users praise this look for beach vacations and lazy summer afternoons because the warm undertones echo sun‑kissed skin and pair with sundresses.
Pro tip: paint liquid latex or a thin barrier cream along the cuticle line before cleaning excess gel. The latex lifts away cleanly, leaving a crisp edge without damaging the nail plate.
4. Abstract Coral Tortoiseshell
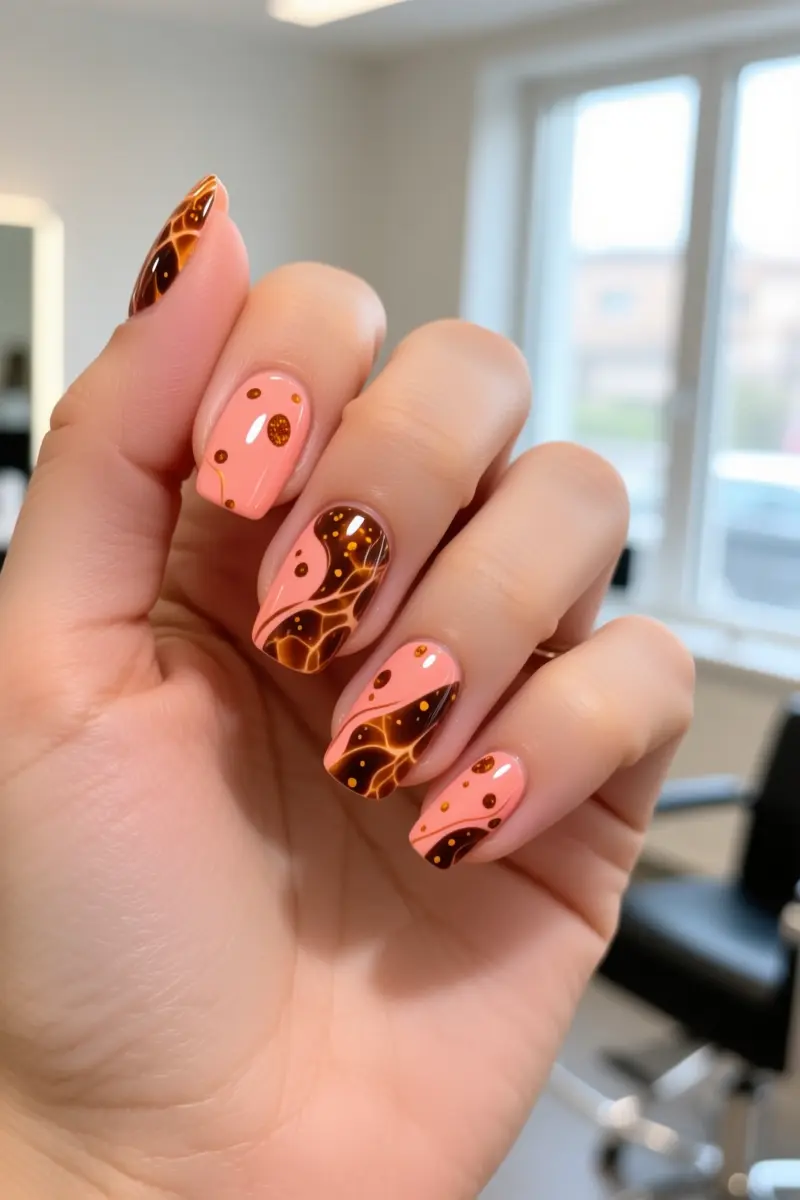
Abstract Coral Tortoiseshell blends warm brown and dark amber spots over a peachy‑coral base.
The effect relies on a wet‑on‑wet technique where layers of blooming gel are applied before the previous coat cures, allowing the amber accents to flow into the brown speckles and create a soft, marbled tortoiseshell print.
Because the design requires precise timing and a steady hand, it is a salon‑only service; most at‑home kits cannot replicate the seamless gradient.
A typical 1.5‑hour gel session that includes abstract gold detail and this coral tortoise pattern runs about $33, plus a possible $10 non‑refundable booking fee, whereas a simple solid color may cost as little as $6 for a quick 15‑minute fill.
Many clients appreciate the seasonal versatility; autumn versions can lean toward deeper brown or even burgundy, while the coral version stays bright for spring.
A practical tip: ask the technician to seal the design with a high‑gloss top coat to protect the delicate amber speckles from chipping during everyday wear.
5. Coral Chrome Dusting
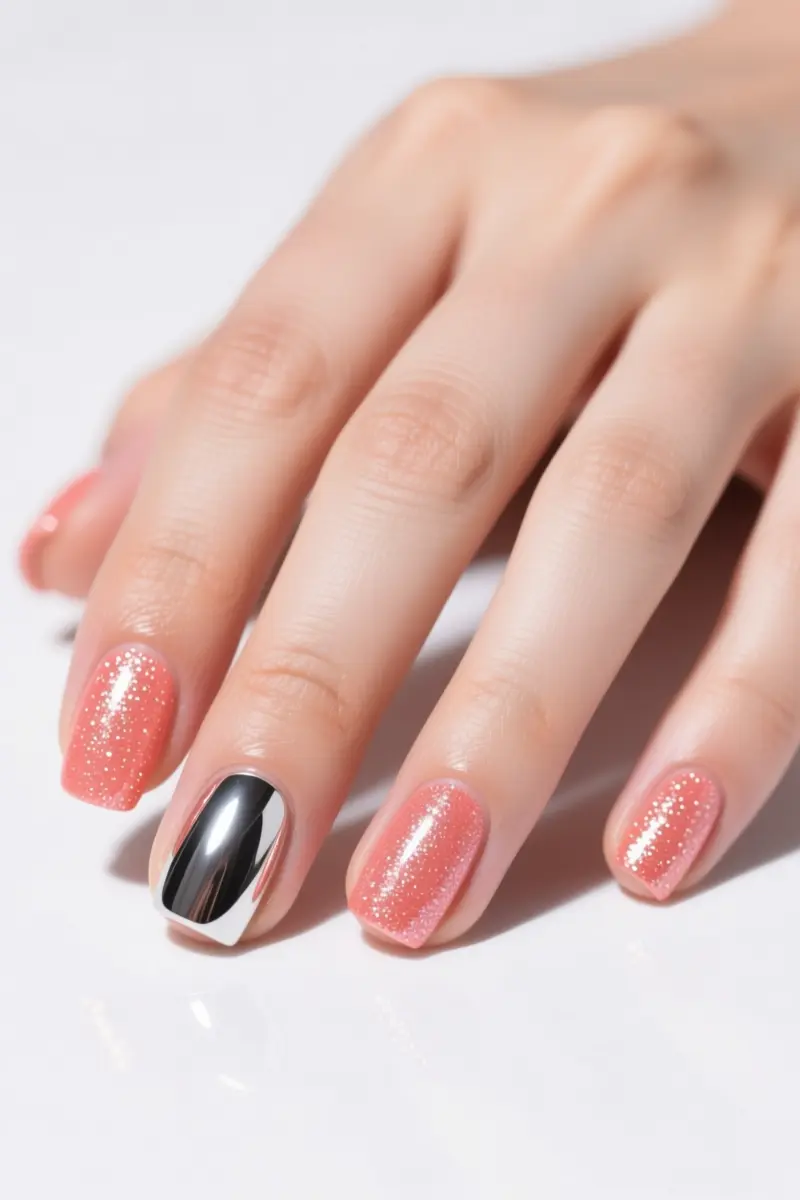
Coral chrome dusting creates a glossy, mirror‑like finish by burnishing holographic powder over a coral base.
The coral hue blends pink and orange, giving a warm backdrop that pops under chrome. It works on gel polish and air‑dry polish, but the two behave differently.
Gel polish holds the powder longer because its surface stays tacky after a brief cure. A non‑wipe gel top coat is mandatory; it seals the powder and produces a true mirror finish.
With air‑dry polish, apply the powder immediately after a regular top coat, or it slides off.
Apply by curing the base coat, then adding a thin layer of non‑wipe gel top coat. While still tacky, sprinkle chrome powder and use a buffing block to burnish evenly.
Do not cure the top coat for more than a few seconds before dusting, as over‑curing creates a slick surface that rejects the powder.
Many people find that missing a base coat, rough shaping, or incomplete dust removal leads to premature chipping. Proper buffing and cleaning are essential.
The look shines in spring and summer and suits almond, square, or stiletto nails. It works for casual brunches and formal events alike, offering seasonal versatility without a salon price.
6. Pastel Peachy Shorties
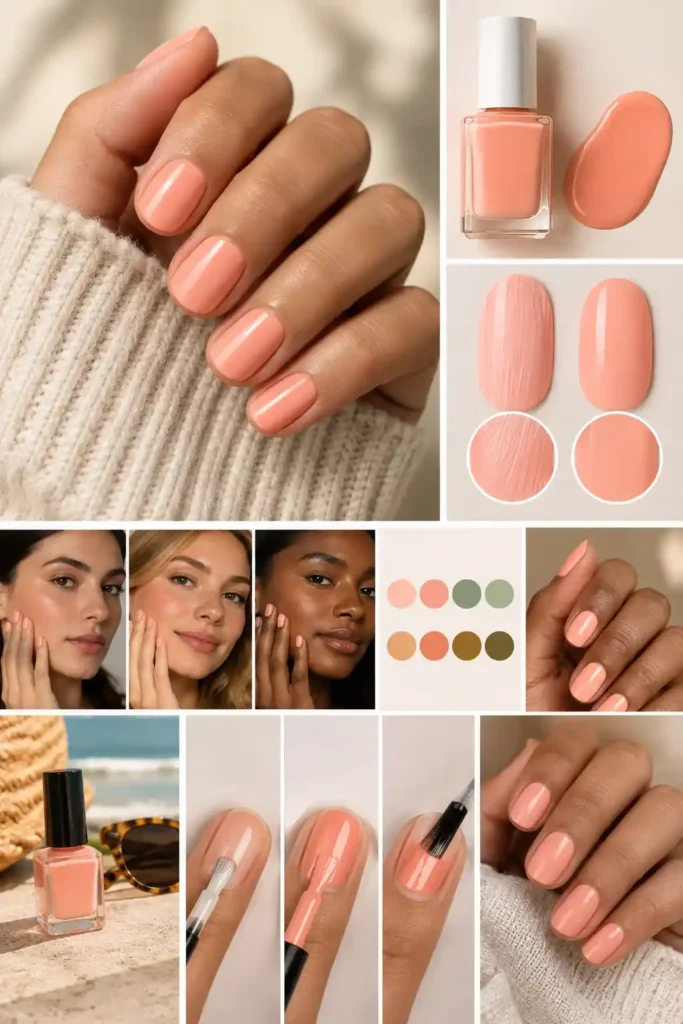
Pastel peachy shorties deliver a soft, creamy coral on short natural nails. The milky finish looks best when the polish is a true pastel coral rather than a white‑based chalk.
Many people find chalky pastel corals streak during the first swipe, so a self‑leveling formula or two thin layers are essential.
Light Spring and Soft Autumn palettes match the low‑to‑moderate chroma of this hue. Cool‑toned olive skin sees the pink‑leaning undertone brighten the complexion, while warm pale skin enjoys the subtle orange glow.
Deep skin can appear washed out if the shade is too pale, so a slightly richer coral may be needed.
A budget‑friendly option like L.A. Colors Peach costs around $2 and dries quickly, making it ideal for beach days or party nights.
Apply a thin base coat, then press the pastel shade in a single, even stroke.
Follow with a quick‑dry top coat to lock in the milky sheen. If streaks appear, lightly buff the surface and add a second thin layer before the top coat.
7. Neon Coral Micro French Tips
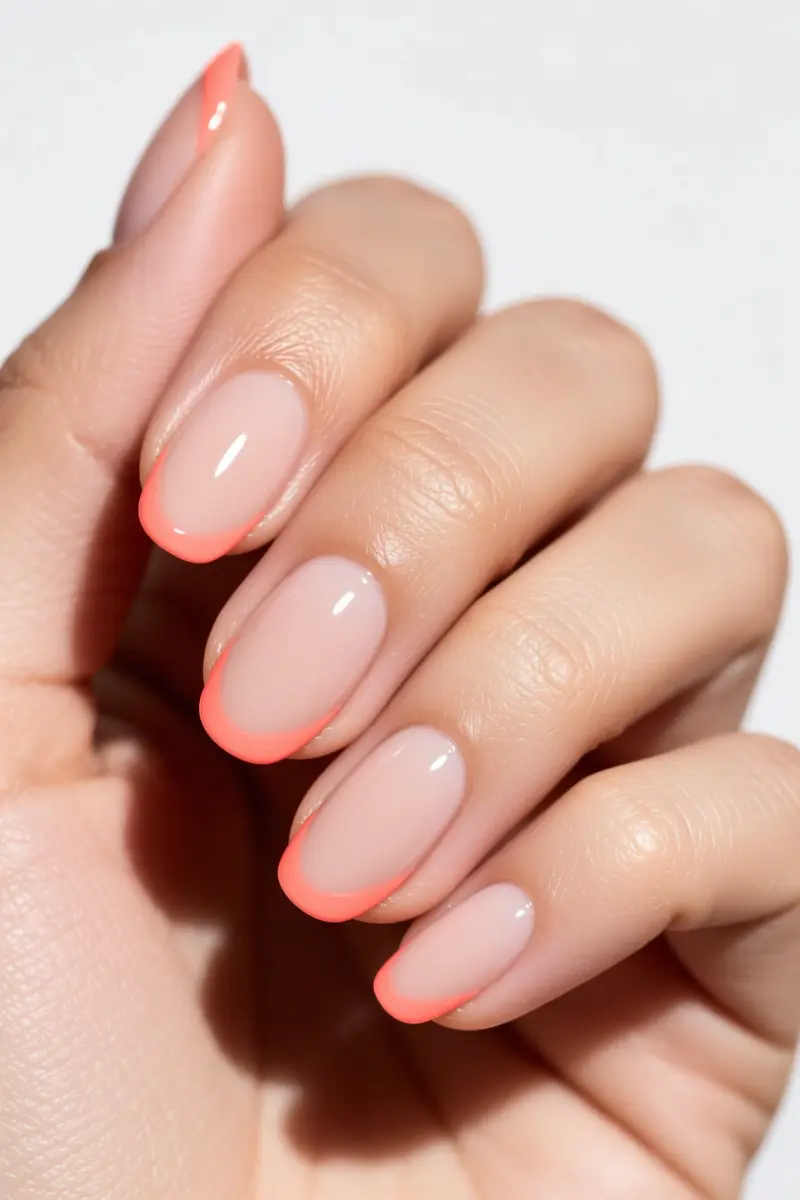
Neon coral micro French tips give a minimalist pop with a thin neon line on a nude base.
The design uses a negative space base that lets the natural nail show while the free edge carries a bright coral accent.
Community members note that Neon Coral French Tip Nails are a popular summer trend that many people love, and the look flatters sun‑kissed skin, making a post‑holiday tan pop.
A long detailer liner brush is essential for a clean micro French tip. Hold the brush at a shallow angle and glide it along the free edge in one steady motion to avoid unevenness.
Pair the neon line with a strong gel base that cures to a firm film; this structural strength prevents chipping where the tip meets the nail plate.
Because the design relies on a single line, it is the lowest‑maintenance option for grown‑out cuticles. No intricate patterns mean less chance of snagging on skin.
A common downside is that neon polish can fade faster than matte shades, so a quick touch‑up every two weeks keeps the line vivid.
A budget‑friendly neon coral polish, such as NAILS.INC Neon Nail Polish in Coral Street runs about $9, making the look affordable for seasonal updates.
8. Coral and Gold Leaf Foil Accents
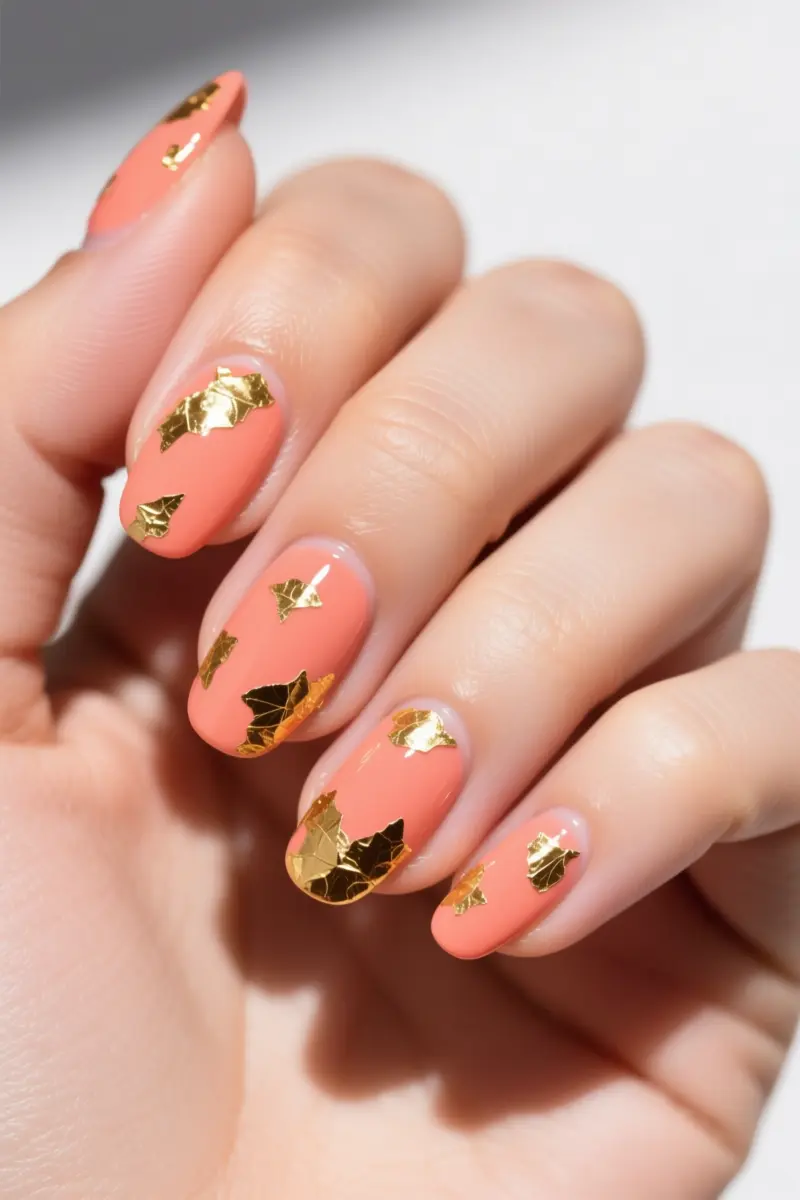
Embedding irregular gold foil flakes into a warm coral base creates a luxe, eye‑catching nail. Start with a sheer coral polish and let it cure.
While the base is still tacky, place a foil nail wrap from Shaun A Black’s Bestsellers collection; each sheet costs roughly $4.49.
Press the wrap onto the nail, then use a fine brush to lift and scatter tiny gold foil flakes where you want sparkle.
Immediately cover the design with a thin layer of builder gel encapsulation; this seals the raw foil and prevents snagging. Finish with a thick top coat to lock in the foil transfer and add gloss.
DIY press‑on versions typically survive three to four days before the flakes lift, while a professional acrylic overlay can keep the foil intact for up to two weeks.
The acrylic overlay also adds structural strength, making the design more resistant to everyday wear.
A practical note: unsealed foil catches on fabrics and can peel if the top layer is too thin.
For best results, ensure the builder gel or acrylic layer is fully cured before any activity that stresses the nails.
9. Negative Space Coral Geo Shapes
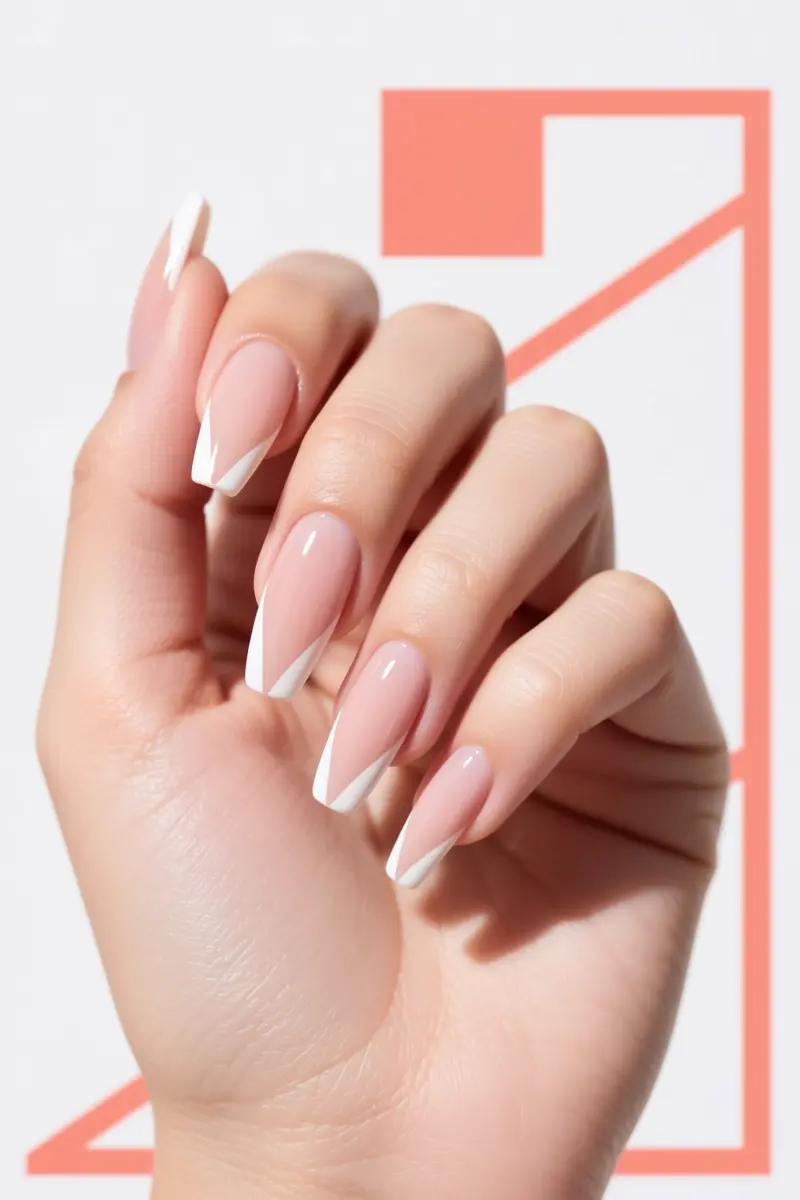
Negative space coral geo shapes combine neon coral blocks with exposed nail skin to give a sleek, modern look that stays fresh as the cuticle grows.
Nearly 70 % of fashion editors rank this style as the most versatile trend of 2026, thanks to its ability to showcase the nail plate while adding bold geometric negative space accents.
Start with a high‑quality base coat that acts as a staining barrier; it protects the nail from the neon coral pigment that can otherwise leave a faint memory on the nail plate even after removal.
Apply the base, let it dry, then use sterile tools to tape or stencil thin coral lines or rectangular blocks onto a coffin‑shaped nail.
The bare sections keep the design light, and the coral’s bright‑without‑being‑loud hue works from juicy peach to neon sunset tones.
Because the exposed skin hides new cuticle growth, the design remains sharp for longer than full‑cover nails.
Expect to use two to three coral coats; the second may appear patchy, so a third smooths it out.
A common downside is that thick coral formulas can flood the cuticle, so thin, well‑flowing polish is preferable for clean edges.
10. Glitter-Capped Coral Acrylics
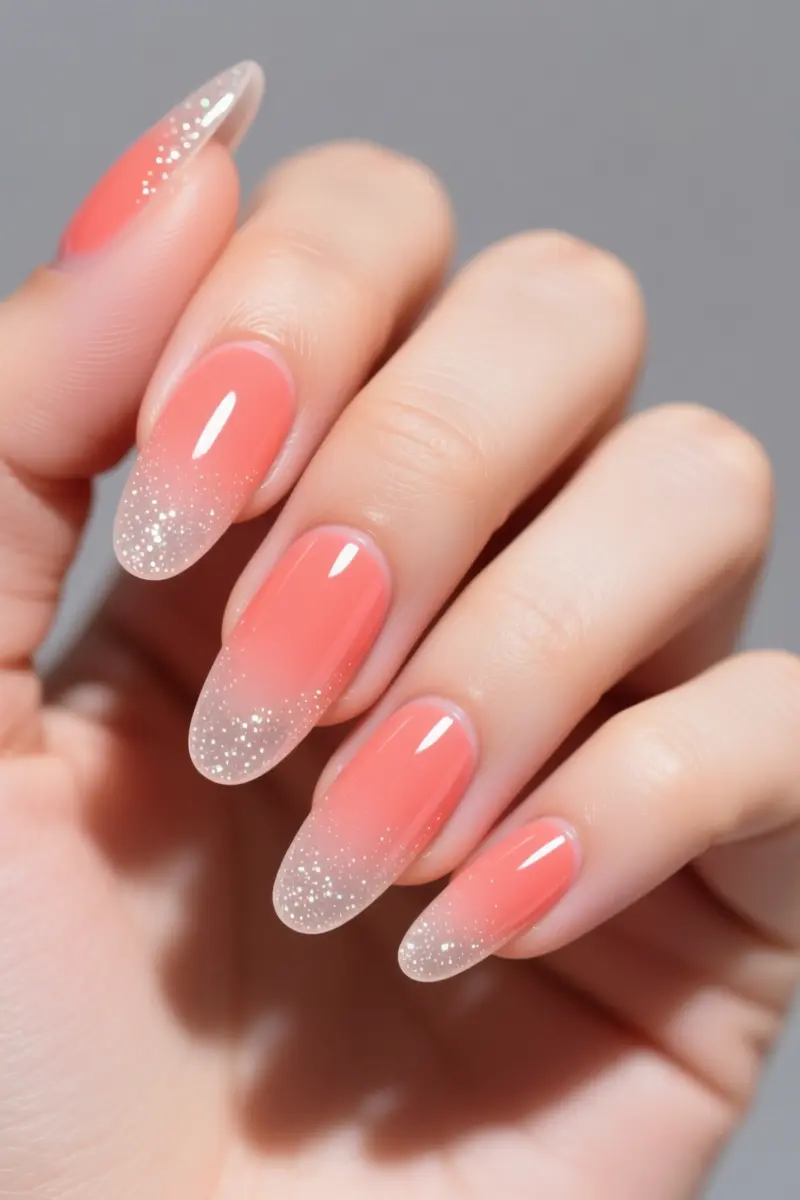
Glitter‑capped coral acrylics feature a vivid coral base that seamlessly fades into a transparent glitter tip on an acrylic extension.
The look relies on a smooth glitter gradient that starts at the free edge and blends into the coral at the stress point apex, where a minimum of 1.5 mm thickness prevents snapping during daily wear.
Acrylic extensions of this style typically cost between $30 and $41 at salons like LV Nails & Spa in Cape Coral, FL, with extra glitter detailing adding a few dollars.
Improper removal is the biggest risk; many people find that DIY soak‑off can strip the natural plate if the acrylic is left too long.
For nails newer than two weeks, a professional soak‑off removal is safest, while fully cured extensions older than three weeks can be softened at home with acetone, but only after a 10‑minute soak and gentle filing.
Because the glitter tip is thin, the design works best on clients with at least 2 mm of natural nail length; shorter nails may see the tip lift or break.
Regular fill‑ins every two to three weeks keep the stress point reinforced and the glitter intact.
Remember to moisturize the cuticles after removal to restore the nail’s natural barrier.
Which Look Are You Trying First
Start with a true white base when you pick a neon coral; it boosts opacity and slows UV fade. If you prefer a peach hue, a sheer pink undercoat adds depth without altering the color. Finish with a high‑gloss top coat to keep oils at bay and extend shine.
Pick the shade that flatters your undertone, prep with the right base, and you’ll have a nail moment that lasts.
Save this guide for your next polish run or share it with a friend hunting a reliable coral fix. Avoid matte top coats on neon shades, as they reveal skin oils within a day.
For gel lovers, a UV lamp cure every two weeks keeps the neon punch fresh.
Frequently Asked Questions
Does neon coral nail polish make your skin look tan?
Yes, high-contrast neon coral formulas create an optical illusion that makes skin appear deeper or more sun-kissed due to the stark color contrast and underlying white pigments.
How do you prevent neon coral polish from fading?
Apply a UV-blocking top coat and reapply it every two to three days to shield the photochemically unstable neon pigments from sun exposure.
What colors pair best with coral nails for nail art?
Coral coordinates best with warm metallic gold, muted turquoise, creamy white, and soft terracotta to create balanced visual contrasts.
Can cool skin undertones wear peachy coral polish?
Cool undertones should select pink-leaning corals rather than yellow-based peach tones to avoid making the skin look sallow or washed out.